Featured Post

Beolover SyncDrive: DC Platter Motor Replacement for Beogram 4002 and 4004 (Type 551x and 552x)

Late Beogram 4002 and the 4004 (Types 551x and 552x), which have DC platter motors instead of the earlier synchronous AC motors usually suff...

Showing posts with label 269RBBG4002. Show all posts

Monday, October 30, 2017

Beogram 4002 (5523): Installation of 4002 Commander MkII Remote Control and Internal RIAA Preamp

I recently finished up the restoration of a Beogram 4002 (5523). My customer decided to add both the Beolover 4002 Commander MkII remote control receiver (it works together with a matched Apple remote) and the internal RIAA pre-amplifier. I developed these two upgrades a while ago. More information about their performance and installation is given on the 4002 Commander page on the blog and in this post about the development of the RIAA amp.  Both boards are available to other enthusiasts. Just send an email or use the contact form on the right. 

This shows the two boards together:
The board at the bottom of the picture is the Commander MkII remote receiver board. The MkII version comes with a repeat function, which uses the CD4 indicator on the keypad cluster as indictor. It is a plug-and-play installation. The board installs into the keyboard header on the main PCB and is bolted into place using one of the screws that holds the PCB down. 
The RIAA amplifier is soldered directly into the output relay solder points. This shows the output board as I rebuilt it with a new relay and grounding switch:
For the installation of the RIAA amp I needed to remove the relay and the switch again to make space for the board and the connectors. This shows the output PCB prepared for the installation together with the RIAA board upside down:
The red 3D printed component serves as spacer to elevate the board above the black in- and output board headers. This shows the board after installation:
The original headers are still accessible, i.e. the Beogram can easily be configured in its original way by plugging the cables into the original headers instead of the white amplifier connectors.
This shows both installed in the Beogram:


Friday, October 20, 2017

Beogram 4002 (5523): Final Adjustments, Repair of a Damaged Pinth Corner and Test Drive with Bobby Hutcherson

The restoration of the Beogram 4002 (5523) that I have on the bench right now is coming to a close. After implementing new gold coated RCA plugs I adjusted the sub-chassis and the plater height and cleaned the aluminum surfaces thoroughly. The next step was to adjust the arm lowering limit to ensure the needle misses the ribs on the platter should the record detection mechanism ever fail:
Next was the calibration of the tracking weight scale. As usual, I upgraded the counter weight adjustment mechanism with a M3 nut replacing the flimsy circlip that is installed originally. This shows the original setup:
And with the tightened nut and washer installed after balancing the arm:
This makes the weight calibration much more resilient against the 'rigors of transport'.
Now it was time to adjust the tracking weight:
Before I connected the deck to my Beomaster 6000 for a test spin, I fixed a small chipped off area in the plinth:
It is always the corners that are damaged...I cut a small piece of veneer to size and glued it into place. After letting the wood glue harden, I cut off the overhang with a razor blade:
I think this looks much better. Adding some wood polishing compound later on will further improve the look. I think in a '20/20 setting' this plinth looks quite passable now.

Time for the test drive! I selected a recent acquisition to the Beolover's vigorously expanding vinyl collection: Bobby Hutcherson's Solo / Quartet album from 1982. This album is very underrated in my opinion. Especially the Solo part on side 1 is a very unique composition that shows an entirely different side of Bobby Hutcherson's talent. Incredibly smooth and lush it is ideal for a quiet evening working away on Beograms! According to the liner notes, he composed it while recovering from an injury of his index finger caused by a 'power lawn mower mishap'. I guess another demonstration that misfortune can result in unexpected outcomes and benefits. Here is an impression of the Beogram playing this lovely album:
Of course this album was ultrasonically cleaned with a CleanerVinyl set-up.

All that is left is to do is to polish the hood...time for a 3 hrs workout with the polishing block!!!..;-)


Thursday, October 19, 2017

Beogram 4002 (5523): Replacement of Corroded RCA Plugs

The Beogram 4002 (5523) that I am restoring right now was outfitted with RCA plugs and a grounding wire instead of the standard DIN 5 connector. As usual the plugs and the grounding terminal were grimy and corroded:
I replaced the RCA with all-metal gold plated plugs and I installed a new grounding terminal:
For some reason these nice compact RCA plugs do not come with a color coding, so a while back when I started using them in my restorations I designed 3D printed inserts that close off the back of the plugs and give them a distinguishing mark for the left and right channels:
On to the final adjustments and a test drive of this lovely Beogram!


Sunday, October 15, 2017

Beogram 4002 (5523): Installation of a LED in the Sensor Arm and Adjustment of the Detection Circuit

The final incandescent bulb to be replaced in the Beogram 4002 (5523) that I am restoring right now was the bulb in the sensor arm. This shows the sensor compartment pulled out from the arm with the original light bulb still in place:
I extracted the bulb. This shows the bulb next to the flex PCB based LED assembly:
The flex PCB folds up that the LED board fits into the compartment:
This shows the LED in action after installation:
It is a warm white light LED, which ensures that it has enough red photons to back-illuminate the red B&O logo at the front of the arm.
Whenever a change is made to the record detection system of the 4002 the sensor response needs to be measured and qualified. This is done by measuring the sensor signal at the collector of TR3, which amplifies the  AC signal produced by the photo cell in the arm when the black ribs move underneath the arm. This shows the sensor signal after installation of the LED:
The waveform needs to dip to zero and raise up to ~6V. In this case the signal dipped well enough (if this is not the case, adjust the LED or bulb forward/backward in the compartment until the signal comes close to zero), but it did not quite reach 6V, topping out at about 5V. This is usually the result of an improperly biased TR3. Since the base of TR3 is only biased via a 1 MOhm resistor to the collector, the  operating point of TR3 depends on its current gain value H(fe). H(fe) can considerably vary between transistors with of the same type due to manufacturing fluctuations. Therefore not all Beograms show the prescribed 4V DC voltage at the collector of TR3. Indeed, this Beogram measured only 3.3V, which explains the too low sensor signal. This can be cured by the installation of a 2MOhm trimmer instead of the fixed value 1MOhm resistor commonly found installed as R26. This shows the trimmer installed on the solder side of the board allowing adjustment with the board installed:
With a multimeter connected at the collector, the voltage can now be adjusted to 4V:
After this adjustment the waveform showed the prescribed 6V amplitude. This record detection circuit is now working properly.


Tuesday, October 10, 2017

Beogram 4002 (5523): Restoration of the Worn Keypad

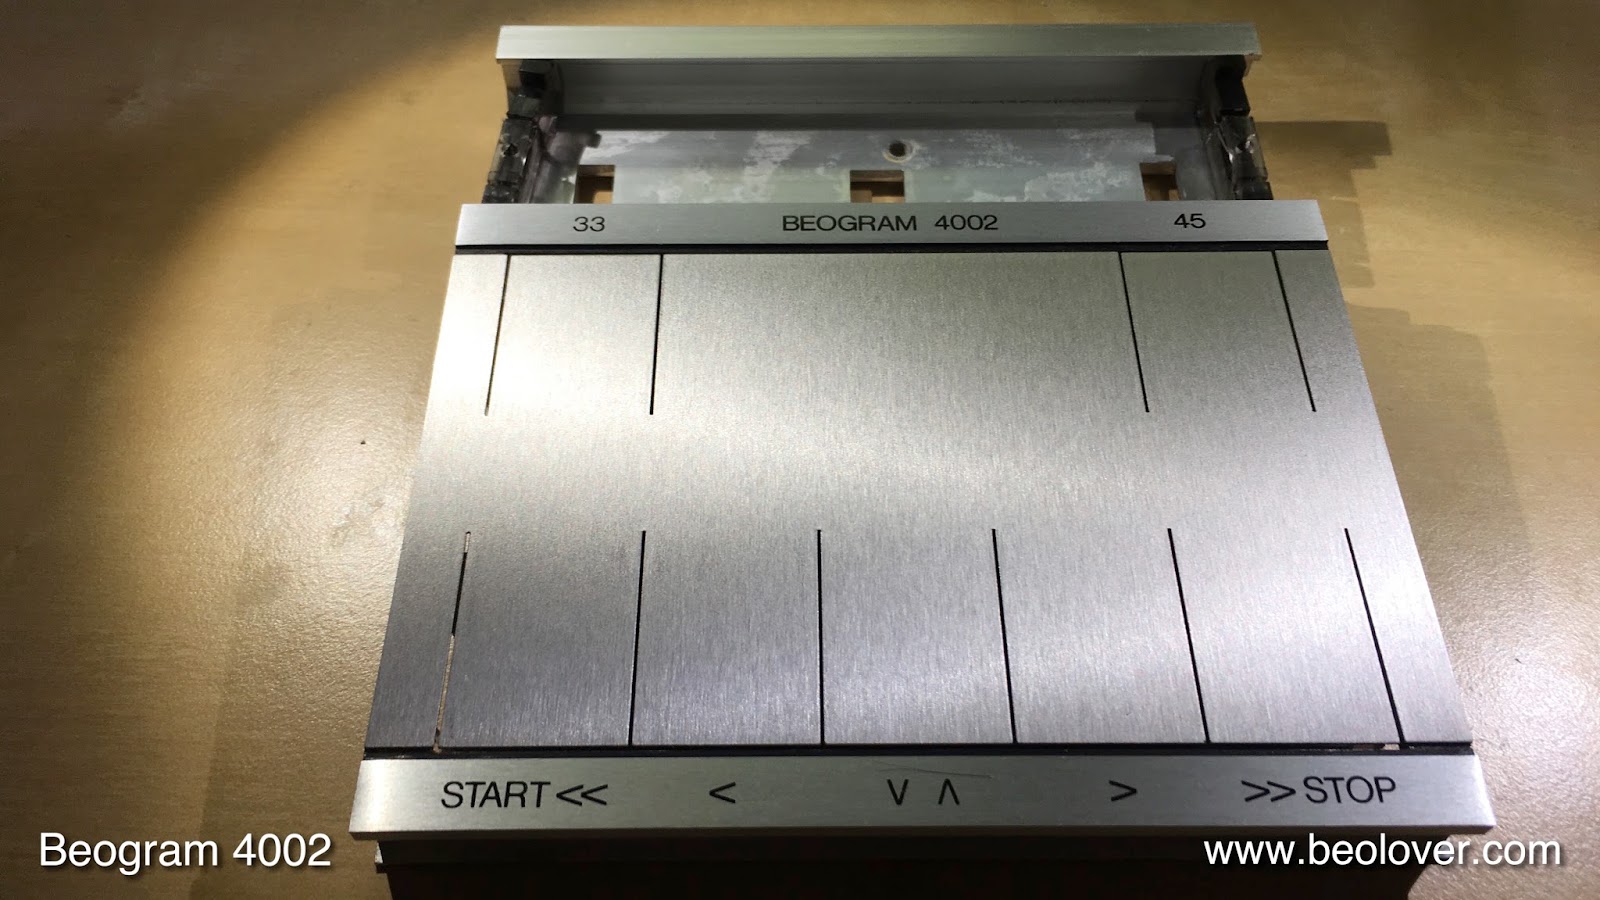
Like so many Beogram 4002, the 5523 Type that I am restoring right now also needed the keypad rejuvenated. It had the usual worn start key. This shows the keypad in the as-received condition:
After the restoration it looked like this:
We recommend to only use a soft cloth to operate these keypad, restored or original, to prevent interaction of the coating with the acids and grease present on fingers, and to reduce mechanical friction. Another option would be to install a Beolover 4002 Commander remote control, which allows to use the 4002 without any mechanical interaction with the keypad.

On to polishing the hood of this increasingly lovely Beogram 4002.


Thursday, October 5, 2017

Beogram 4002 (5523): Restoration of DC Motor and a Dead TR2 Transistor

After restoring the PCBs and the RPM trimmer scale backlighting of the Beogram 4002 (5523) that I have on my bench right now it was time to rejuvenate the DC motor. At this point in time practically all DC motor 4002/4004 need their Oilite brass bearings infused with fresh oil. Over time the oil in the porous bearing material is drawn out onto the motor shaft and after 40 years the oil reservoir is finally empty. This usually causes strong and intermittent RPM fluctuations. In order to do this procedure, the motor needs to be taken apart to extract the bearings. This shows the motor removed from the enclosure:
And in pieces:
The bearings are on the black pad. A closer inspection of the brushes revealed that this motor had been 'worked on' before:
With brushes in this bent state the motor probably had a hard time working properly. 

On we go: The next step is to immerse the bearings in motor oil (SAE30) and pull a vacuum:
The bubbles that immediately start to emerge from the bearings signal that the oil infusion process has started. The air is drawn out of the pores due to the vacuum, while the oil enters them due to molecular motion and the urge to lower the entropy of the system. After this brief excursion into physics it was time to wait until the bubbling stopped. In this case it took nearly 48 hours, which was about twice as long as it normally takes. This points to 'hungry' bearings that had a very low oil content before the immersion. 
After taking the bearings out of the oil, I put them on a paper towel to absorb the excess oil:
Then it was time to put them back into the motor enclosure. The upper bearing mount needs to be pressed into the motor housing to ensure that the bearing sits snugly against the upper end of the enclosure. For this I designed a 3D printed tool that makes this process simple:
This shows the bottom bearing inserted back into the brush carrier:
For this the bent brushes had to be straightened out:
After bolting the motor back together it was time to do a 24 hrs RPM stability test of this motor to ensure that nothing was missed in the restoration process. Sometimes the motors have bad spark snubbers, which often only reveals itself during a long term test.

After inserting the motor into the Beogram and starting up my Beolover RPM device to log the RPM over the 24 hrs period, the motor died after about 10 min. It turned out that the transistor that stabilizes the motor 9V power supply, TR2, had a problem. I extracted it
and replaced it with a new TIP31C. After this was done, I started the RPM test again:
This shows the Beolover RPM device in action. It is available to other enthusiasts. Just send me an email or use the contact form to the right if you are interested in getting gone. Aside from enabling a precise RPM adjustment, it can also log the RPM in 10s intervals over long periods of time. This takes out the guesswork and repeat listening to LP sections trying to discern whether there is a RPM fluctuation or whether it is the music...;-). This shows the 24hrs RPM graph that was recorded by the device:
This is as good as it gets with the Beogram 4002 DC motor. Very small fluctuations and an excellent stability over time. This motor is back in business!


Monday, October 2, 2017

Beogram 4002 (5523): Replacement of the RPM Trimmer Light Bulbs with LEDs

After rebuilding the PCBs of the Beogram 4002 (5523) that I am restoring right now, it was time to replace the light bulbs that illuminate the RPM trimmers with LEDs. This is not only important to ensure long term stability of the Beogram, but also to improve the RPM consistency of the DC motor. The RPM trimmers are part of the DC motor feedback circuit that holds the RPM constant. Since incandescent bulbs emit heat the trimmers heat up during play, which can result in RPM changes. The much colder running replacement LEDs alleviate this issue.
This shows the extracted RPM panel from the back:


Removal of the covers reveals the bulbs:
After unsoldering the leads the bulbs can be pulled out and the LED boards inserted:
This shows the LED boards. They are drop-in replacements for the light bulbs:
These boards are available to other enthusiasts. Just send an email or use the contact form to the right.
The covers fit back onto the LED boards:
The LEDs illuminate the RPM trimmer indicators with a natural incandescent-like sheen while letting the indicator appear red. This is achieved by using red-green LEDs that are tuned to emit light similar to the spectrum emitted by a light bulb:


Sunday, October 1, 2017

Beogram 4002 (5523): Restoration of Main and Output Printed Circuit Boards, and a New Reservoir Capacitor

After replacing the decayed transport lock bushings of the Beogram 4002 (5523) that I am currently restoring it was time to rebuild the PCBs. This shows the original main PCB:
Aside from replacing all electrolytic capacitors it is a good idea to also replace the RPM relay and the RPM trimmers, which are often corroded and this can result in RPM fluctuations. This shows the RPM section in its original state:
And after replacing the trimmers with modern encapsulated 25-turn trimmers and installing a new relay (the replacement relay is available to other enthusiasts...just send me an email or use the contact form on the right):
This shows the entire board after restoration:
The output PCB has one more electrolytic capacitor that controls the time constant of the output relay, i.e. this one should also be replaced along with the relay. This shows the restored board:
The red switch in front of the output connector allows connecting the system with the signal ground in case there is a hum induced in the amplifier. This issue usually only occurs when RCA adapters without broken out ground are used.

The remaining capacitor to replace was the main reservoir capacitor that stabilizes the power supply. This shows the original cap:
The replacement is installed using a 3D printed adapter that brings the smaller modern unit up to the size of the original cap that it fits under the mounting clamp:
I usually measure the extracted reservoir cap and as so often, this one was out of spec. It measured only ~3100uF instead of the prescribed 4000uF. This capacitor would have died completely in the near future.


Saturday, September 30, 2017

Beogram 4002 (5523): Replacement of Degraded Transport Lock Bushings with 3D Printed Replacement Parts

After restoring the arm lowering mechanism of the Beogram 4002 (5523) that is currently on my bench, I took out the circuit boards for restoration. With the circuit boards out, it was a great moment to replace the degraded transport lock bushings with 3D printed replicas. The reason being that fragments of the degraded bushings usually distribute themselves throughout the Beogram enclosure, and some inevitably will go underneath the floating chassis. This poses a problem since the fragments can be large enough to impede the free motion of the chassis, thereby preventing it from insulating the turntable and the tonearm from the enclosure.
The best way to get all the fragments out of the enclosure space is to completely remove the floating chassis, which requires the boards to be out. This shows the chassis still in place:
and the empty enclosure after removal:
Removal requires the disassembly of the transport locks (small parts distributed next to the enclosure - make sure you label the upper and lower nuts as they are counter threaded and note that the longer part of the lock bolts needs to point down). If you look closely you can actually see three bushing fragments that were hidden under the carriage:
After vacuuming out the enclosure space, it was time to install the replacement lock bushings. Here is a picture of a complete set of the bushings. Each is assembled from two parts:
They are available via the Beolover Shapeways store. To replace all three bushings you'd need to order six parts.

This shows one of the orifices in the sub-chassis where they install:
One of the bushing parts goes in from the bottom:
and the other from the top completing the assembly:
After installing the other two bushings, I re-installed sub-chassis. This shows one of the locks half-way assembled:
and completed:
On to restoring the PCBs!