Featured Post

Beolover SyncDrive: DC Platter Motor Replacement for Beogram 4002 and 4004 (Type 551x and 552x)

Late Beogram 4002 and the 4004 (Types 551x and 552x), which have DC platter motors instead of the earlier synchronous AC motors usually suff...

Showing posts with label TR3. Show all posts

Monday, May 2, 2022

Beogram 4000/2/4: Update of Sensor Arm LED Assembly. No More Crumbly Flex-PCB Mess!

I recently re-designed the sensor arm LED assembly for Beogram 4000, 4002, and 4004. The previous version using a flex-PCB proved too difficult to install for some customers. My updated design is based on a small 'hard' PCB that fits precisely into the bulb compartment and uses an insert for proper positioning (it is important that the LED is approximately in the spot the lightbulb filament occupied).

This shows the new components:

And here a still from the video below that shows the LED 'in action':

The LED board produces a nice focused spot on the platter and also the B&O logo is lit up properly in the correct hue.
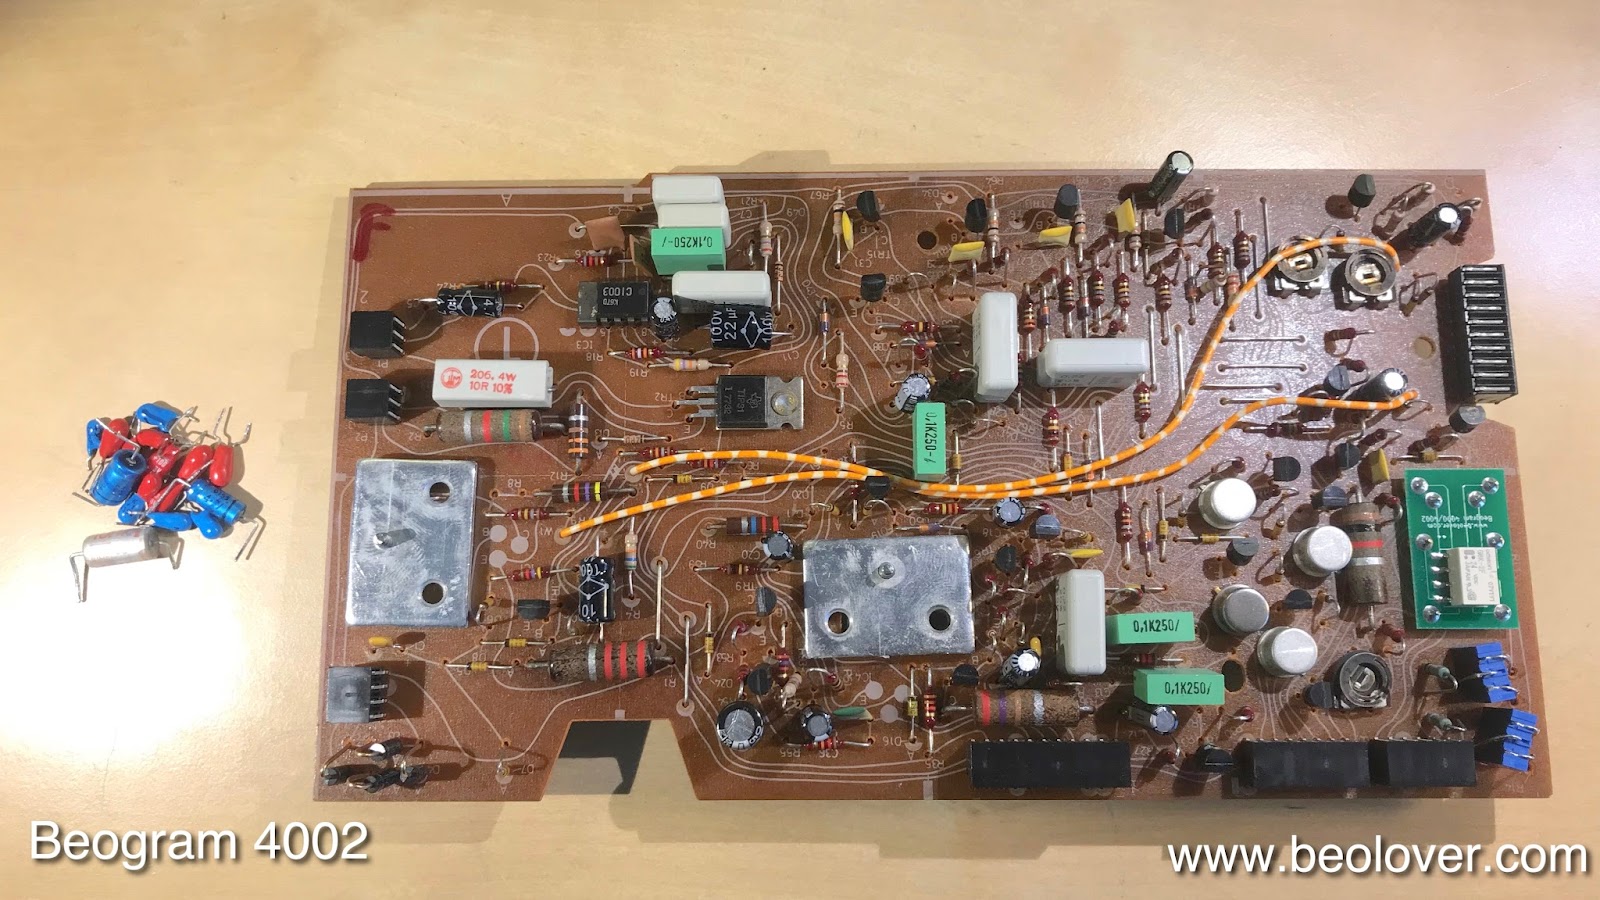
I updated my original sensor arm video and it shows now how to install these parts in Beogram 4002 and 4004. The video also shows how to update the record detection circuit. It usually benefits from installing a new transistor for amplifying the sensor signal. The procedure for Beogram 4000 is similar, but naturally the board looks a bit different, i.e. you will need to find the transistor for the sensor signal amplification via the service manual. Enjoy!:


Saturday, April 13, 2019

Beogram 4004 (5526): (New Beolover Video!) Exchanging the Sensor Arm Light Bulb with an LED Assembly

After getting the DC platter motor finally to run properly, it was time to exchange the last light bulb in the Beogram 4004 (5526) that I am restoring right now, the sensor (detector) arm bulb with a LED. This process has still been a bit 'experimental', but I think we finally have come to a stable process that should be relatively easy to replicate by other B&O enthusiasts around the world. So I decided it was finally time to make a video that outlines this process for those who would like to implement our LED assembly (send an email or use the contact form on the right if you are interested in getting the part). This shows the LED assembly next to the bulb compartment in the sensor arm:
The video discusses the detector circuit, how to upgrade it for reliable performance, and how to install the LED assembly. Enjoy!

Thursday, February 21, 2019

Beogram 4004 (5526): Replacement of Sensor Arm Bulb with a LED

After restoring the record detection circuit and the PCBs it was decided that the sensor arm light bulb should also be replaced with a LED to ensure operability of the deck down the road. These old light bulb like to fail, especially during shipping, i.e. it is a good idea to replace the bulbs with LEDs when restoring a Beogram. This shows the original light bulb in the sensor compartment together with the replacement flexPCB-based LED assembly:
I removed the bulb and inserted the LED board, which folds snugly into the compartment:
This shows the LED in action:
The LED is a warm-white type, i.e. there are enough red photons to ensure a properly colored B&O logo.
Whenever the light source in the sensor arm is replaced, the sensor response needs to be checked. The signal strength is highly dependent on the location of the light source in the compartment. The signal at the collector of the signal amplifying transistor TR3 needs to be close to 6V or better. This shows the measurement I made after the installation:
This Beogram record detection circuit is now operating better than spec (7.9V amplitude), i.e. we can confidently press the START button. 


Monday, January 7, 2019

Beogram 4004 (5526): Replacement of Sensor Arm Light Bulb with an LED Assembly

When I restore a Beogram I usually exchange the incandescent light bulbs with LED assemblies. LEDs last much longer and yield a constant light output over their lifetime. This post discusses the replacement of the sensor arm light bulb of the Beogram 4004 (5526) that I am currently restoring. The bulb and sensor compartment can easily be pulled out of the aluminum profile (if your fingernails are not cut too short..;-):
The flex-PCB based LED assembly is shown on the right. It uses a warm white LED which produces enough red photons to make the B&O logo at the end of the sensor arm light up red. I unsoldered the bulb and extracted it. The LED assembly folds into the vacated bulb compartment:
This shows the assembly in action:
Whenever the light source is replaced in the sensor compartment, the record detection circuit needs to be checked for proper functioning. A stylus crashing onto the platter without a record present can get expensive...
The first step is ensuring that the collector of the sensor amplification transistor TR3 has the prescribed 4V DC without a sensor signal present. Usually, it shows a lower voltage due to the design of the circuit that relies on biasing TR3 via a single 1MOhm resistor connected to the collector. Due to variations in the transistor gain Hfe between individual transistors of the same type, this biasing scheme is not reliable since the base bias will vary with each transistor. This can be remedied by replacing the biasing resistor with a 2 MOhm multi-turn trimmer and then adjusting it for 4V at the collector. This is shown here:
I usually install the trimmer on the solder side of the PCB so one can adjust it while the board is powered up, and then I unsolder it and install it on the component side.

Once 4V are established, it is time to measure the sensor signal at the TR3 collector when the arm is over the rotating platter. For that a jumper wire needs to be soldered to the collector and the platter installed. This shows the oscilloscope trace measured after the LED was installed:
The amplitude should be between 5 and 6V, and the valleys should go all the way to 0V. This Beogram passed with flying colors. If the trace does not hit 0V, then usually the LED (or light bulb) does not sit in the right spot. This can sometimes be a bit tedious, but after a few trials one usually can achieve a trace like the one shown here.


Tuesday, December 4, 2018

Beogram 4004 (5525): Replacement of Sensor Arm Bulb with LED Assembly and Calibration of Sensor Amplification Circuit

A Beogram 4004 that I restored a few years back returned to my bench for some TLC/adjustments. Along with the adjustments it was decided to also update the restoration to the latest Beolover standard, i.e. the sensor arm bulb needed replacement with an LED assembly, which was not yet available during this Beograms's first visit.
This shows the sensor arm bulb cabinet pulled out together with the flexPCB based LED replacement circuit:
After extracting the bulb I installed the LED assembly and fired it up:

The LED that is used on the board is a warm white LED, i.e. it has enough red emission to make the B&O logo light up nicely.
The next step of this procedure is to adjust the biasing of TR3 properly. TR3 is responsible for amplifying the weak signal of the photo diode that is in the sensor arm. By design the base of this transistor is biased with a 1MOhm resistor (R26) pulled up by the collector. Unfortunately, this biasing scheme depends on the transistor gain Hf, which can vary quite drastically across several transistors of the same production run.
As a consequence one rarely finds a Beogram 4002 or 4004 that has the proper manual-specified 4V at the collector. This issue can be corrected by adjusting R26 until 4V are present. This can be done by replacing R26 with a 2MOhm multi-turn trimmer, and adjusting for 4V. This shows the trimmer installed from the solder side of the board that it can be adjusted while the Beogram is running:
After adjusting the collector voltage to be 4V I unsoldered the trimmer, and installed it from the component side:
After this it was time to measure the sensor signal at the collector of TR3:
The amplitude of the signal is 6.3V, exceeding the manual specified 6V, which is good. It should not be smaller, but a bit larger is o.k. Important here is also that the signal drops (that correspond to the passing of a platter rib) go all the way down to 0V. 
This result indicated that the sensor circuit was working properly, i.e it was time to test with and without a record present. All went well. I will play it a bit more and then it will be time to send it back to its owner!


Friday, May 18, 2018

Beogram 4004 (5526): Replacing the Light Bulb in the Sensor Arm with a LED Assembly

After replacing the transport lock bushings in the Beogram 4004 (5526) that is currently on my bench it was time to replace the light bulb in the sensor arm with a LED-based assembly. This shows the small bulb compartment pulled out of the sensor arm front:
The small flexPCB next to it is the LED circuit. Since modern high output LEDs have a much lower current draw than the original small light bulbs the LED circuit features a current bypass that adjusts the current to a level similar to the light bulb. This is important since there is a circuit on the main PCB that detects bulb malfunctions via current measurement, and the low current of LEDs would trigger this circuit, preventing the arm lowering mechanism from doing its job.

The flexPCB needs to be folded to fit into the bulb compartment. This shows the folded board next to the light bulb,
and installed in the compartment:
After replacing the compartment in the arm I tested the setup:
The B&O logo shows up with its usual red-orange glow. This is a result of using a warm white LED, which has enough red emission to properly illuminate the logo. The final step of any sensor arm light source replacement is measuring the sensor signal when the platter is spinning without a record on it. This shows the signal measured at the collector of TR3:
Each voltage drop corresponds to a black rib passing under the sensor. When everything is o.k. the drops should go close to 0V, while the amplitude should exceed 4V.  This Beogram 4004 passed the test with flying colors!


Monday, April 23, 2018

Beogram 4002 (5513): Restoration of the Main PCB and Installation of a Biasing Trimmer for TR3

After restoring the basic functionality of the Beogram 4002 (5513) that I am restoring right now, it was time to complete the restoration of the main PCB and install a trimmer to properly bias TR3, which is responsible for the amplification of the record detection sensor signal. This shows the board as I received it:
My customer already had replaced the RPM relay and trimmers. I completed the job by replacing all electrolytic capacitors,
and by installing a trimmer that allows the adjustment of the bias at the base of 
TR3. This shows the trimmer temporarily installed on the backside of the board allowing adjustment while the board was installed/powered up:
Once the collector DC voltage was set to 4.0V, I installed the trimmer on the component side:
The original design has a fixed resistor in place, which in most cases results in too low amplification due to unpredictable variations in the current gain of the transistor placed as TR3. Proper amplification is important to prevent damage to the needle when the deck is accidentally started without a record on the platter.
Once this was done I updated the installation of the replacement reservoir capacitor assembly that also had been installed already:
On to the installation of a LED in the sensor arm...


Monday, January 15, 2018

Beogram 4002 (5513): Replacement of Sensor Arm Bulb with an LED Assembly

After rebuilding the DC motor of the Beogram 4002 that I am restoring right now it was time to replace the light bulb in the sensor arm. This bulb is critical for the record detection circuit, and replacing it with an LED makes sense since LEDs last much longer than light bulbs. This shows the bulb compartment extracted from the arm together with the flexPCB based LED assembly:
The LED assembly 'mimics' the light bulb in terms of drawn current to be compatible with the light bulb detection circuit. This circuit monitors the current through the bulb, and disables the record detection circuit in case the bulb dies. LEDs draw much less current than the bulbs, and therefore an additional current path needs to be provided on the LED board in parallel to the LED itself.

The LED board folds into the compartment:
After soldering it in, I started the Beogram to see if everything works:
The warm-white LED has enough red emission to render the B&O logo properly red as if it were illuminated by the original incandescent bulb.

The final step of any light source replacement in the sensor arm is to check if the ribs on the platter are properly detected. TR3 amplifies the sensor signal and its collector needs to be at 4V DC when there is no signal (record present). Unfortunately, the circuit design of the 4002 biases the base of TR3 via a single resistor connected to the collector. This makes the working point of TR3 dependent on its current amplification factor, which can vary widely between transistors of the same type. Hence, many Beograms have a too small voltage at the collector of TR3, reducing the signal generated by the ribs on the platter as they go by underneath the sensor. This can be rectified by replacing R26 (1 MOhm) with a 2 MOhm multi-turn trimmer:
I usually install the trimmer first on the solder side to be able to adjust the collector voltage  with the board installed and the turntable on. Once the 4V are set, the trimmer can be installed from the component side:
The final step is to measure the sensor signal at the collector with the platter spinning underneath:
This Beogram passed the test with flying colors: The signal is very close to the prescribed 6Vpp. If the signal is too small, then TR3 is not biased correctly, and if the signal does not go to zero when a rib goes by, then the LED or the bulb is not in the correct location within the bulb compartment of the sensor arm.

Wednesday, December 13, 2017

Beogram 4000: Replacement of the Sensor Arm Bulb with a LED Assembly

After replacing the cracked MMC cartridge mount in the Beogram 4000 that I am restoring right now, it was time to exchange the last remaining incandescent light bulb with a LED based assembly. This shows the bulb compartment extracted from the sensor arm:
This shows the wiring on the bottom side of the small PCB:
The LED assembly is based on a flexPCB circuit that imitates the power profile of a light bulb to not confuse the control electronics of the Beogram (which checks whether the bulb is functioning or not).
I extracted the bulb. This shows the bulb in comparison with the folded flexPCB based drop-in ready LED assembly 
This assembly is available to other B&O enthusiasts. If you are interested, send me an email of use the contact form on the right. This shows the LED assembly installed:
And in action:
The small 3D printed red wedge on top of the PCB ensures that the LED is in the right location to project its light properly through the lens in the bottom of the bulb compartment.


Monday, November 6, 2017

Beogram 4004 (5526): Replacement of the Sensor Arm Bulb with a LED Assembly and Optimization of Detection Circuit

The final incandescent bulb to be replaced in the Beogram 4004 (5526) that I am currently restoring was the bulb in the sensor arm. This bulb enables the record detection circuitry and therefore is essential to the proper working of the turntable. I recently developed a flex-PCB based LED replacement assembly, which 'folds' into the small bulb compartment. This places the LED in the right spot to be projected through the lens onto the record that is being played. This shows the original bulb in place together with the LED replacement:
I removed the lightbulb:
and installed the LED assembly:
The assembly is drop-in, i.e. directly replaces the lightbulb pulling the same amount of current. This is important to not confuse the record detection circuitry. This shows the LED in action:
Since it is a 'warm white' LED, it has enough red light components to accurately illuminate the red-orange B&O logo at the end of the arm.

The design of the detection circuit has one flaw, that sometimes manifests itself by neutering the detection circuit allowing the arm to drop even if there is no record present. This is caused by biasing the TR3 transistor that is responsible for the initial amplification of the sensor signal too low. This can be fixed by replacing resistor R26 with a 2MOhm trimmer that can then be adjusted to yield 4V at the collector of TR3 when there is a record present (i.e. no sensor signal coming in from the black ribs passing underneath the arms). A more detailed description of the circuit and its improvement can be found here).

Once R26 has been removed it is a good idea to install the trimmer temporarily on top of the circuit board, so it can be adjusted while the board is in place:
After adjusting the trimmer to yield 4V at the collector of TR3, it can be installed 'below deck':
It fits neatly between the other components around TR3, as if the designers of the boards foresaw that the Beolover would come up with this fix in 2017!..;-). 

After this upgrade it was time to measure the sensor response at the collector of TR3. This shows the signal trace while the platter was spinning under the sensor:
Each dip corresponds to a black rib passing under the sensor. The amplitude of the signal should be close to 6V to make the sensor work properly. Generally it can be said that if the dips are not going all the way to zero, the position or brightness of the light source (LED) is not good enough, and if the amplitude is not reaching 6V on the upper end, the collector voltage at TR3 is too low and needs to be adjusted.


Sunday, October 15, 2017

Beogram 4002 (5523): Installation of a LED in the Sensor Arm and Adjustment of the Detection Circuit

The final incandescent bulb to be replaced in the Beogram 4002 (5523) that I am restoring right now was the bulb in the sensor arm. This shows the sensor compartment pulled out from the arm with the original light bulb still in place:
I extracted the bulb. This shows the bulb next to the flex PCB based LED assembly:
The flex PCB folds up that the LED board fits into the compartment:
This shows the LED in action after installation:
It is a warm white light LED, which ensures that it has enough red photons to back-illuminate the red B&O logo at the front of the arm.
Whenever a change is made to the record detection system of the 4002 the sensor response needs to be measured and qualified. This is done by measuring the sensor signal at the collector of TR3, which amplifies the  AC signal produced by the photo cell in the arm when the black ribs move underneath the arm. This shows the sensor signal after installation of the LED:
The waveform needs to dip to zero and raise up to ~6V. In this case the signal dipped well enough (if this is not the case, adjust the LED or bulb forward/backward in the compartment until the signal comes close to zero), but it did not quite reach 6V, topping out at about 5V. This is usually the result of an improperly biased TR3. Since the base of TR3 is only biased via a 1 MOhm resistor to the collector, the  operating point of TR3 depends on its current gain value H(fe). H(fe) can considerably vary between transistors with of the same type due to manufacturing fluctuations. Therefore not all Beograms show the prescribed 4V DC voltage at the collector of TR3. Indeed, this Beogram measured only 3.3V, which explains the too low sensor signal. This can be cured by the installation of a 2MOhm trimmer instead of the fixed value 1MOhm resistor commonly found installed as R26. This shows the trimmer installed on the solder side of the board allowing adjustment with the board installed:
With a multimeter connected at the collector, the voltage can now be adjusted to 4V:
After this adjustment the waveform showed the prescribed 6V amplitude. This record detection circuit is now working properly.