Featured Post

Beogram Commander Remote Control: Maybe This is the Final Version!..;-)

This is a follow up to my recent post about the redesigned Beogram Commander remote control board, which now works in both (DC-motor) Beogr...

Sunday, February 28, 2016

Beogram 4002 (5513): Adjusting Platter, Sub-Chassis, Arm Lowering Limit and Tracking Force

Before this Beogram 4002 (5513) was ready for a test drive, it needed some more mechanical adjustments. For perfect looks the platter needs to be exactly flush with the surrounding aluminum plates. Before that can be adjusted the floating sub-chassis needs to be balanced to be in the center between the transport lock brackets on all three support points. Once the chassis and the platter have been adjusted the arm lowering limit can be adjusted. The final calibration step is the tracking force. It needs to be set that the actual force matches the weight dial on the tone arm carrier.

Before I was able to adjust the sub-chassis I needed to replace the cracked and missing cabinet guidance washers:

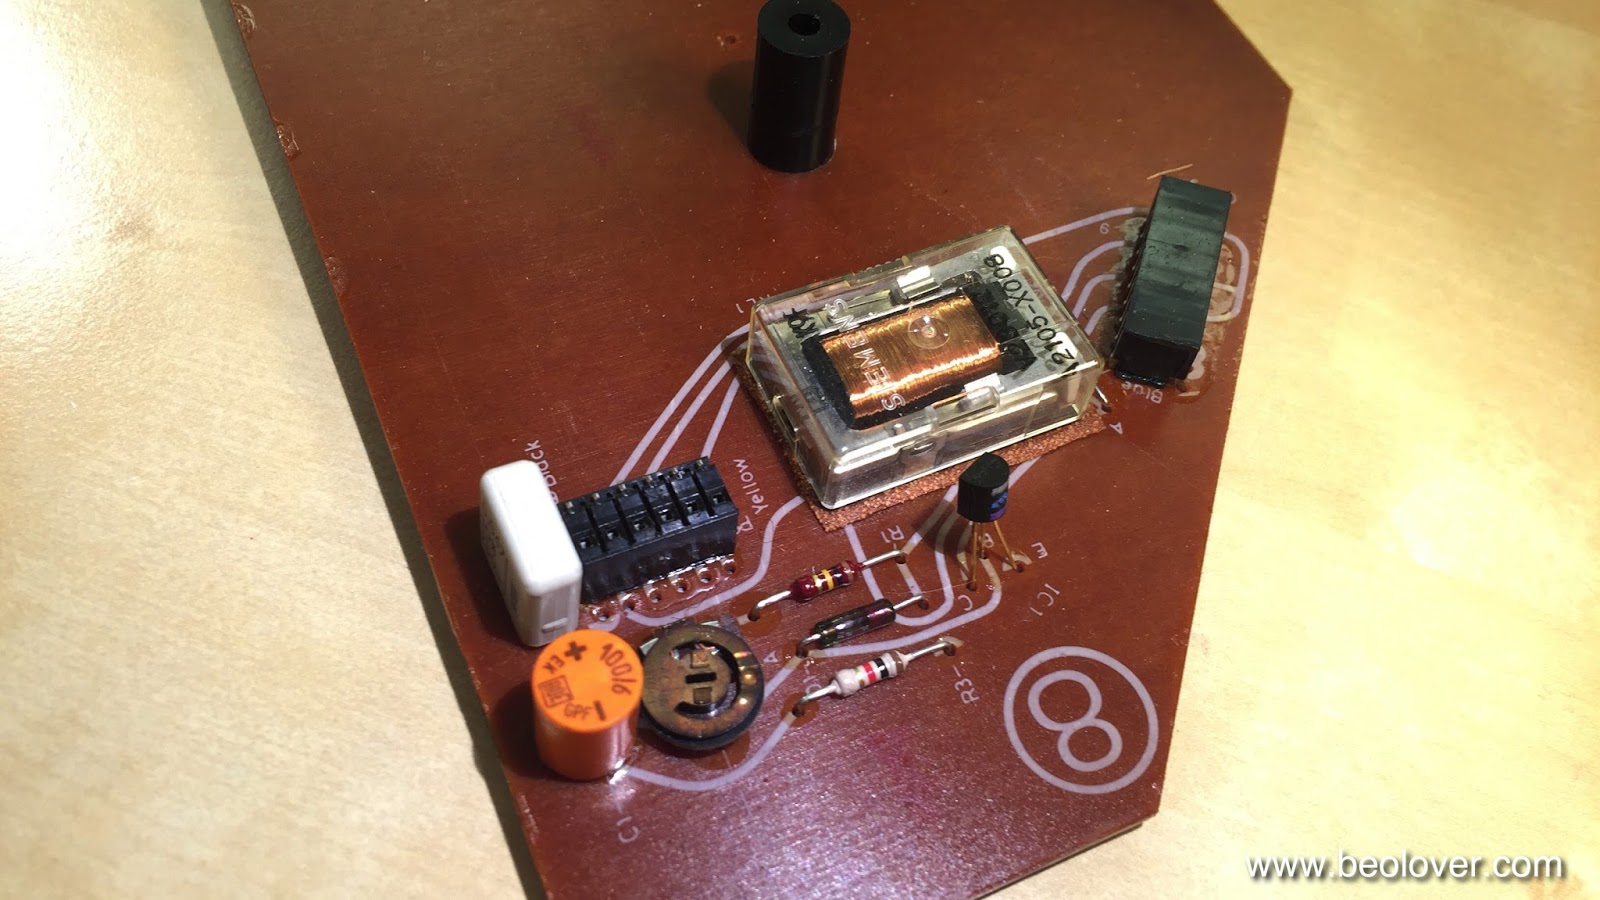
If they are damaged the top aluminum plates are no longer held down properly, which makes it impossible to align the platter.
I replaced them with my 3D printed reproductions:

There is a video about this procedure in my Beogram 4002 playlist. The guidance washers can be ordered directly from my Shapeways store. This is the direct link to the part.

Then I went on to adjust the sub-chassis and the platter bearing. After adjusting the sub-chassis springs, I tried to get the platter horizontal but soon realized that something was out of whack. Closer inspection yielded that there was some previous human 'interaction' with the main bearing: 

Someone changed one of the spring washers from one leg to the next, which resulted in an imbalance between the mounting screws. I redistributed the spring washers properly and then I was able to adjust the platter properly. 
There are two videos on my YouTube channel that show how to adjust the platter bearing and the subchassis (in a Beogram 4000, but the process is very similar in the 4002).
Here is an impression of the deck after these adjustments:
The platter is flush with the surrounding aluminum panels and also sits in the center of the plate.

After these adjustments the next step is to adjust the arm lowering limit:
There is a video on my youTube channel that shows how to adjust the lowering limits. This is a very important procedure since the control system of the 4002 cannot guard against photosensor failure in the sensor arm. If the sensor fails the arm will be lowered whether there is a record or not, possibly endangering a very expensive cartridge. The correct adjustment of the arm lowering limit can prevent stylus failure if that happens.
The final adjustment is the calibration of the tracking force trimmer in the back of the tone arm. I usually install a M3 nut on the screw that is used to adjust the zero force with the counter weight on the tonearm. This ensures that the calibration is still valid after shipping the turntable:
Once the counterweight is adjusted the tracking force can be calibrated:
There is also a video about the tracking force calibration process.

And then it was finally time to give this Beogram 4002 a spin! The first record I played was the beautiful early Miles Davis record 'Blue Moods', which I recently acquired in the red vinyl version:
Ahh...very Beolovely! I always enjoy the moment when a Beogram is back in service! I will play this deck a bit more to make sure I did not miss anything and then it will be time to ship it back to its owner!


Saturday, February 27, 2016

Beogram 4002 (5513): New Gold Plated DIN Plug

After replacing the output relay in the Beogram 4002 (5513) that I am currently finishing up it was time to also get rid of the corroded DIN5 plug. This is how the original plug looked like:
I installed a quality Rean DIN5 with gold plated terminals. Here are a few impressions. This shows the cable prepped for installation:
This shows the installed cable. Space is pretty tight inside these DIN5s. Especially keeping the signal and system grounds separated is challenging:

This shows the plug assembled:
Pretty! Good to know that the precious vinyl signals can now travel to the amplifier unimpeded!


Beogram 4002 (5513): New Gold Plated RCA Plugs

Most Beograms have corroded DIN or RCA plugs at this point in time, and so it is a great idea to replace these connectors with new gold plated units. This particular Beogram 4002 (5513) was originally outfitted with RCA connectors.
I usually use modern quality big all metal plugs as replacements, but in this case an additional boundary condition was that the Beogram will be connected to a Beolab 5000, which has all connectors in a small compartment integrated into the bottom of its enclosure. While this is very elegant and hides the cables under the unit, it also is very restrictive with regard to what types of plugs can be used.
I finally settled on some all metal plugs made by Rean that are gold plated. They are short enough to fit into the Beolab compartment. However, like so many of these plugs they have gargantuan exit openings for the cables, which may be a concession to the modern trend to use very thick cables (which in my opinion is another snake oil concept to extract money from unsuspecting enthusiasts, but that is a different topic...;-). I did not like the looks of this, and so I decided to design small 3D printed inserts that would solve this issue and also allow me to color-code the plugs in an elegant way:
Then I soldered the plugs on:
This is how they look assembled:
Beolovely! Here is an impression of plugging them into my Beolab 5000:
A close fit, but leaving just enough room to get the cables out. The final job on this Beogram is to restore the hood which has a few bad scratches.


Friday, February 26, 2016

Beogram 8002: Strange Behavior - After PLAY Arm Just Moves 2 cm, Then Stops

A Beogram 8002 from Australia arrived for some TLC. The problem at hand was that after pressing PLAY the arm just traveled in for about 2 cm and then it stopped. While this was very reproducible on my bench the previous experience was more intermittent in that sometimes the deck would start playing normally, but then after a few minutes it would suddenly stop. 

I opened the deck up and my first guess was rotary encoder trouble. If the encoder on the carriage spindle does not work properly, the normal response of the control system is to stop playing after about 2 sec. And 2 sec is about the time it takes to travel 2 cm. This shows the relevant sections of the circuit diagram:


The rotary encoder section is in the top left quadrant. The IR diode (OPE1) is powered via the 5V rail and a 150R resistor. This results in about 1.3V at the diode. When I measured I got 5V, indicating that no current is flowing through R1, meaning that the diode had gone open circuit. This is the typical failure mode of these devices.
This shows the rotary encoder assembly removed from the aperture wheel section:
The bottom unit is the IR diode, the upper two units are the two photo diodes. Their voltages are fed into IC1/IC2 and after amplification are fed into processor pins 28/29 ("Slide Tacho"). When this signal is flat while moving the carriage (slide) the processor stops the movement after 2 sec. I replaced the IR emitter with a Optek OP240, which can be had in the same package as the original unit:
This restored the 1.3V at the diode and I was now able to measure the proper encoder signal at plug 6 Pin 13/14, but the problem did not go away. Frustrating!

My initial guess was that the encoder signal did not arrive at the processor pins. So I removed the PCB, opened up the processor EMI can and ran the unit, while measuring directly at the processor pins. Micro grabber jumper cables are really nice for such measurements! Here is an impression:
Well...the signal arrived at the processor. And I also noticed during these experiments that the deck would sometimes work, especially when freshly plugged in! The plot thickened! Working on B&O vintage units for some time now, I immediately put my money (I lost...;-) on a cracked solder joint or a hair line fracture in the PCB. So I set out to re-solder all relevant connections. Here is an impression of the processor board, solder side:
Well, al this effort did not fix the problem!
So I hooked up my oscilloscope and watched the relevant signals on the processor inputs as the issue unfolded. Finally, when monitoring pin 31 ("lift manual") I got these traces:
the green and yellow ones are the encoder signals on 28/29. The red one is the signal at pin 27 (<<), which essentially controls the carriage servo. The blue line is the signal on pin 31. And what we see is that the signal on this pin increases, and at about 3.5V (which is about where a logic HIGH starts on 5V systems) pin 27 caves turning the servo off, causing the carriage to stop as we see from the petering out signals on the encoder diodes.
This immediately suggested that something gave the processor the impression that the arm needs to be lifted and the carriage stopped.

Considering the relevant sections of the circuit diagram, it was clear to me that somehow the signal on the input opamp IC2 (same opamp package as the IC2 that amplifies one of the encoder diodes) that is hooked up to pin 31 must go high. The only way that this can happen is when the resistance of the photoresistors R9 or R10 in the << >> control housing gets too large without pressing one of the <</>> buttons. The way this control system works is that when these buttons are pressed an aperture is driven in between the light bulb IL1 and the either R9 or R10. This gradually increases their resistance, thereby raising the voltage at the corresponding IC2 turning on the carriage servo OM1 in either forward or reverse direction. While this happens the motor control signal is also fed into the opamp that connects to pin 31 via diodes D5/D6. 
All this suggested that one of the photoresistors increased its resistance by itself without pressing one of the << >> buttons. The service manual prescribes that the voltage at the resistors as measured at plug 5 pins 4 or 6 needs to be 0.61V when the buttons are not pressed. I measured 1.2V at pin 6 and 0.6 at pin 4. My first response to that was trying to adjust the screws that are in the housing allowing the reduction of the light that falls on the resistors. But I was not able to get the voltage below 1.2V. And that suggested that the photo resistor was either the wrong type or broken. This also explained the 2 sec delay before the deck would shut off, since these resistors are temperature sensitive, i.e. the lamp would heat up the resistors and the bad/wrong one then crossed the threshold at which the opamp started triggering pin 31.

I took the control panel out:
The two screws on the bulb housing are used to adjust the light intensity that arrives on the photoresistors. Then I removed the PCB from the front panel. Here is a look at the panel backside:
This shows one of the photoresistors. 

They are mounted in compartments on either side of the light bulb. Here is a picture with the bulb illuminated.
I measured the resistance on the photoresists on the 'good side' of the assembly. I found about 20k when the button was not pressed. The other side had about 75k, and there was no way to get that down.
Since the manual does not specify what type of photoresistor they used for this assembly, I needed to experiment a bit. So I bought a bunch of photoresistors with different resistances for a 'shootout'. 

A few days later, I received six different types, and I measured their resistance in the cavity with the light bulb on. I finally settled on GL5549, which is widely available on ebay. It is specified to have a dark resistance of 10M and 100-200 under illumination. But that seems to be a fairly weak light intensity. In the Beogram assembly it showed 20k with the aperture fully opened. 
While in there I decided to also replace the light bulb with a white LED (Newark 14N9428) to ensure better long term stability. I used a 1k resistor to limit the current. Here is an impression:
This shows the backside:
After verifying that the light intensity was high enough to yield the 0.61V I put everything back together, adjusted the brightness screws on the bulb housing to get the 0.61V on both sides and then fired up the deck. And it was back in business. So this appears to be fixed!


Beogram 4000: Replacing a Broken MMC Cartridge Mount with a 3D Printed Replacement Assembly

The first item to address in the Beogram 4000 that I recently received for a restoration was the broken cartridge mount. Here is a picture of the mount:
As in so many 4000s the plastic tab broke off. In this case the Beogram came with a 4002 arm installed that also has a damaged mount, and the original 4000 arm came along separated. Per customer instructions the 4002 arm was to be removed and be replaced with the original arm with a working MMC mount.
I decided to make this the first Beogram that I would outfit with my recently developed 3D printed replacement MMC mount. Sonavor's (Beoworld) reports about implanting one of them successfully into his own Beogram 4000 and using it for some time now without issues made me confident that this design may indeed be ready for primetime. So, in a way this post is a conclusion to my previous posts about the development process of the MMC mount replacement that can be found here and here.
I started out by assembling a replacement mount. This shows the 3D printed MMC mount body with the attached flex PCB that supplies the electrical contact terminals for the cartridge coils:
The next step was to get the damaged mount out of the original 4000 tonearm. They are glued into the aluminum tube, but this rule can be loosened in a boiling water bath:
After heating it for a few minutes (typically until the end of the aluminum tube becomes too hot to touch it comfortably) I put it into ice water for a few minutes. The I pushed the mount out with a metal rod. If you do this at home, be careful to not damage the wires in the tube. I bundle them neatly to one side and then carefully insert the rod (which is protected at the end with a bit of shrink tube to lessen the impact on potentially clamped in-between wires) and then slowly push the mount out:
This shows the two plastic parts separated with the original flex PCB separated:
this shows the original PCB in detail. Two of the contact points were already broken out:
I unsoldered the wires and put them onto the new mount in the same order. Then it was time to insert the new mount into the arm. Per Sonavor's recommendation I used Alene's Tacky Glue. This glue has the advantage that it can be overcome in case the mount needs to be replaced a second time in the future.
I found it a good idea to use a (broken..;-) cartridge to push the mount into the arm, since it needs to be a bit recessed to allow for the metal body of the cartridge to enter the arm by about 0.5 mm. This makes sure that the mount is just far enough back to ensure that there is no gap between arm and cartridge.

Now it was time to take the 4002 arm out to get things prepared for installing the repaired original 4000 arm. The first step is to remove the sole screw that holds the arm in place:
After removing the screw one can carefully pull the arm forward a bit to reveal the mounting tab that is underneath:
This tab is connected to an excenter (for adjusting the arm position on its mounting fixture) that has a spring on its actuator to hold the tab up:
Then I was able to pull the arm out to reveal the connecting PCB that is inside the arm. First, however I encountered a leaf spring that stiffens this setup a bit:
After taking it out the PCB was revealed:
Now it was time to remove the jumper wires that connect to the cartridge. I first unsoldered the grey grounding wire (one needs to be careful to not accidentally also remove the very fine 'magnet wire' that makes the connection through the lateral arm pivot):
The signal wires that connect to the coils are attached to both the top and the bottom of the PCB. That makes it slightly more interesting to remove them:
Using a mirror is helpful to remove the bottom ones (white and red). And then the arm was liberated:
The installation of the original 4000 arm followed the above steps in reverse. A bit of practice may be needed to re-solder the bottom connections. However, it can be done fairly straight forward with a mirror.
Before I can try the new mount out I will need to get the rest of the deck going. On to rebuilding the arm lowering and tracking systems!


Thursday, February 25, 2016

Beogram 4002 (5513): Rebuilding the Output Board, Installation of a Grounding Switch and Repair of the Keypad

The Beogram 4002 (5513) that I am rebuilding right now is nearing completion. Today, I did the output PCB (#8) and I repaired the keypad which had a loose key stop.
This shows PCB #8 in original condition:
I like to replace the output relay, since they often get stuck on one or both channels as they age. Fortunately, it is the same relay that is used for switching the platter RPM and so my replacement relay boards fit here, too:
These parts are available to other enthusiasts, just send me an email.
This shows the relay and the capacitor replaced:
The red switch allows to connect the system and the signal grounds. This can help if there are hum issues due to improper connections within the amplifier or the cable (usually when RCA adapters are used that do not breakout the system ground).

Before I put the board back in, I also fixed the keypad. It had a loose key stop that caused one of the keys to pop up above the pad surface:
This shows the STOP key from the back with the loose stop:
I glued the stop back on and also reattached the loose pad strips on the sides:
This shows the end result of this repair:
Beautiful! On to adjusting the chassis and the platter.