Featured Post

Beolover SyncDrive: DC Platter Motor Replacement for Beogram 4002 and 4004 (Type 551x and 552x)

Late Beogram 4002 and the 4004 (Types 551x and 552x), which have DC platter motors instead of the earlier synchronous AC motors usually suff...

Showing posts with label worn. Show all posts

Thursday, January 30, 2025

New Replacement Keypad Plates for Beogram 4002 and 4004 are in the House!!

A happy day in Beolover world!!:

After about three years of time consuming and costly effort one of us (Beomazed) finally figured out how to manufacture faithful reproductions of the often worn keypads of Beogram 4002/4004/6000.

Finally, another milestone on the way to perfect cosmetic restorations achieved!...;-).

Here a couple impressions of one of the new keypads recently installed in a Beogram 6000:


The challenges were twofold:

1) First, a manufacturer had to be found who could make faithful reproductions of the original metal plates. A number of materials and processes were tried out until finally a perfect keypad plate emerged that had the proper springy feel and the perfect brushed look.

2) Then a coating material had to be found that would give the new metal plates the characteristic look of the original ones. This was pretty difficult due to the color and hue changes the original pads exhibit when observed under different viewing angles and in changing lighting situations. After many trials finally a coating was found that matched the original behavior well. While looking great, it is also an advanced material that is very durable.

It is pretty difficult to take pictures of finished metal surfaces that faithfully show the actual look observed directly.

Therefore, I removed the slightly worn keypad of my bench 4002 for taking some pictures in direct comparison under different light and camera angles. This direct comparison allows a better impression how close the new pads are to the original look.

These pictures were taken in diffused natural light:


And this one with a more harsh LED light coming in from the back on my work bench:

I think it is obvious that the new pads match the originals quite well.

Of course there are small differences as should be expected with any reproduction process. Also keep in mind that the original keypads probably looked slightly different when they were new. Most materials slowly change their optical properties as they age due to chemical and surface structure changes.

Stay tuned for updates. We will soon offer a restoration service for worn keypads.


Saturday, November 18, 2017

Beogram 4004 (5526): Restoration of the Keypad

The Beogram 4004 (5526) that I am restoring ring now had the usual wear pattern of the keypad. The coating gets worn down over time and one starts to see which keys were used most (you guessed it: START is among them...;-). This shows the keypad as I received it:
After recoating it looked like this:
Beolovely! On to final adjustments and then some testing!


Saturday, October 7, 2017

Beogram 4002: Restoration of a Keypad with a Worn Through Start Button

A worn Beogram 4002 keypad arrived recently from New Zealand. The coating on the start button was completely worn through:
Many of the Beogram keypads unfortunately have this issue: The acids in the skin in combination with mechanical abrasion cause the coating to fail.

Luckily this can be fixed. This shows the keypad after restoration:
Pretty! I will let the coating harden a bit more, and then it will be time to send it back to New Zealand!


Thursday, October 5, 2017

Beogram 4004: Restoration of Worn Keypad

A Beogram 4004 that Sonavor is currently restoring had a keypad with the usual finger smudges and a small scratch. It is almost impossible to find a Beogram 4004 or 4002 that still has a pristine keypad these days. The acids in the skin and simple friction take their toll on the surface of the pads over time, i.e. they need to be restored. This shows the pad's original condition:
And this shows the pad after restoration of the surface:
Time to send the keypad back to Sonavor!


Monday, September 26, 2016

Beogram 4002 (5501): Worn Keypad Restoration - My Process Finally Appears Reproducible...

The Beogram 4002 (5501) that I am restoring right now had the usual worn keypad. Here is an impression of how it looked before I restored it:
As usual the start button was worst...no surprise since it sees most of the action during normal play activities. This shows the keypad after my restoration procedure:

Nice! Looks almost like new!!...It took me a few months and many frustrating attempts to perfect my approach to rebuilding these keypads. But it seems my process finally yields a reproducible outcome. Another piece of the 4002 restoration puzzle in place! 

This keypad had one more issue: One of the RPM panel clamps was broken out preventing the RPM panel from staying down:
This shows the broken part in comparison with a good one that I had 'in stock':
I replaced it and now the keypad looks perfect. But I guess it is time to develop a 3D printed replica...Beolove never ends...;-)


Saturday, April 16, 2016

Beogram 4002 (5513): Keypad Restoration and LEDs for the RPM Indicators

The Beogram 4002 (5513) that I am restoring right now came with a pretty badly worn keypad. Unfortunately, the keypads are a weakness of this design since their surface does not respond well to the presence of fatty acids deposited from the user's fingers over time.

Sadly, after a long illness my friend in Denmark, who in the past restored these keypads for me, passed away recently. May he rest in peace in B&O heaven.
Over his last few months he taught me how he does it. I started practicing to fix them a couple months ago, and finally I achieved one good outcome. It is a pretty difficult process, and I would say I am not quite reproducible yet with it, but it worked once so far:
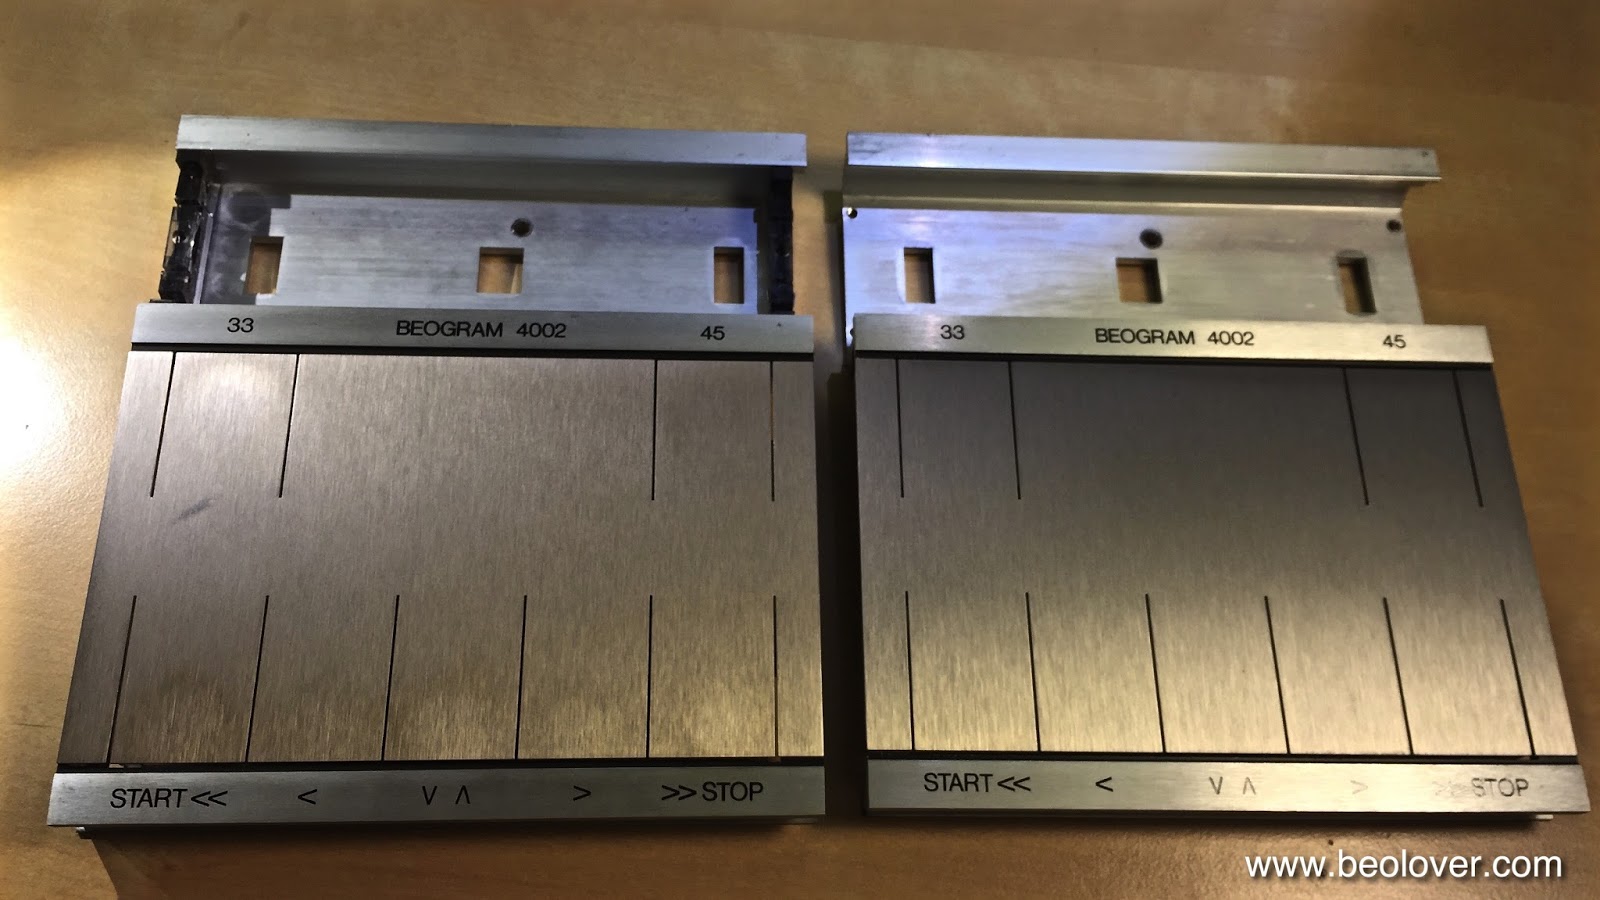
This picture shows the original keypad of the Beogram on the left. It has severe usage marks on the most commonly used keys. On the right is the one that I was able to restore. It looks quite original, I think. Now let's see if I can do it a second time...

While I had the keypad out, I also exchanged the incandescent bulbs in the RPM scales with my LED replacement boards. This shows the original bulbs:
And replaced with my SMD LED boards:
These assemblies are available to other enthusiasts. Just send me an email. This video shows how to install them.
On to repairing the cracked plinth!


Wednesday, October 7, 2015

Beogram 4002 (5513): Restoration of Worn Keypad

I am approaching the detail&beautification stage of the Beogram 4002 (5513) restoration that I am currently doing. This Beogram has (like 90% of them) a worn keypad. The original coating simply is not up to the stresses presented by skin chemistry containing acids and fats. Usually at this age if the deck has seen even only moderate use the pads show ugly finger smudges. I recently had some pads refurbished by a beofriend in Denmark to have them on hand when needed for restorations (I'd be happy to get you in touch if you want to get your keypad rebuilt!)

Here are a few impressions. This is the original worn keypad:

I needed to switch over the PCB that carries the actual switches, hence this was a good moment to refreshen the contact pads. I usually give them a light sanding with 2000 grit paper and then a coat of DeoxIT D100 to prevent further oxidation if they are not bent (if they are one needs to extract them, straighten them out and solder them back into place):

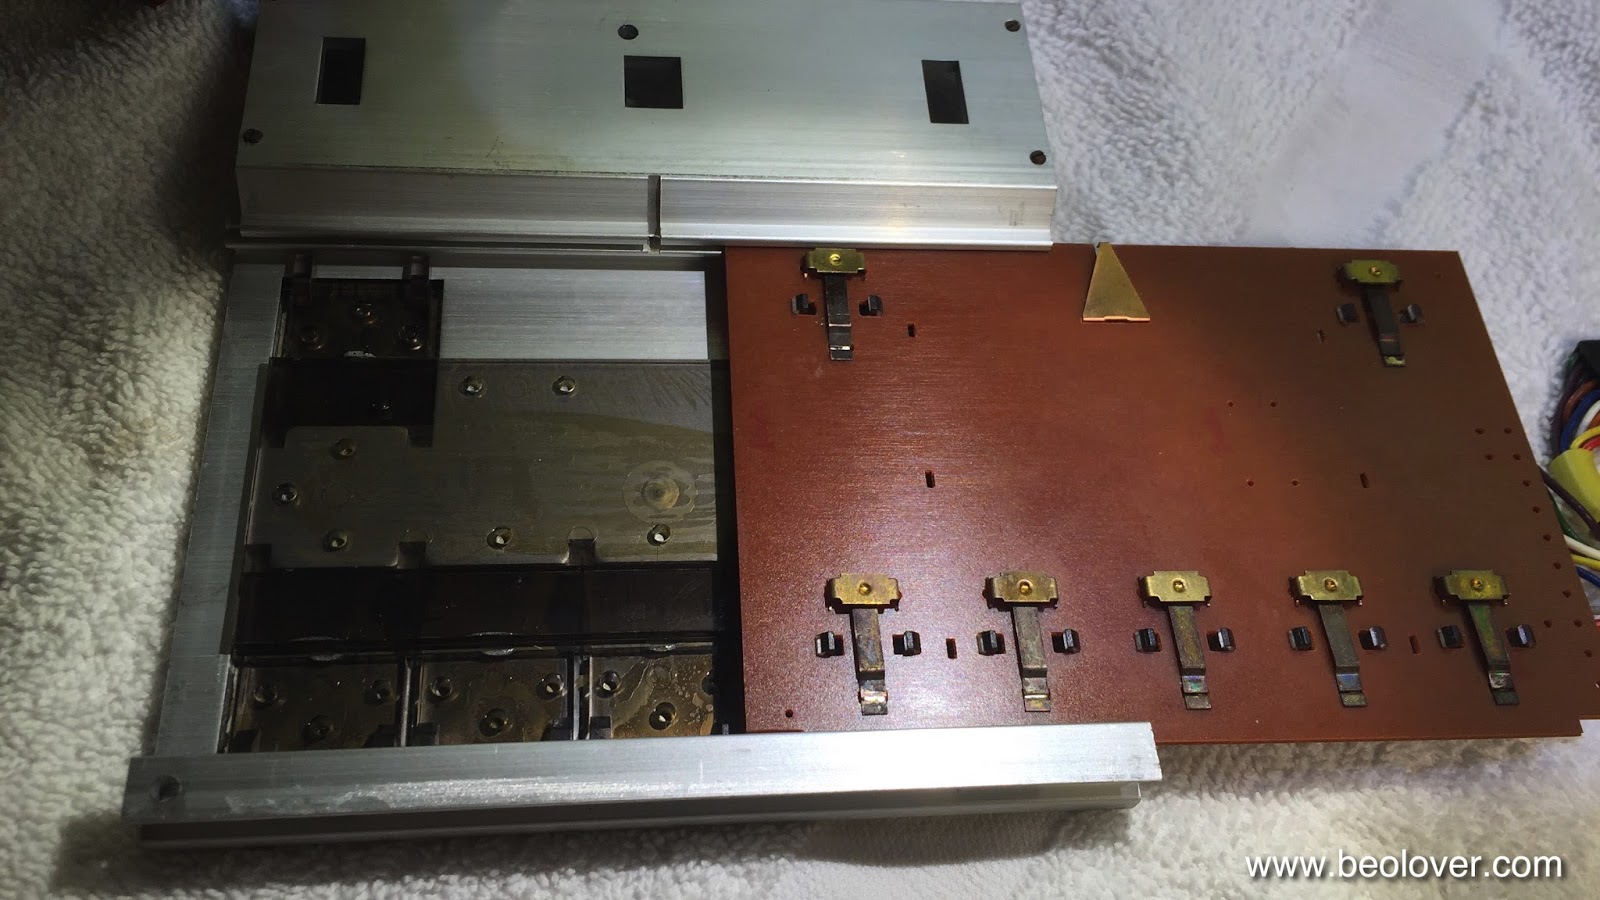
Then it was time to slide the PCB out of the original keypad:

Here is a comparison between old and rebuilt:
And after installation:

Doesn't my friend do an amazing job?? They really look very close to new! Like traveling with a time machine back to a B&O store in the 70s and picking one up!


Monday, June 1, 2015

Beogram 4002: Awesome Refurbished Keypads in the House!

Today, I received a small package from Denmark containing two refurbished Beogram 4002 keypads.  As my beofriend put it 'the weather was right' for the paint job, and it appears he was right! Here is a picture of these beauties:


He is an absolute artist! They really look like they just rolled off the B&O line in 1975! Wonderful job! I sent him the worn out keypad of a recent Beogram 4002 restoration that I did, and then he found an additional one! I just wanted to have them available for my next 4002 restorations. I'll be happy to get you in touch with my friend if you would like to send him your keypad. Don't try this at home! This needs the "Master's Touch"!...;-)


Thursday, December 18, 2014

Beogram 4002/4004: Rebuilt Keypad Surface

A good day in beolover's life! I received a rebuilt Beogram 4002 keypad from a fellow 'beofriend' in Denmark. He is able to refinish the keypad surfaces to the original splendor. I was absolutely amazed when I received the package. The resurfaced switches looked 99% like the original. Very awesome! This will give the 4002 that I am restoring a pristine look. Well worth the money!

Here are a couple pictures. The first one shows the old pad with the circuit board removed for exchange to the rebuilt one. The usual damage to the keys from pressing on the surfaces with bare fingers is clearly apparent. Skin acids in combination with mechanical abrasion eats the surface finish over time, and a smudged appearance occurs. If you look closely, on the start key the finish is fully gone in a few spots. Absolutely un-beolovely!


Below is the rebuilt keypad. Absolutely pristine looking. If you hold it next to the damaged one, the pads have very much the same appearance. I am stunned! Like I time machined back to 1975 and picked one up at the B&O store! Excellent job!