Today was polishing day! The plexi display on this Beomaster 6000 quad had some scratches in it and haziness. Very common after decades of being exposed to (polluted) air, damp, vapours, sigaret smoke, cleaning detergent, bad swiping/dusting, etc. It is very easy to get scratches from finger nails, rings or other jewellery, dirty cleaning clothes, you name it.
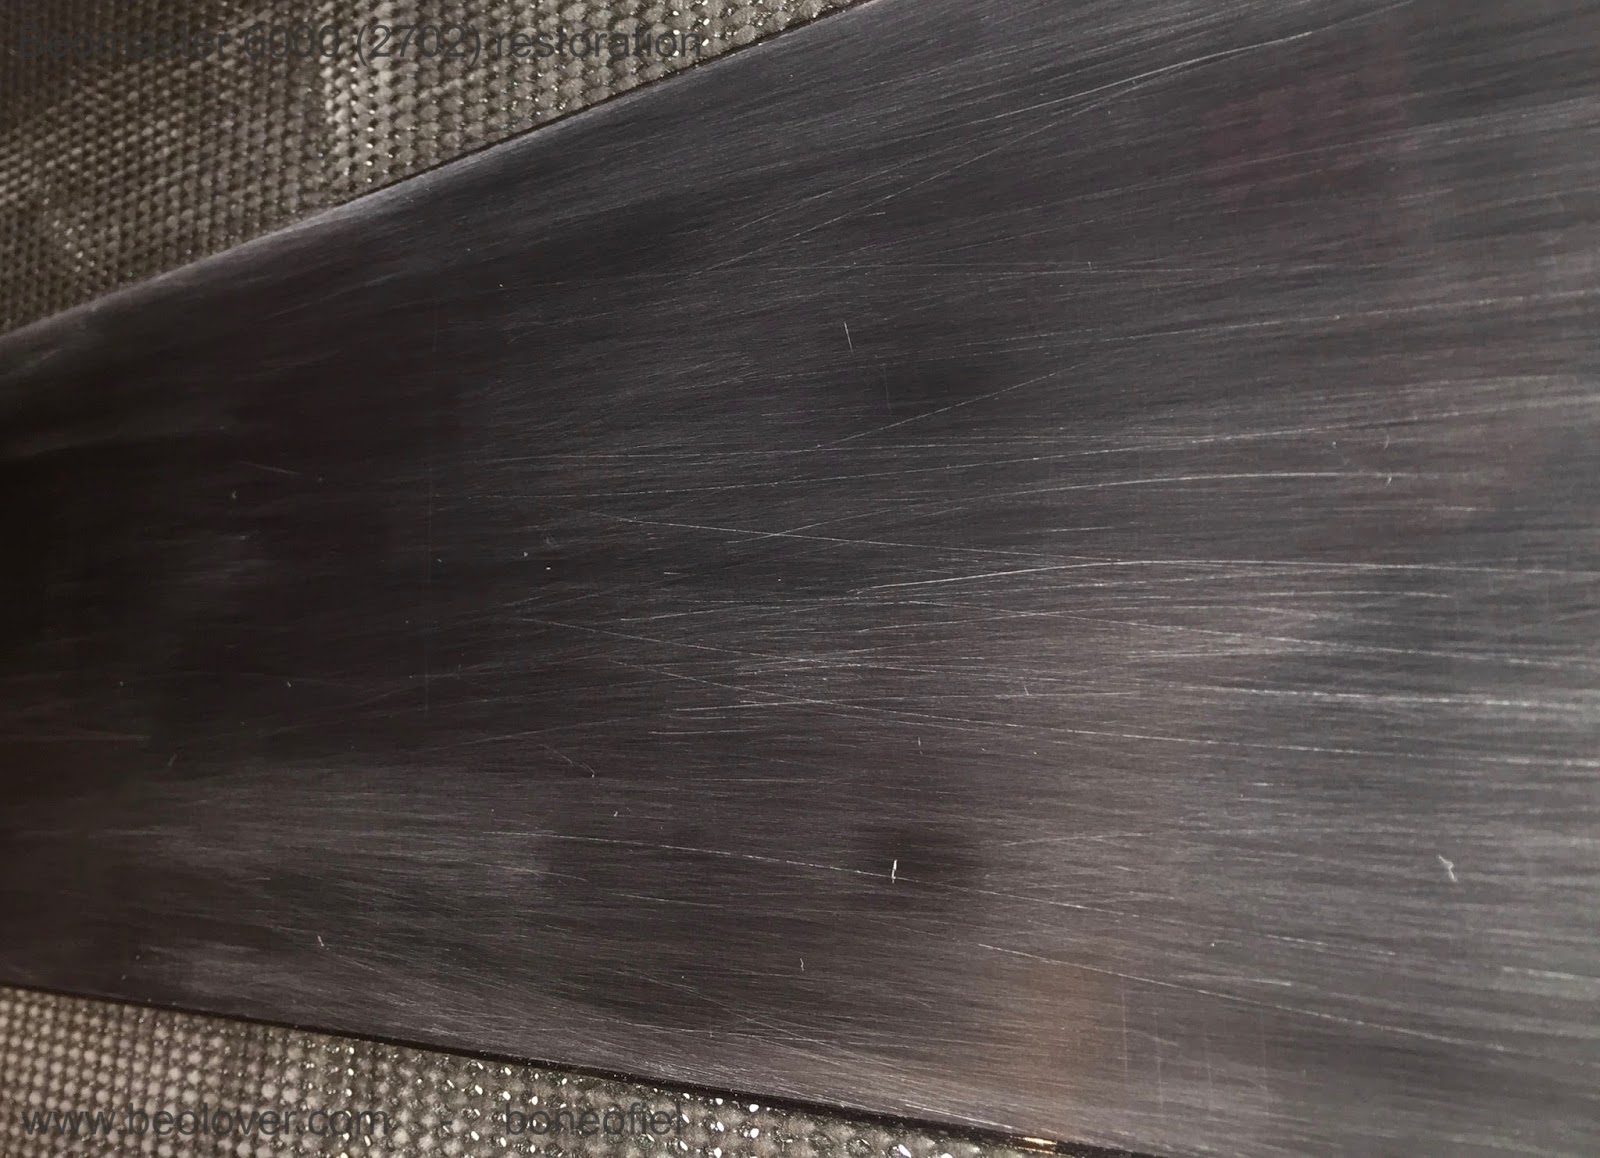
So I started off with 400 grit waterproof sand paper. That revealed the scratches even more as you can see on the picture.
There is only one good way of getting rid of these scratches: polishing, polishing, ...starting with a coarse one and working your way up to a very fine one. I used sandpaper grit 400, 600 and 800 before switching to a micro-mesh type of 1500, 1800, 2400, 3200, 4000, 6000, 8000, 12000. Please note that "grit" size sandpapers and "mesh" type size are not the same. A standard 800 grit sandpaper correspond to about a 1500 mesh type. Conversion tables can be found on the internet. The Micro-Mesh™ brand has kits available with a whole range of sizes. Micro-Mesh™ likes to call it "a non-abrasive abrasive. It is considered a cushioned abrasive in fact.". It can be washed and reused and has a more structured crystal alignement (compared to ordinary sandpaper) that leaves a more consistent scratch pattern.
Following 2 pictures courtesy of Micro-Mesh™


A few important things to keep in mind when polishing plexiglas:
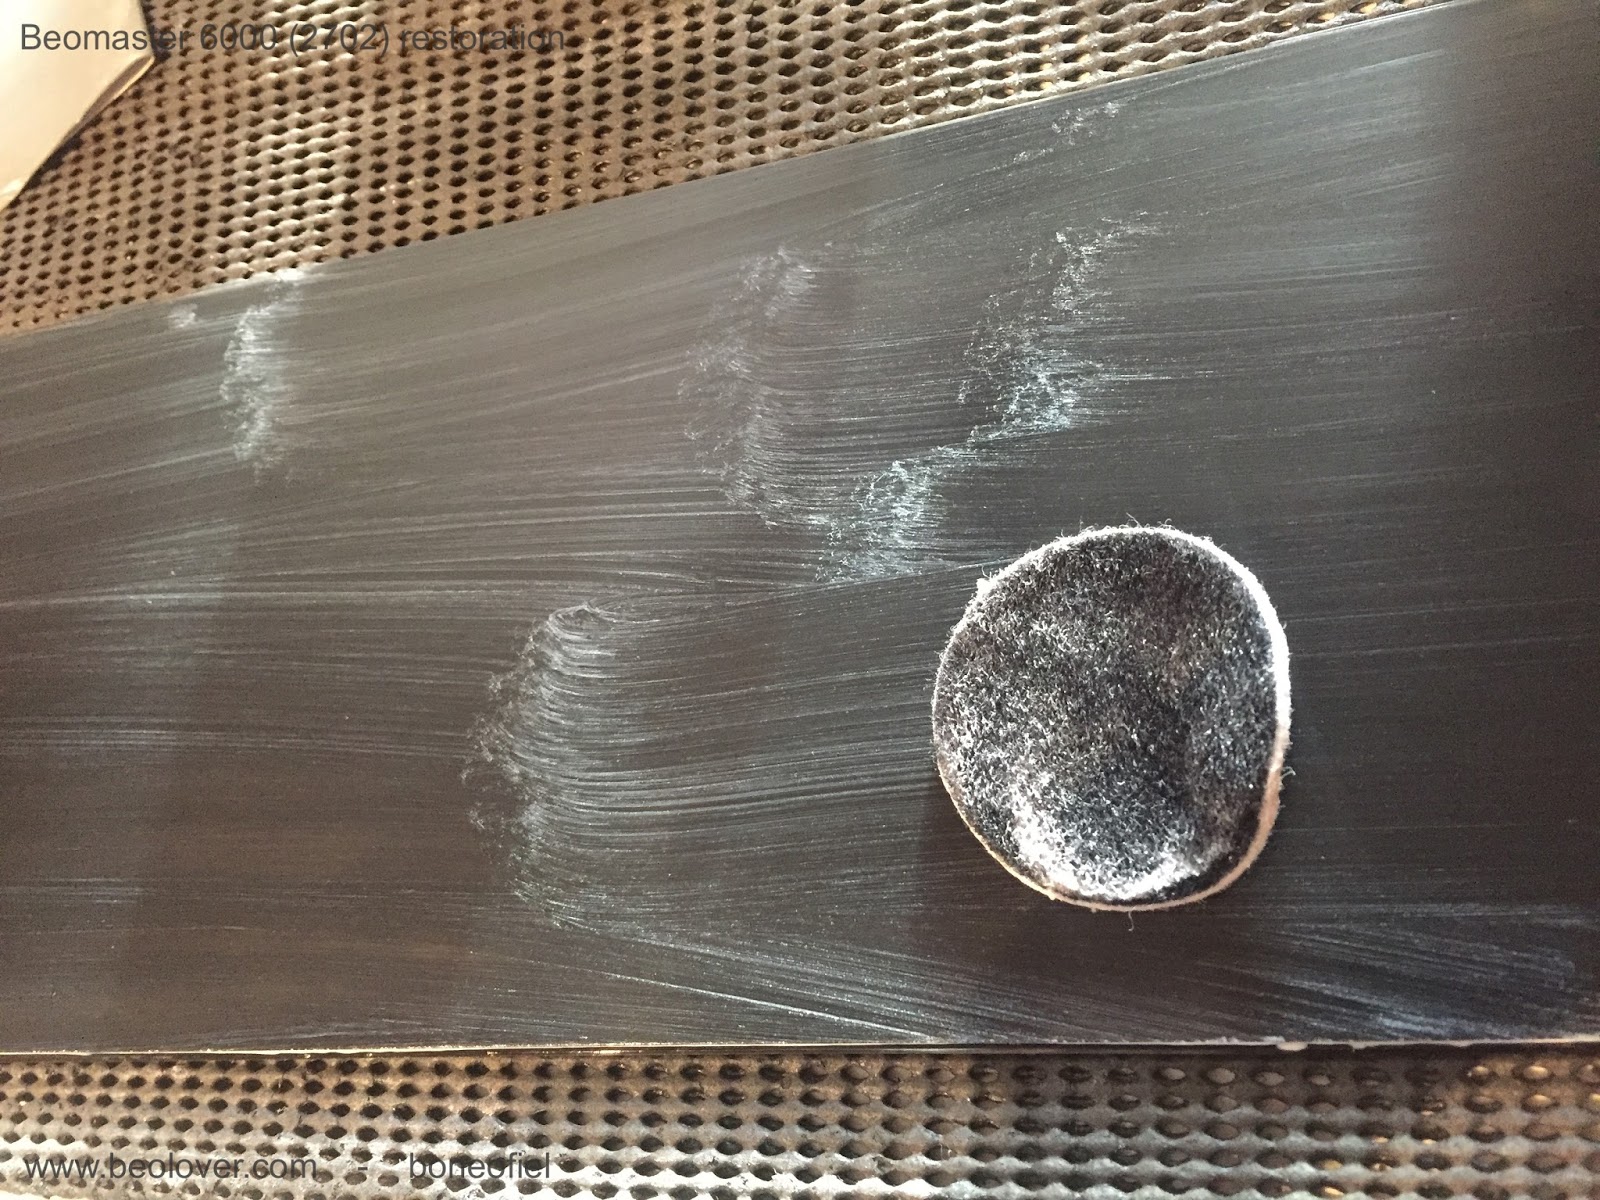
- polish in straight lines and change direction perpendicularly after each grit/mesh size
- wipe off regularly with a perfectly clean cloth (microfibres of paper towel)
- use a bit of water; it acts as a lubricant, removes dust easier and keeps the plexi cool (in case you want to use a power-tool to do the polishing)
I've done a few Beogram dust hoods, but this display panel seemed to be much more difficult. Not sure why, the material is maybe different, or it's just the fact that this is a dark red (almost black) type of plexi and easier to see scratches.
A few impressions of the different steps in the polishing process:


At 2400 mesh I got this result

And already a bit transparent, but still a long way to go.

After a few hours I finally got down to Micro-Mesh 12000. Once above 6000 you can hardly call that "sanding" anymore. It's so fine that you have trouble seeing what the effect is.
The next step is usually a fine Micro Polish liquid that is used, but I wasn't happy with the result at this point. Still to much haziness to my liking. So, I changed strategy and digged out another polishing kit that I used in the past for a car headlight fixture that also had some haziness. The kit contains 2 compounds: a abrasive (cutting) one and a polishing one.

This worked very well. You apply the compound A with a pad (you can use a small polishing machine or drilling tool if you want) for a few minutes. Then wash it off and apply compound B which is ticker and has a brownish color. I used a small pad again and added a few drops of water each time the compound was drying and starting to stick to the plexi. The result was good.

To finish off, I put some surface sealing coating on top to make it water resistant and more easy to clean in the future.


I couldn't resist taking out the restored key panel and the black anodised back frame to put them together with the display to see how it would look like once everything was assembled.


You can see the reflection of some wall pictures (my grandkids..) in the display. Time to rest. I can hardly feel my arms after all this polishing today.....
No comments:
Post a Comment
Comments and suggestions are welcome!