I am assisting a Beomaster 8000 restoration. Today I received the front panel of this unit with an almost completely severed keypad ribbon cable. These ribbon cables easily break off if the Beomaster is opened a few times. Often the glue that fixes the cables to the keypad PCB fails at this age and the 24 gauge leads take the brunt of the cable flex every time the panel is lifted. They only survive this a few times and then they break off. If only one or two break off, this can be fixed by inserting a bit of copper braid and with some flux and solder the connection can usually be restored. However, in this case most of the leads were broken off:
So it was time for some microsurgery. I removed the PCB. This required to cut the original retaining clips, which are of the non-removable type. They can easily be replaced with 3mm retaining clips, so this is not an issue. There is an earlier blog entry that details this procedure.
Once the board was removed, I cleaned up the solder points and then prepared the cable. I had to extend the length a bit since I needed some 'meat' to rebuild the connections. If the cable is too short it is difficult to put the panel into service position with connected ribbon cables. I made eight extensions from an old computer ribbon cable:
Then I soldered them to the prepped ribbon cable leads:
A bit of shrink tubing of the proper color finished the job:
Then it was time to solder the ribbon cable back in:
I also embellished the leads of the other ribbon cable with some solder to stabilize them. They were still intact, but I could see that they also had started breaking off.
Since I was in there, I decided to also clean the contacts of the keypad switches. They usually are a bit oxidized. The oxide layer can easily be removed with a fiberglass pen. This shows the P7 switch before cleaning:
And after:
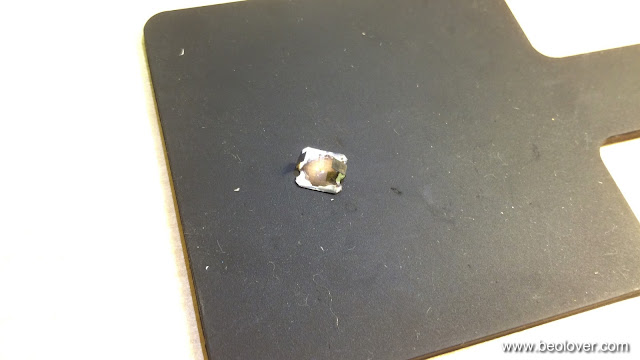
I did the same with the contact springs. this pic shows one before. The dark spot is the oxide.
Unfortunately, I forgot to take a picture of the cleaned spring pad. They also get nice and shiny after the fiberglass pen treatment.
Then I put the PCB back in using 3mm retaining clips and #4 nylon washers to protect the PCB:
Then it was time to glue both of the ribbon cables to the PCB to protect the cable leads from further bending events. I used hot glue (like the original setup):
That should do it!


No comments:
Post a Comment
Comments and suggestions are welcome!