I was fortunate to find a Beogram 6000 type 5502 that was being sold for far too cheap by someone who didn't understand what they had. Unfortunately, despite my linking to the Beolover packaging instructions, they decided to go their own way. This is the second time I have received a Beogram in a 24" monitor box, it would seem to be exactly the right size... if the size of your box is exactly the size of the contents with no padding!
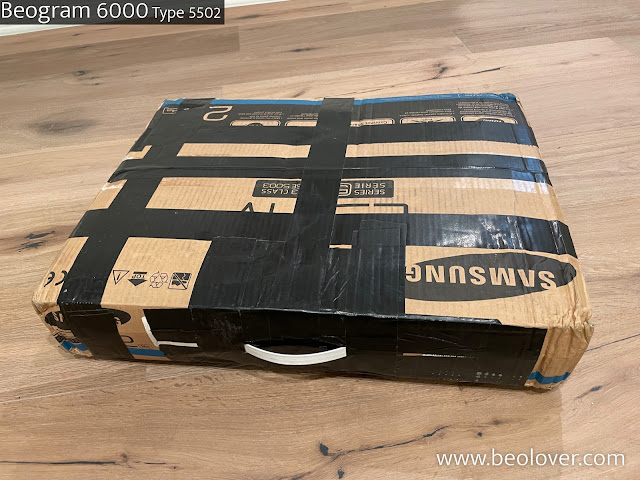
And as such, despite the nifty handle, there was no way it was going to make it from Europe to the US unscathed:


Inside, they did not pack the platter separately, which caused the bearing to pop out of the back of the floating chassis. Gaffer tape is also far too sticky for this:

When carefully removed, it left a residue:

Inside, we have some nicely untouched electronics, even the white plastic parts are perfectly white:

The gem of the 6000 is the output board (shipment also damaged the CD4 switch):

Outside, the paint on the hood back bar was scraped, but fortunately, the rest of the paint is in good condition:

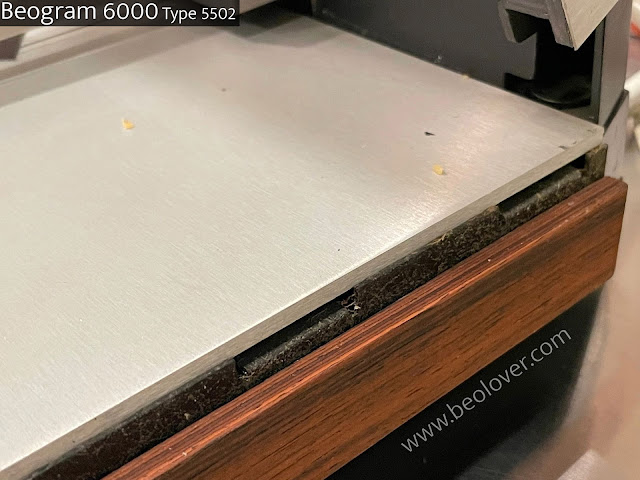
Since this is a type 5502, it has an AC motor with a heavy zinc platter, this early unit has the platter top plate glued to the platter base (rather than 6 screws found in most type 5503's), which is a carryover from the Beogram 4000:

The first step was to extract the keypad and pop the key surface off (these early AC models have a brittle glue that "clicks" apart with a little pressure). The keypad will be restored with the method detailed in this post.

Incidentally, on the back side there was some charring - there may be some component failing on the output board, which will be investigated in future posts:

Here are the keypad plate and plastic pieces, you can see the light finger mark wear on the original clear coat:

I cleared the glue using a flat #17 X-Acto blade (a few scratches this time, but this is covered up in the end!) and then I painted under the keys where the black had worn off:

Here's the back of the keypad after I removed the glue:

I sent the keypad off to be professionally coated. This can take a while, so I moved on to some other cosmetic work while waiting.
After some thorough cleaning, and a replacement wood plinth, I found that this unit is actually in spectacular condition under all the dirt, grime and sticky gaffers tape:


The audio output cable also polished up nicely:


A few weeks later, the keypad top plate is back from being coated and can be carefully glued to the keypad frame:


And now we have a beautiful exterior cosmetic restoration:


The next steps will be completed by Sonavor, including capacitor replacement and all the service manual procedures for electronic and mechanical adjustment, after which it will become a part of his personal collection.
No comments:
Post a Comment
Comments and suggestions are welcome!