Featured Post

Beolover SyncDrive: DC Platter Motor Replacement for Beogram 4002 and 4004 (Type 551x and 552x)

Late Beogram 4002 and the 4004 (Types 551x and 552x), which have DC platter motors instead of the earlier synchronous AC motors usually suff...

Showing posts with label front panel. Show all posts

Thursday, April 28, 2022

Beomaster 4400 Type 2419: Reassembly and Power On Test

The hard work restoring this Beomaster 4400 unit is starting to pay off.
I reached the milestone of reassembling the Beomaster and testing its power supplies.

In the last post the Beomaster 4400 reassembly had begun but left off needing the output amplifier transistors to be mounted on the heatsinks. 

The transistors are now installed on the heatsinks with SIL pad thermal insulators.


I also wired up the power switch and mounted an arc suppression device like I usually do with these amplifiers.


The arc suppression device installation required tapping a couple of M3 holes in the Beomaster bracket that secures the large filter capacitors.

I started installing these devices after one Beomaster 4400 had arrived with severely charred switch contacts.  Because these power switches can no longer be sourced (other than stealing on from another Beomaster 4400) I think it is worth a little more effort to protect them.

Before plugging in and turning this Beomaster 4400 on for the first time I plugged it in to my Dim Bulb/Variac tester.

That tester allows me to slowly apply AC power to the Beomaster while monitoring how much current it is drawing.  The light bulb draws current away from the amplifier if too much is present.
Doing that protects the Beomaster from having more component damage if there is a short circuit somewhere.

Here is a good example of why it is good to start out with this type of testing.

This Beomaster started drawing too much current right away as I dialed up the AC voltage on the variac.
It reached about 400mA by the time I was at 50 V.


I stopped and removed power.

After going over the wiring of the Beomaster I found and fixed the problem.

Running the test again I now have a clean power up of the Beomaster unit.


Around 260 mA with full input power applied.
That matches what I get with other Beomaster 4400 units.


With the Beomaster 4400 able to power on safely I performed a number of power supply voltage checks.

Here are the +15 V and +35 V reference voltages.


Next is the -12 V reference for the audio muting circuit.


Here is the reference voltage for the Phono, Tape 1 and Tape 2 preamplifier circuits.


Here are the 24 V Left and Right channel reference voltages for the preamplifier tone controls.


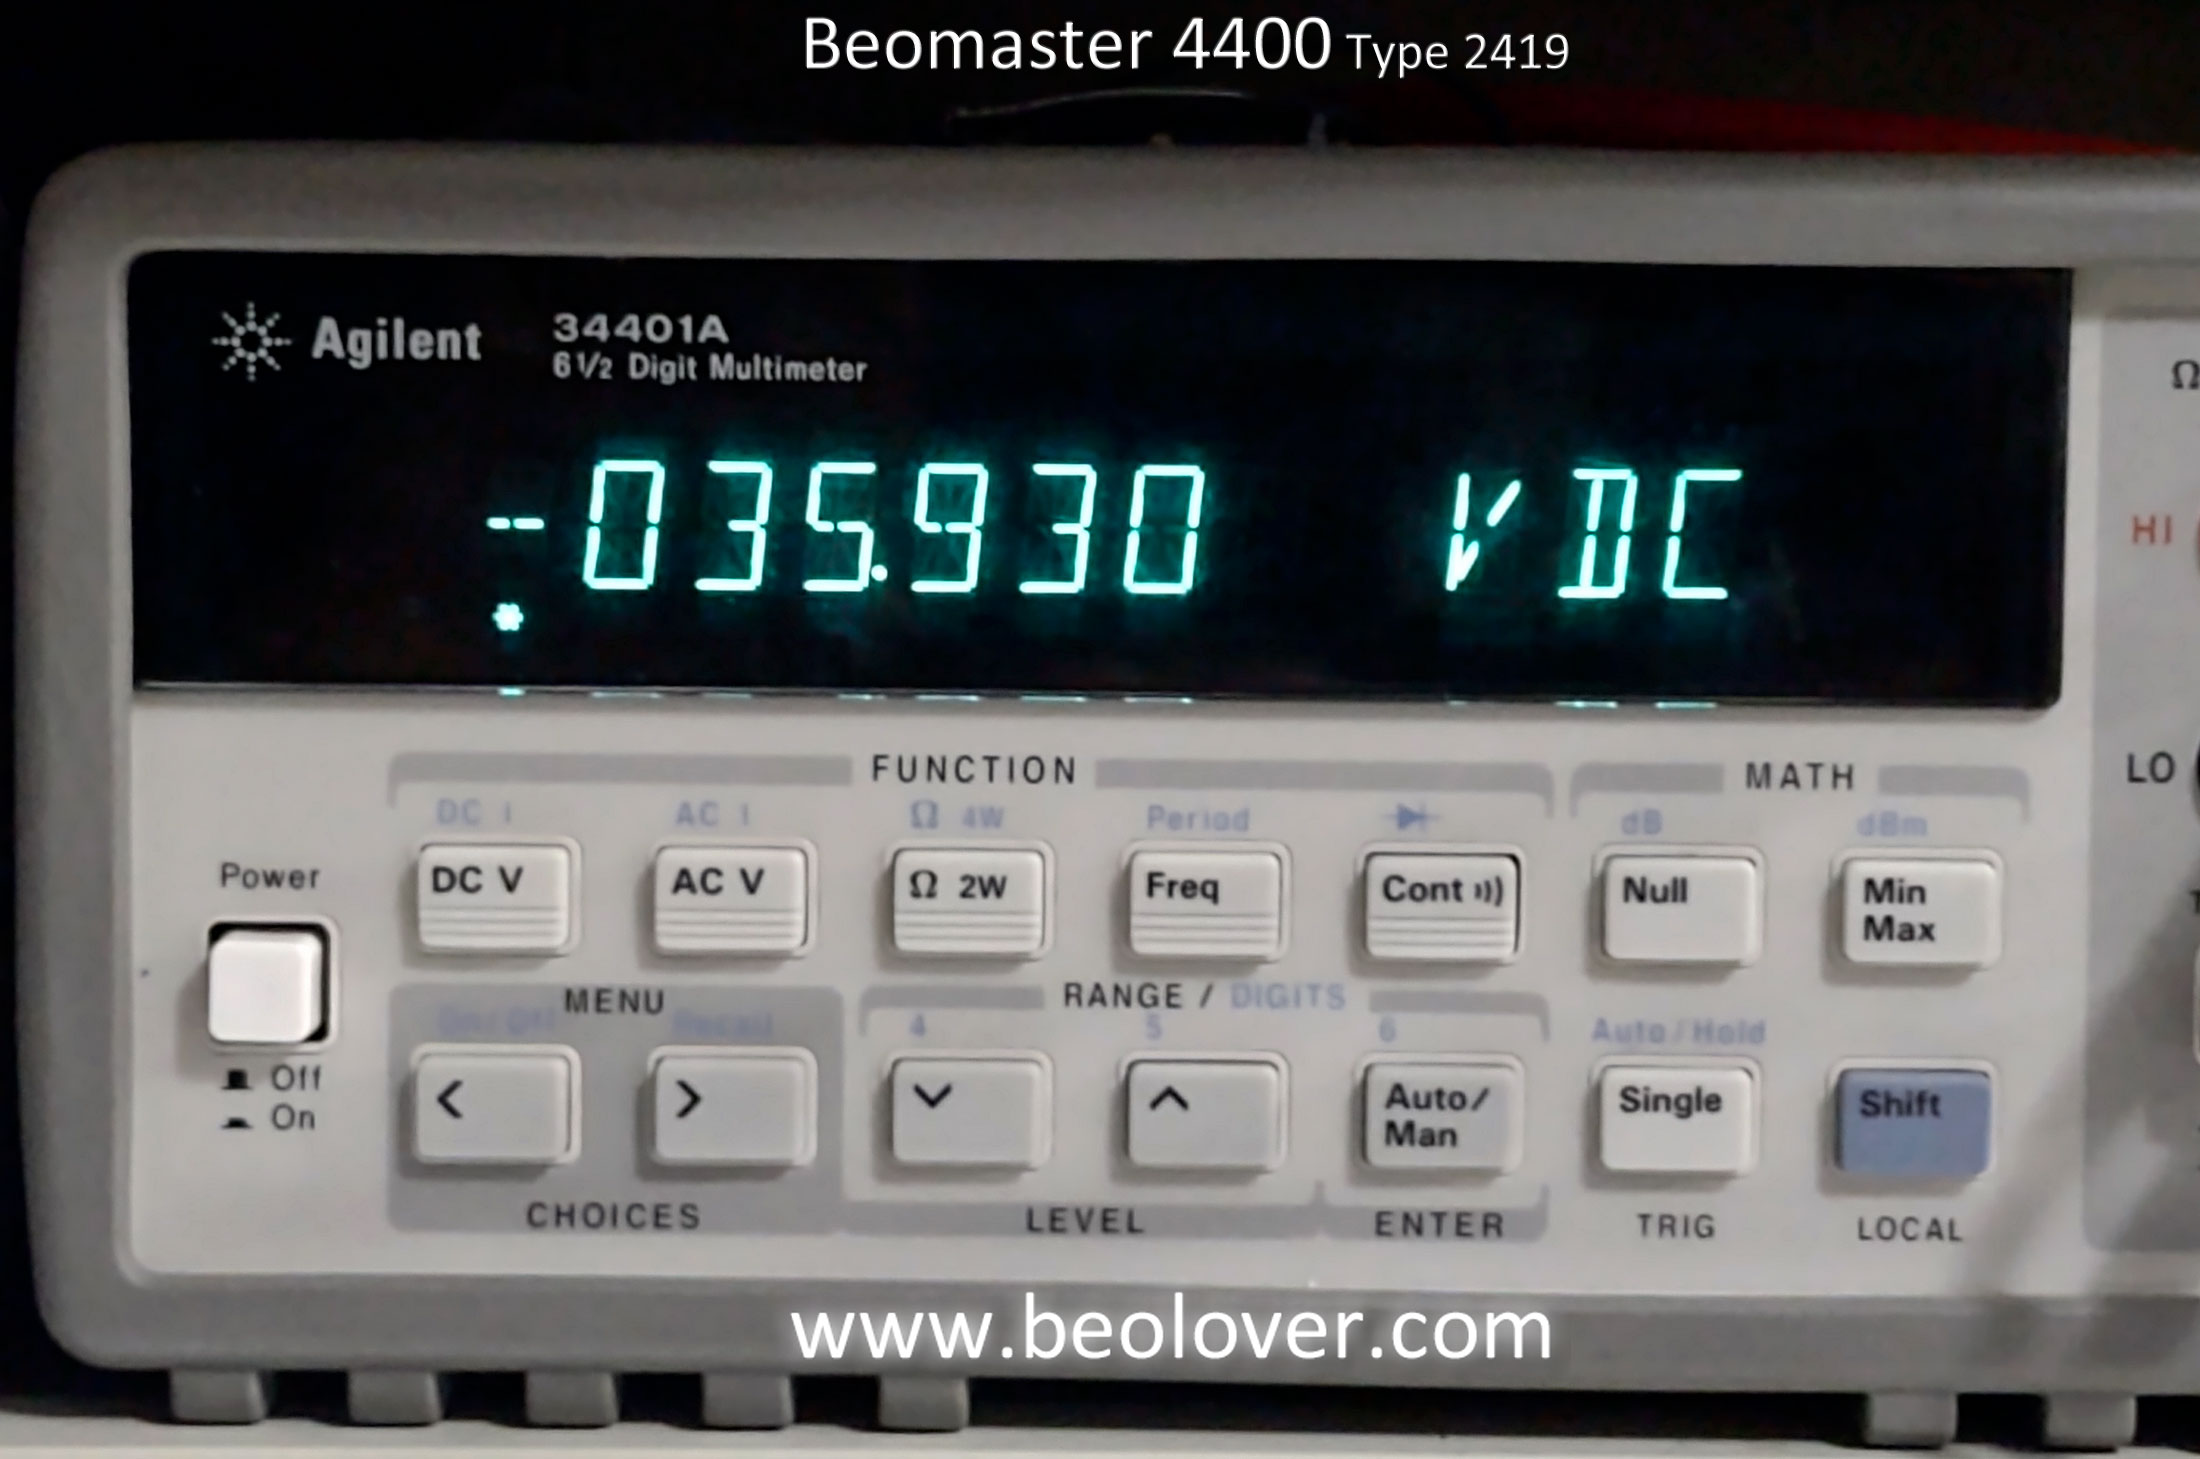
Here are the power amplifier positive and negative rail voltages.


Finally, here are the Left and Right channel no-load current checks and adjustments for the output amplifier.

The service manual says to measure across the emitter resistors and adjust for between 10 mA and 15 mA.

For now I will roughly set them above 10 mA.  I will adjustment them more precisely later.  Probably at 12 mA.


It feels great to finally have this Beomaster 4400 amplifier powering on again.

In the next post I will start in on some bench testing that is include some actual music listening tests.

Saturday, April 23, 2022

Beomaster 4400 Type 2419: Front Panel Wiring & Reassembly

The last post left off with the Beomaster 4400 ready to have its front panel wired back up to the rest of the Beomaster electronics.

Part of the wiring from the Beomaster 4400 front panel components (switch assembly, PCB 6 and PCB 9) is accomplished with wire harnesses and connectors. Unfortunately there are a few wire connections that B&O left as hard wired. That is what makes the front panel disassembly such a chore.

The task becomes even more difficult if it is necessary to disassemble the switches...like I did in this restoration. That is because wires from the harnesses must be desoldered along with the removal of PCB 6 and PCB 9 to get access to the switches.

Now it is time to put everything back.

One wire re-connection task that does not have a harness or connector is for the speaker selection switches.  The Beomaster 4400 speaker connectors are on the rear panel of the Beomaster cabinet while the speaker select switches are on the front panel.  That is how they should be of course but it means the wiring must travel to and from the switches and connectors.

Here is a photo of the speaker wiring (including the headphone jack wires) and the switch panel board (PCB 9).


Here is a diagram that shows how the wires need to be connection on PCB 9.


This is a photo of the speaker and headphone jack before connecting the wires.


Here is everything wired back up.


Continuing down the front panel from the speaker wiring towards the FM tuning dial assembly I connected the various wire harnesses and individual board to board wires.

This wire harness connects the front panel tone control switches (Mono, Linear, Loudness, Lo Filter, Hi Filter) to the main board tone controls circuitry.
The photo shows the harness before and after being re-connected.


The next series of photos show details of the remaining loose wires that had to be connected.
That includes the wires that are part of the main, PCB 5 harness with the front panel lamps.


Next, I installed the harness with the slider controls (Volume, Bass, Treble, Balance).


Last, I re-installed the main FM tuning assembly.


Here is the Beomaster 4400 with the front panel assembly back in place.


In the next post I will re-mount the output amplifier transistors to the heatsinks, re-install the other PCBs (FM boards and preamplifier board) and re-connect the wires for powering up the Beomaster 4400. 

Friday, February 11, 2022

Beomaster 4400 Type 2419: Repairing the Off Switch

I received some parts I had ordered for the current Beomaster projects I have on my workbenches.

For this Beomaster 4400 Off Switch problem I showed in the last post how the switch assembly mechanics were not functioning correctly because of a worn plastic post on the actuator.


The plastic post on the actuator presses against a metal lever to release any source switches that have been engaged. The 2 mm post was not doing its job due to wear.

My options were to find a donor Off switch from a Beomaster 3000, 4000 or 4400 that have that same type of Off switch or to repair the one that I have.

Martin Olsen is sending me a replacement Off switch that he happened to have so that option will be available.  In the meantime I implemented the following repair.

Using a 2 mm inner diameter and 3 mm outer diameter tube of PTSE, I fashioned an outer ring on the original post. That was epoxied in place but I don't fully trust that to hold over long term actuating of the Off switch. So I added an M1 x 4 mm screw and washer to lock everything down.

For the mounting of the screw I originally thought I could use a longer screw and attach an M1 nut to hold it.  However, the location of the plastic actuator post is directly over a plastic support rib of the actuator so there was no room.

I opted for drilling a tiny hole through the actuator post into the plastic just over 4 mm deep.
The screw was then threaded into place to verify the fit.

That worked quite well so I permanently installed the screw with epoxy and an M1 washer.


The new actuator post is now a little larger in diameter than the original.
I trimmed down the edge of the PTFE ring that will make contact with the metal lever using a sharp razor blade. That makes the area where contact with the lever is the correct size to move the lever properly.  Too little, as when the post was worn, results in the lever not moving far enough.  Too much prevents the lever from returning to a position where switches can engage and lock.

After reinstalling the Off switch into the Beomaster 4400 switch assembly it is working properly again.
In the photos below you can see how the actuator post makes contact with the switch assembly control lever.


As the Off switch actuator moves across the bulge of the metal control lever, the lever momentarily presses the switch assembly release bar and any selected source switches become disengaged.

While I have the Beomaster switch assemble out I removed and opened up the phono (PH) switch to see what the contacts look like.  On a previous Beomaster 4400 restoration the source switches later became inconsistent in their ability to route the audio signals when selected.  The selected source would work for a while but eventually, one channel would drop out.  Recycling the source selection switches remedies the problem but it always returns.

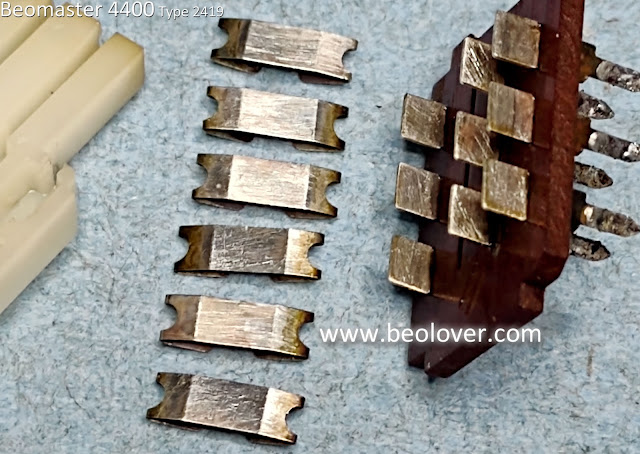
Looking at the inside of one the the source selection switches I can see a possible reason why.


The actuator piece has spring contacts that slide across a set of fixed contacts to make up the switch.
You can see oxidation in the photo on the fixed contacts.  The spring contacts have some oxidation as well. 

If there is enough oxidation on the contacts then just spraying some Deoxit into the switch and operating it will probably not be enough to make it reliable again.

In this case I have completely disassembled the switch where I can scrub the contacts with an abrasive cleaner (like fine grit sandpaper or wire brush).


I coated the contacts with Deoxit fluid after sanding everything.

Reassembly wasn't too difficult. 
I will warn any DIY viewers that when you do this make sure you take precautions to make sure none of the switch components can fall out of the work area.  When dealing with springs there is a high probability that at least one will try to fly off.

That was only one of eighteen switches that need to be opened up and cleaned.
The thought of totally removing the fixed contacts and then gold plating them crossed my mind (briefly).  That would be ideal but it would be quite a big task.  I think I would be looking at approximately 270 contacts.  Quite expensive as well.

One other important note...
This disassembly of the phono source select switch was not too bad because this particular Beomaster 4400 is an early serial number. The metal switch assembly for this model has nice long metal mounting tabs for the switches.  That is not the case for the late model Beomaster 4400 units.  Their switch mounting tabs are tiny and easily break off.  That adds a whole other challenge to cleaning the switches.