Featured Post

Beolover SyncDrive: DC Platter Motor Replacement for Beogram 4002 and 4004 (Type 551x and 552x)

Late Beogram 4002 and the 4004 (Types 551x and 552x), which have DC platter motors instead of the earlier synchronous AC motors usually suff...

Showing posts with label LED replacement lamp. Show all posts

Sunday, September 4, 2022

Beogram 4002 Type 5513: Some additions for a previous Beogram project from Houston

 A Beogram 4002 Type 5513 turntable that I restored back in 2018 was delivered back to me to have the light for the Fixed Arm record detector sensor replaced.

I had actually had another visit from this turntable in 2020 as it had suffered a broken tonearm phono cartridge mount at the time.  

On both of those visits the owner wanted to keep a few of the original components in the Beogram 4002 as they were still functioning.  Those were the Fixed Arm record detector sensor lamp, the tracking sensor lamp and the output phono muting switch.

The record detector sensor lamp finally burned out so this time we are installing the latest Beolover LED lamp assembly for the record sensor.

I really like the way Beolover redesigned the installation of this new, rigid board version of the LED lamp assembly.  

You can see a video about the replacement LED lamp and the installation here.
It begins with removing the old lamp and installing a plastic guide for the new LED board.


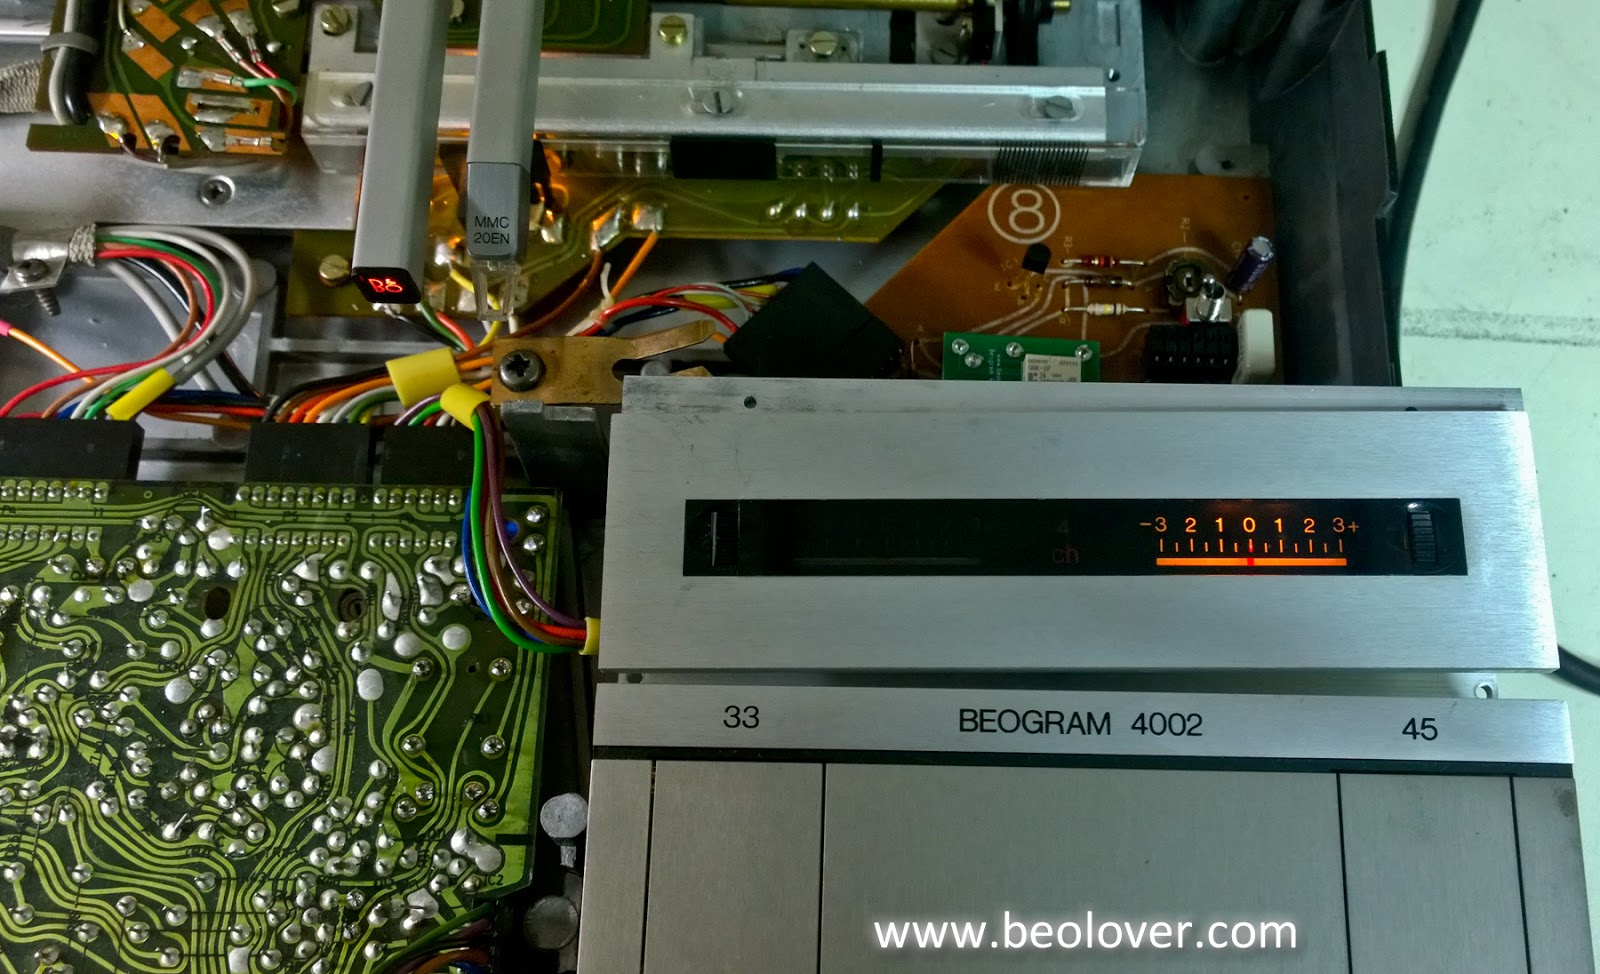
Here is one of the two leads ready to be soldered in place.


Here is the new lamp assembly installed.


As you can see, this keypad button surface still has wear that has been like this since I first looked at this Beogram back in 2018.

The owner chose to not repair this cosmetic issue on previous visits but this time around the plan is to install the Beolover Commander Remote Control for the Beogram 4002.

Since this Beogram will be starting fresh with remote control capability we decided to also replace the keypad button surface with a restored/refinished button surface.

Here is the old and the new side by side.


Quite an improvement.

I moved the keypad button PCB, hidden underneath the button pad, from the old button frame to the new one.

For now I left the button assembly outside the Beogram 4002 as I moved to the installation of the Commander Remote Control.

This video link has an excellent description and instructions on how to install the Commander Remote Control.

As an owner of a Beogram 4004 with the Commander Remote Control I can testify that the added feature is one of the best additions you can make to these turntables.  Once you start using it you will prefer operating the Beogram 4002/4004 with it.


A beautiful thing about this design is that it does not require any sort of permanent modification to the Beogram 4002/4004 turntable.  The Commander Remote Control components are strictly plug and play.
They use existing connectors and mounting facilities of the original Beogram.  It doesn't get any better than that.

Here is the Beogram 4002 under the control of the Commander Remote Control.


I will install an MMC phono cartridge and do some listening tests with the Beogram before handing the turntable back to its owner.


Saturday, September 11, 2021

Bay Area Beogram 8002: Checking the Forward/Reverse Scanning LDR Devices

I left off the previous post thinking there was a possible problem with one of the Beogram 8002 forward/reverse scanning LDR devices.

In testing the resistance of the two LDR devices with +15 VDC on the light source I saw one LDR measure a lot different from the other.  I figured one of the devices had become faulty.

When I removed the two LDR devices and checked their resistance values again they measured a lot closer to each other.  

Note: Without a calibrated light source my comparison check was to place an LED work light about ten inches directly above an LDR and measure the resistance.  Then, without moving the light and checking the other LDR in the same place I could make the second device measurement. The measured resistance should hopefully be very close on both devices.


The measurements are not identical but they aren't as far off as I suspected.

I decided to go ahead and replace the two devices along with the light source.
Since this Beogram involves some shipping costs I feel that it is safest to go with new components here.

Here are the new scanning components installed.
A new lamp source (LED with 1KΩ resistor) and two LDR devices.


I repeated the adjustment procedure on the two LDR devices again.  This time the two screws that control the light flow to the LDR devices both have working room for future adjustments. Both LDR devices were able to adjust to the desired, neutral voltage level.

Unfortunately there was still a problem. The activation mechanics of the forward scan button did not feel right to me. It didn't return to its original position quickly.

I took the button panel apart again to investigate the mechanics of the spring. 
I also compared a few other button panels from Beogram 8000 and 8002 units.

This photo shows the button side of the panel and where the scanning buttons strike the spring mechanism.  Both buttons share a single spring mechanism is kind of like a teeter-totter (or seesaw).  Pressing a scanning button causes that side of the teeter-totter spring to go down.  The other side will try to go up but is blocked by the back of the button panel. So each button should perform on its own side of the spring mechanism. 
Pressing a button depresses the spring. Releasing the button results in the spring returning to its neutral position.


What I observed in manually operating the spring mechanism is that the portion of the spring with the aperture would not return all the way to neutral when it was released. 

That is why the screw that controls the light source to the LDR had to be opened up so much for the reverse scanning LDR.

The neutral position should have full exposure of the LDR to the light source and the light source control screw positioned so the neutral position LDR voltage measures between 620mV and 700mV.

When a scanning button is partially pressed down, the opening (aperture) in the spring moves in front of the LDR cutting off some of the light.  That results in the resistance value increasing which in turn, causes the voltage level for that LDR to increase.  When the button is fully depressed the LDR is completely cut off from the light source and the maximum voltage across the LDR occurs...which is the fast scan operation.


The following photo shows that the spring mechanism with the apertures for the LDR devices just sits in place, resting on the center pivot point. It can teeter-totter either direction.  That surface of the spring mates to the underside of the button panel.


I have the spring lifted up and away from the panel in this photo to show the pivot point more clearly.
When fully installed the pivot point rests on the plastic base below it.


I removed the spring mechanism completely to adjust it.

After a few iterations of bending the spring (at the pivot point and at the ends) I achieved a much better result of the scanning button action on the spring mechanism.


Both the forward and reverse LDR devices were able to adjust to a good neutral value and more importantly, they return to that neutral position after being engaged.


All of the Beogram 8002 operating functions still work and I am happier with the scanning buttons now.
I will keep an eye on them when I get to the listening tests

Thursday, June 28, 2018

Beogram 4002 (5513): Keypad and RPM Panel

I noticed that some of the Beogram's control panel buttons were slow to respond when pressing them. That usually means oxidation on the keypad contacts so I opened up the keypad assembly.
Sure enough, you can see the dull key contacts.


I unsoldered the contact pads and removed them for inspection. They didn't look too bad but the leaf contacts that the actuators press down on are all oxidized.


I used a fiberglass brush and some Deoxit to protect from future oxidation. The contacts all look nice and shiny again.


The last part of the electrical work is to change out the lamps for the RPM indicators. We recommend this because during the platter motor stability testing the LED replacement modules resulted in further stability of the motor speed. The RPM indicator lamps are part of the circuit that controls the platter motor. Each speed indicator has a knob to adjust the pitch (speed).

Here is the RPM indicator module with the original incandescent lamps.


Here is the RPM indicator with the Beolover lamp replacement modules.


The Beolover lamp replacement module is designed to work with the pitch control circuit and the SMD LED components used have been adjusted to mix light colors to match the original incandescent lamps.

Here are the 33 and 45 RPM speeds with the new light modules. The control panel buttons operate immediately as they are pressed now.


All of the Beogram functions are operating now. The next step is to check and adjust the Beogram per the service manual. Once those adjustments are made and all the checks pass it will be time to play vinyl again.

Friday, May 4, 2018

Beomaster 8000: Display Board Back In Business

No problems with the Beomaster 8000 segmented display module burn-in test.  All that is needed to complete the display board is to reinstall the display modules and replace the four indicator lamps with Beolover LED replacement boards. The incandescent indicator lamps are for Clipping, Filters, Mono and Manual (as in manual tuning).

The four lamps are outlined in green dotted lines in the following picture. The blue dotted lines show four related resistors (R34, R36, R38 and R40) that are removed when the Beolover LED lamp boards are installed.


Like all of the Beolover replacement parts these lamp modules are direct plug in replacements for the original part. In this case there are the four resistors that get removed but if anyone in the future wanted to return to using incandescent lamps it is a simple matter of soldering in the resistors along with the lamps.

The display board works beautifully again. I tried out all of the modes and all LEDs illuminate as they are supposed to.


This Beomaster is ready to be closed back up and put through some final testing.


Sunday, February 4, 2018

Beomaster 8000: Display Board (part 1)

The last remaining board to work on is the display board. I guess I saved the easiest board to remove for the end. It only has two capacitors to replace so it should also be the easiest board to work on. However, the digital displays on this board often begin to have faulty LED segments after thirty five years. On the capacitor replacement we replace all of the electrolytic capacitors regardless if one still measures in spec. The reason for that is we know they can and likely will fail. The same reasoning goes for these displays.

Here is the display board for this Beomaster prior to the restoration.


I removed the four segmented display modules as those are the components with the LEDs that eventually start to fail.

There are also four incandescent bulbs (Clipping, Filters, Mono, Manual tuning) that will get replaced with Beolover LED replacement modules.

Here are the two electrolytic capacitors replaced (a 10uF and a 4.7uF).


Here are the before and after pictures of the incandescent lamp replacement.


Note that four 220Ω resistors (R34, R36, R38 and R40) are removed from the board.

The most time consuming task on this whole Beomaster 8000 project is the replacement of the LED displays. Since several Bang & Olufsen components from this early eighties time period use this type of display I made a test jig for bench testing them.

I always check whether any segments have started to fail or not.  It turns out all of the display segments are still functioning on this Beomaster.


Very nice and a key design element to these Beomaster units. However, we would really like to insure that this Beomaster doesn't have to come back to the shop in a year or two if these old display segments finally start to give out.

Changing out the original LEDs with modern SMD LEDs is a tedious task and I need to get back in the mode of working them so I will start with the smallest display module first...the channel balance display.

Here is that display with the red lens cover removed. You can see the tiny LED components in the display guide slots. Lining up the replacements in those slots is important.


Here is a further breakdown of the channel balance display. The display guide is now removed to better reveal the original LED components.


Those LED components are quite a challenge for eyes as old as mine. It's a good thing I have plenty of magnifying tools to help me.

Here is a closer look at the original LED component compared to its modern replacement.


For more detail on these displays you can check out an earlier Beolover Blog of a Beomaster 8000 project I did last year.

I soldered in three of the eleven new LEDs then did a quick test to check the work. So far so good.


After completing the replacement of the other eight LEDs on this lamp module I put it back on the jig for an overnight burn-in test.


The light guide fits perfectly over the new LEDs.


...and here is the lens cover snapped back on. After the burn-in test I will seal this module up better.


Three more display modules to go.