I am making good progress with the restoration of the Beogram 4000 that I recently put on my bench. While it seemed on first contact that this unit had escaped 'creative human interaction', I had to learn that it had been worked on by a tinkerer, and that a little bit of a mess had been made of the sensor arm insert that houses the light bulb and the photocell that measures the presence of a record (or rather its absence by detecting the intermittent reflection caused by the black ribs on the platter). My sensor arm LED installation video for Beogram 4002/4 explains in more detail how the circuit works if you are interested. It is pretty much the same circuit in the Beogram 4000.
When I pulled out the sensor arm compartment it immediately became clear that someone had been 'in there' before me: One wire of the photocell was not connected, the other was mangled (from not being careful when pushing the compartment back into the aluminum profile)
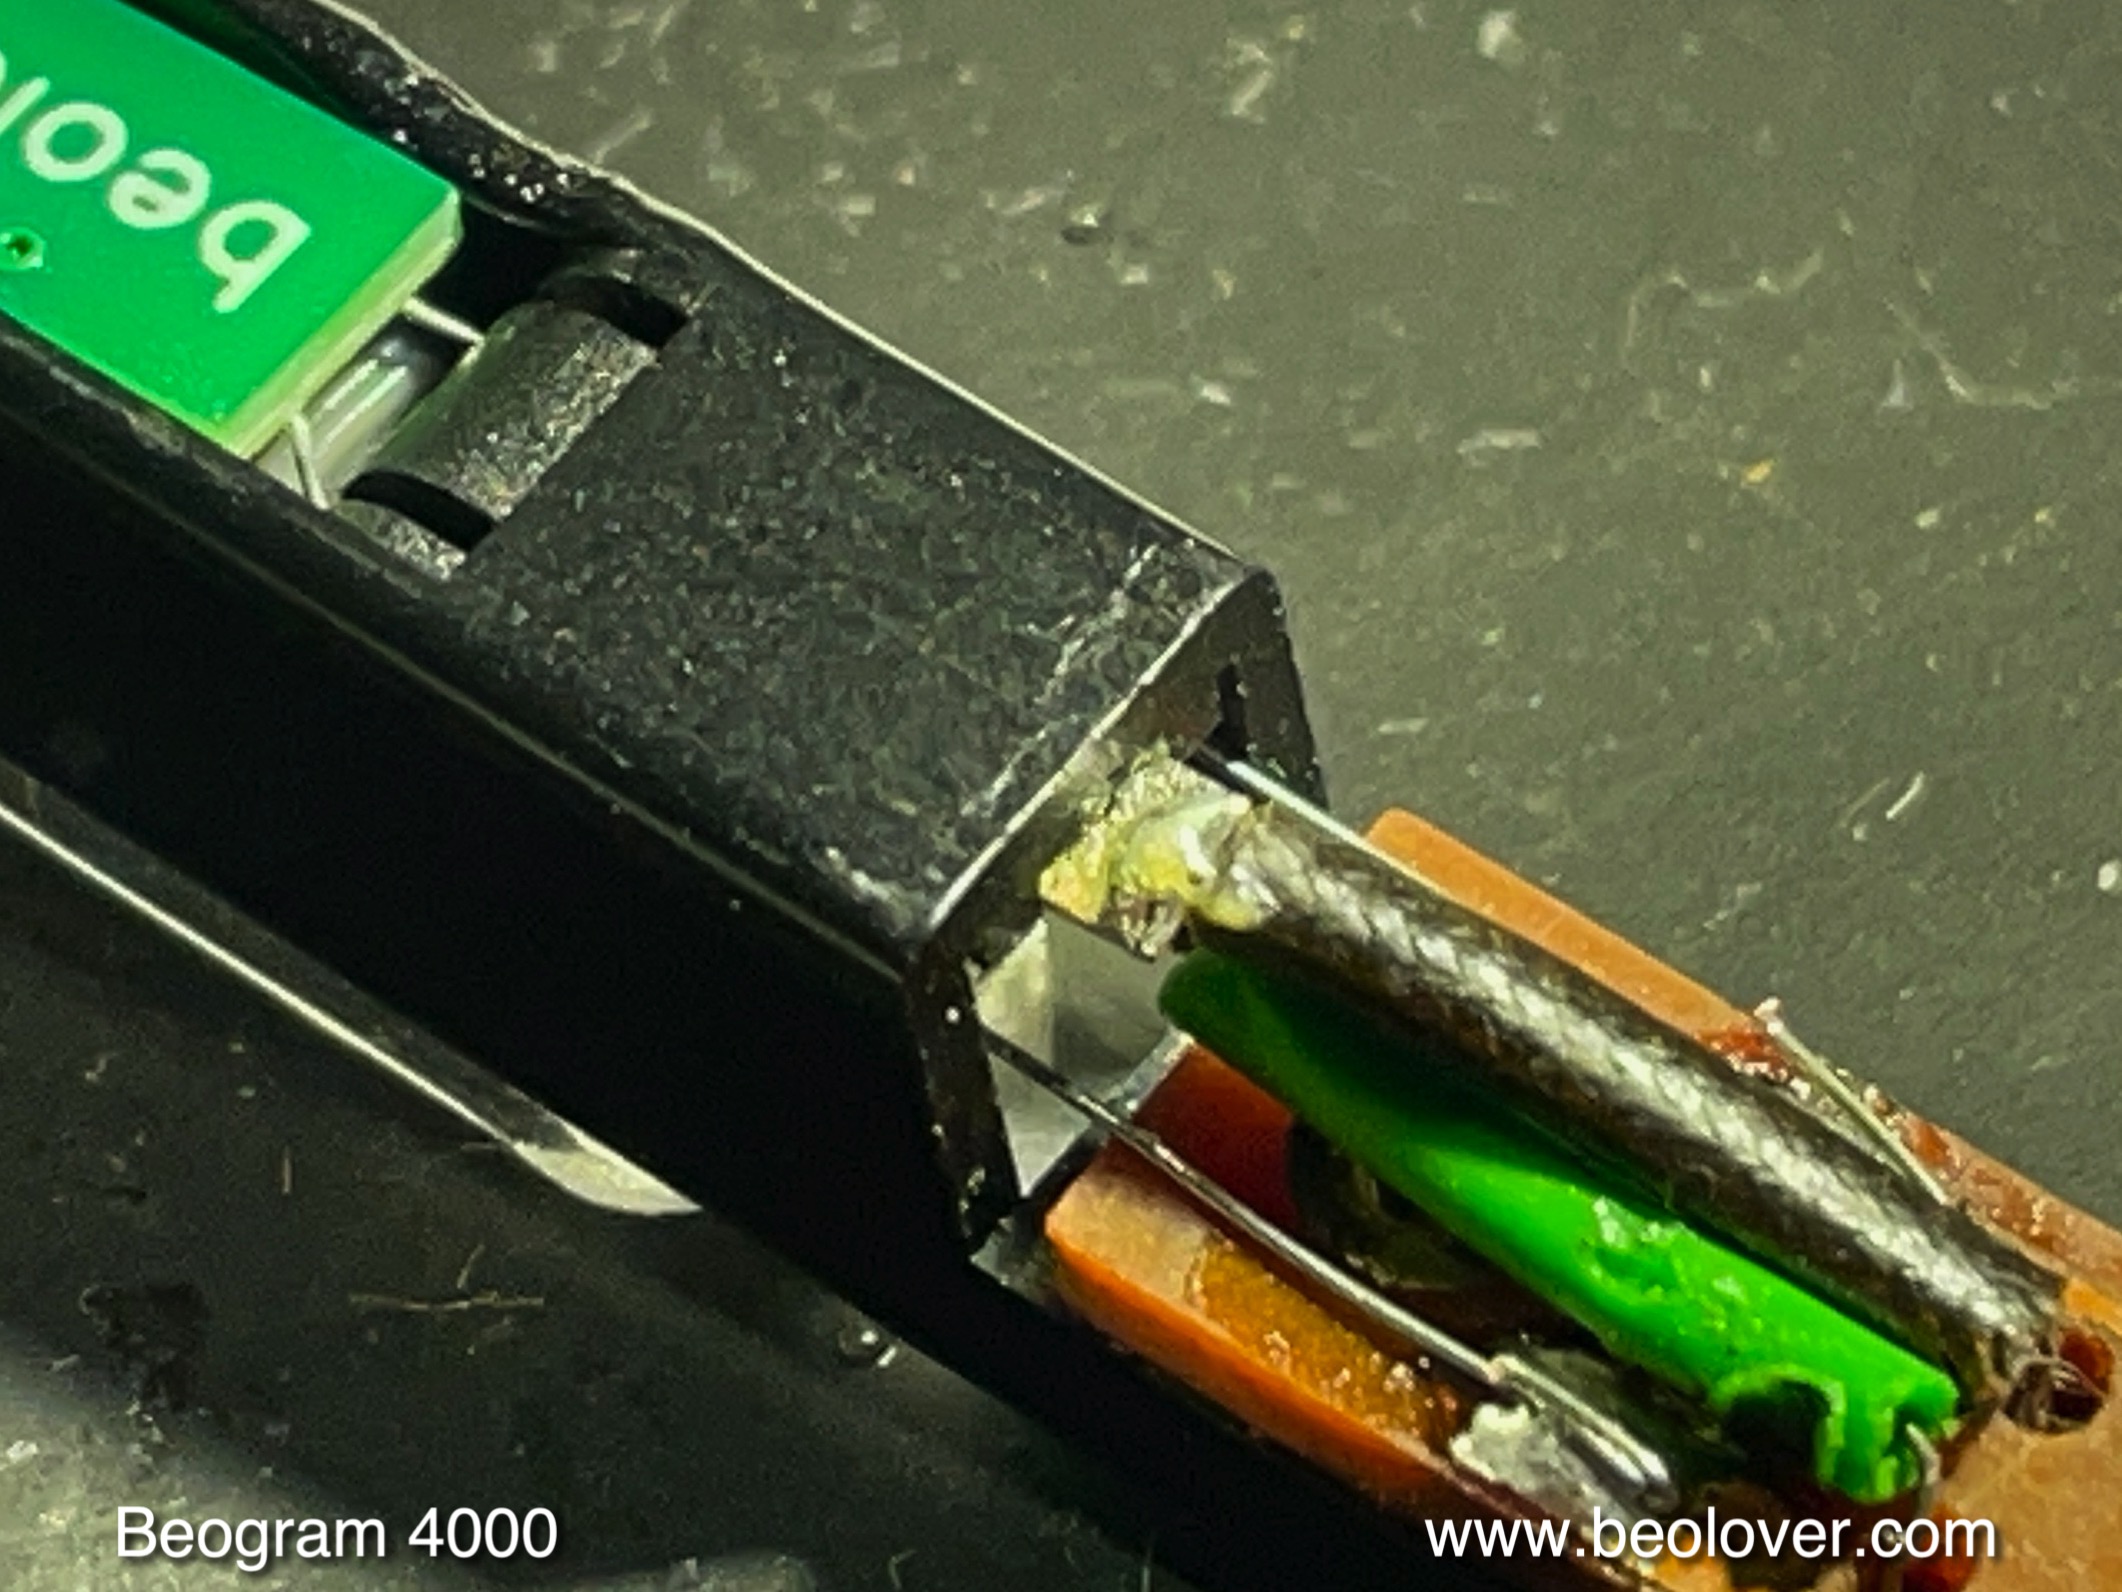
and there was some heat damage to the lens insert that focuses both the light emitted towards the platter, as well as the reflected component. This heat damage likely occurred from not being careful with the soldering iron. Amateur hour! Luckily the lenses themselves were not damaged:
I was able to extract the missing wire from the aluminum tube with some narrow tweezers and reconnected it. Then I removed the non-spec light bulb that had been installed (probably disabling the arm lowering circuit due to its non-spec current draw), and I replaced it with a Beolover LED insert (see above video for more details):
Then I adjusted the bias of TR14 to yield 1.8V at the collector
and installed the adjusted trimmer on the component side that it not interfere with the platter:
Then I measured the sensor response with the oscilloscope and got only a minuscule signal from the ribs passing underneath the sensor of maybe 100mV amplitude. Unfortunately, I forgot to take a picture of the trace. So you gotta believe!...;-). I removed the sensor compartment again, and I had a closer look at the photocell side of the compartment. Usually the photocell is o.k., but here we see that it was not in its correct position (the upside down 'U' in the top rim of the compartment opening). Instead it was hanging down at a ~45 degree angle:
This explained immediately why the signal was so low: The light was not focused on the sensor anymore. I extracted the part:
Then I took the insert to the garage and carefully Dremeled some of the melted mess to make the sensor fit again properly into the aluminum tube:
After checking the sensor by connecting a multimeter in voltage setting to the leads and measuring a promising 0.5V in front of a strong LED lamp, I decided trying installing it to see if it would still work properly. My bench test had revealed that the sensor yielded more voltage on one side than the other (0.4 vs. 0.5V), and so I installed it with the stronger side towards the lens. This resulted in a reversed polarity of the wiring that came about 'naturally' and I did at this point not understand that the polarity matters. The installation of the sensor was done by putting dabs of contact cement in the compartment and on the sensor, and after 10 min drying time carefully pressing the sensor into its slot as shown here:
After soldering the leads I tested the sensor response and I still got a 0.4V signal when shining light onto the lens compartment:
So far so good! The delicate photocell seemed to have been saved, and the need for
installing a modern phototransistor averted. But when I tested the sensor signal at the collector of TR14, I saw this signal, which looked inverted compared to the expected trace shape:
It immediately dawned on me that the polarity of the cell matters for this circuit and so I reversed the red and blue wire (I did not want to mess with the cell itself more than necessary)
And tried again. And now the signal looked very good:
A larger than 3V amplitude is excellent and more than enough to guarantee proper record detection. I hope I will soon play a first record on this lovely Beogram 4000!


No comments:
Post a Comment
Comments and suggestions are welcome!