When this project began and I was doing the initial assessment I noted that the dust cover mechanics were not working properly. A Beogram 8002 dust cover mechanical problem is not rare. I have often mentioned that it isn't one of my favorite Bang & Olufsen engineering decisions. While the design is the expected elegant and simple design, its components don't hold up all that well.
The dust cover mechanism on the Beogram 8002 is the same design as the Beogram 8000. The leaf spring for the damping of the dust cover hinge differs in shape sometimes but the mechanics are the same.
Looking at the Beogram 8002 dust cover hinge design here are the main mechanical parts...
These first two photos are from other Beogram 8002 turntable restorations I have done but they are good to post again in showing the hinge assembly.

The operation of the hinge is supposed to work where the fixed bracket, shown mounted to the plexiglass dust cover lid, mates with the pivoting bracket. The pivoting bracket mates with the leaf spring that has an adjustable tension (via a set screw). The tension dampens the lowering of the dust cover lid and provides just enough force to keep the lid open.

In order for the hinge mechanism to function properly the dust cover lid must mate tightly to the back of the Beogram 8002 cabinet. The fixed bracket on the plexiglass lid must also fit tightly against the lid and not move.
A common cause of a Beogram 8002 lid mechanism failing is that the fixed hinge piece comes loose.
Unfortunately, just like the Beogram 8002 deck panel and tonearm cover lid, Bang & Olufsen used a foam type double-sided tape to secure the pieces. That tape eventually deteriorates to the point where it no longer secures what it is attached to...and the pieces separate.
That is what happened at some point with the Beogram 8002 of this project.
Further problems developed when some previous technician who was not familiar with Beogram 800x turntables made poor decisions in attempting to repair the dust cover mechanism.
Here are some photos again of this project's Beogram 8002 dust cover hinge.
You can see by the lines I marked on the photo in red that the fixed hinge piece separated from the dust cover lid.

During whatever sequence of repair attempt events, the previous work on the dust cover involved some hot glue and some force that bent part of the Beogram 8002 dust cover lid mechanism.


What this failed repair attempt did was secure the dust cover enough where it was in place on the cabinet but there was way too much tension on the leaf spring where it forced the moving hinge bracket so hard against the fixed bracket that it bent the long, piano type, bar hinge. Another contributor to this problem was that the back of the Beogram cabinet and back of the dust cover hinge were not secure. The dust cover top was forced up and beyond where it should ever be leaving a bulge in the lid.
I have to say I have never seen a Beogram 800x dust cover hinge improperly adjusted this badly.
The person should have noticed that the leaf spring tension was too much and was forcing the whole dust cover assembly upward from the frame.
Too late for that now.
One lucky thing was that their poor attempt at repairing the problem with glue resulted in deciding to use hot glue. Not good for permanent glue repairs but a good thing here because the hot glue was easily removed.
Now for the repair of this mess and yes, this dust cover assembly is worth saving.
Surprisingly, in spite of what it has gone through, this dust cover assembly is in excellent condition.
The first step was to remove the dust cover assembly (with the tonearm compartment lid).
With the dust cover laying flat upside down I cleaned off the old adhesive material and glued the fixed hinge bracket in place using epoxy. I let that cure for twenty-four hours.

Back on the Beogram 8002 cabinet where the leaf spring and moving hinge bracket live I examined the spring compartment from the back. There is a teflon or teflon-like material where the smooth plastic edge of the leaf spring's plastic guide slides during operation of the hinge.
The teflon strip of material needs a bit of realigning so that became part of the repair task.

When testing the fit and adjustment ability of the leaf spring and its tension set screw I discovered the fit was not so good and the metal sleeve for the set screw was loose.


On the inside cabinet wall, where the plastic guide piece slides along during operation of the hinge, I removed the teflon strip of material. I epoxied in place a strip of Dura-Lar then put the original teflon strip on top of that.
A test fit of the leaf spring and moving hinge bracket assembly showed that everything on this part of the mechanism is back in good working order.

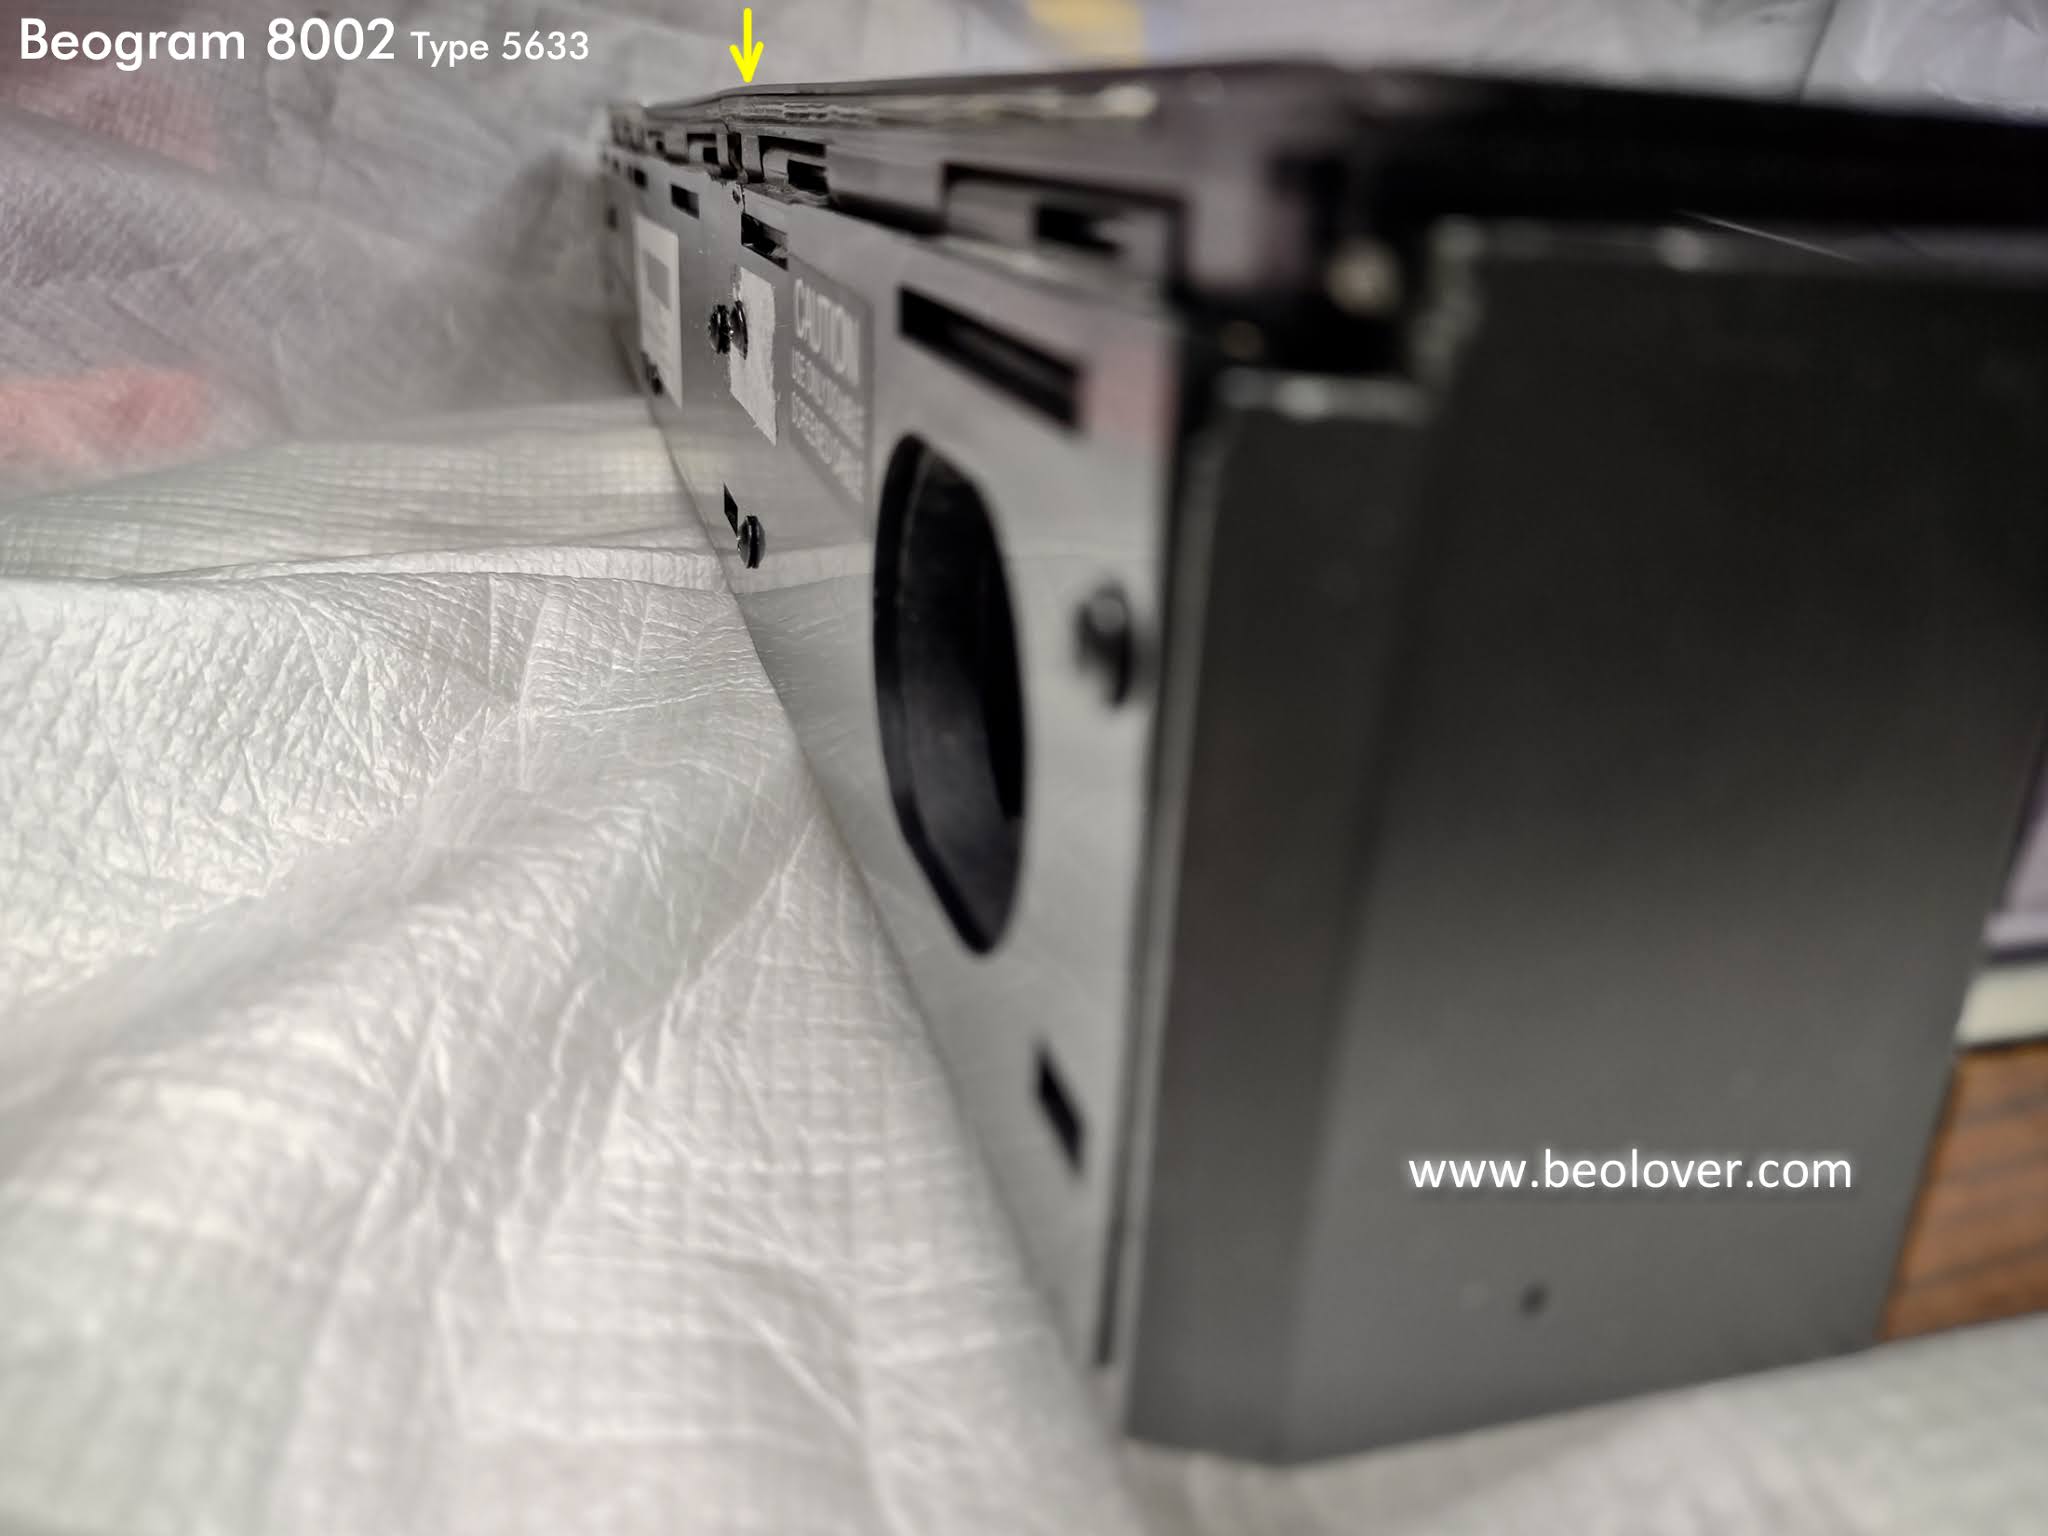
Regardless of how traumatized a Beogram 800x dust cover hinge mechanism is an important thing to remember is that the back part of the dust cover lid (the long, thin flap of plastic) must fit tightly against the back wall of the Beogram cabinet.
These photos attempt to show how the dust cover flap is supposed to mate with the back of the cabinet.


There was one added screw in the back of the Beogram to help secure the dust cover assembly to the cabinet but as shown earlier, it was not sufficient to prevent the tension in the leaf spring from bending the dust cover upwards at the hinge mount.

I actually went through a few iterations of fitting the dust cover onto the rear wall of the cabinet.
I tried some additional mounting screws and while they helped a little I realized that the only real option I had was to epoxy the dust cover assembly and cabinet frame together. The added screws would be useful in pulling the pieces together while the epoxy cured.

I also had to make sure there was some epoxy around the dust cover to cabinet mount points where the dust cover hinge had bent. At the same time, I had to be careful no epoxy got on any parts that are supposed to move. With the epoxy curing for twenty-four hours and the dust cover clamped tightly to the cabinet frame I hoped that would result in a solid working dust cover hinge.

Looking carefully I can tell there is a very slight bend in the line of the dust cover hinge but it is very minimal now. I think this is as good as I can get it. The slight bend in the back is not noticeable from the front of Beogram 8002 and it doesn't increase with the movement of the dust cover like it did before the fix.


No comments:
Post a Comment
Comments and suggestions are welcome!