Here are the four ±55V reservoir capacitor replacements on this Beomaster 8000 project.
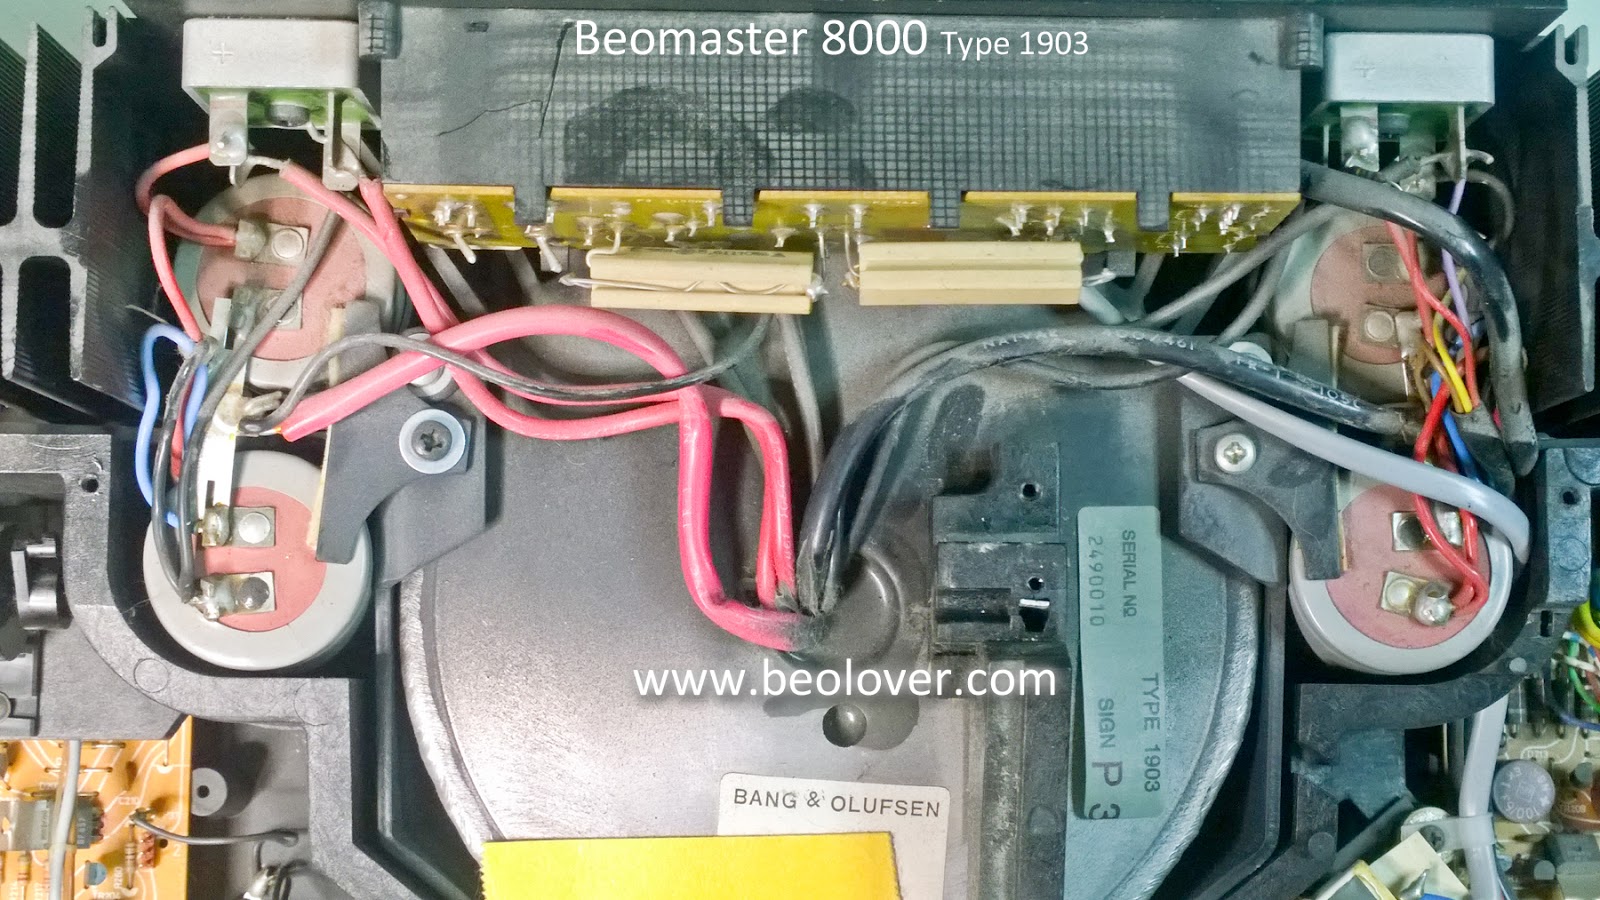
The space to de-solder wires and install the new capacitors is tight plus the two reservoir capacitors against the back wall of the cabinet are secured by round, metal clips. To loosen the mounting clips on the rear capacitors more working space is needed. That requires loosening the rear panel screws so it can be moved enough to get some needle-nose pliers on the clips.

I removed the left channel capacitors first...


With the left channel reservoir capacitors removed you can see the metal mounting clip for the rear capacitor.
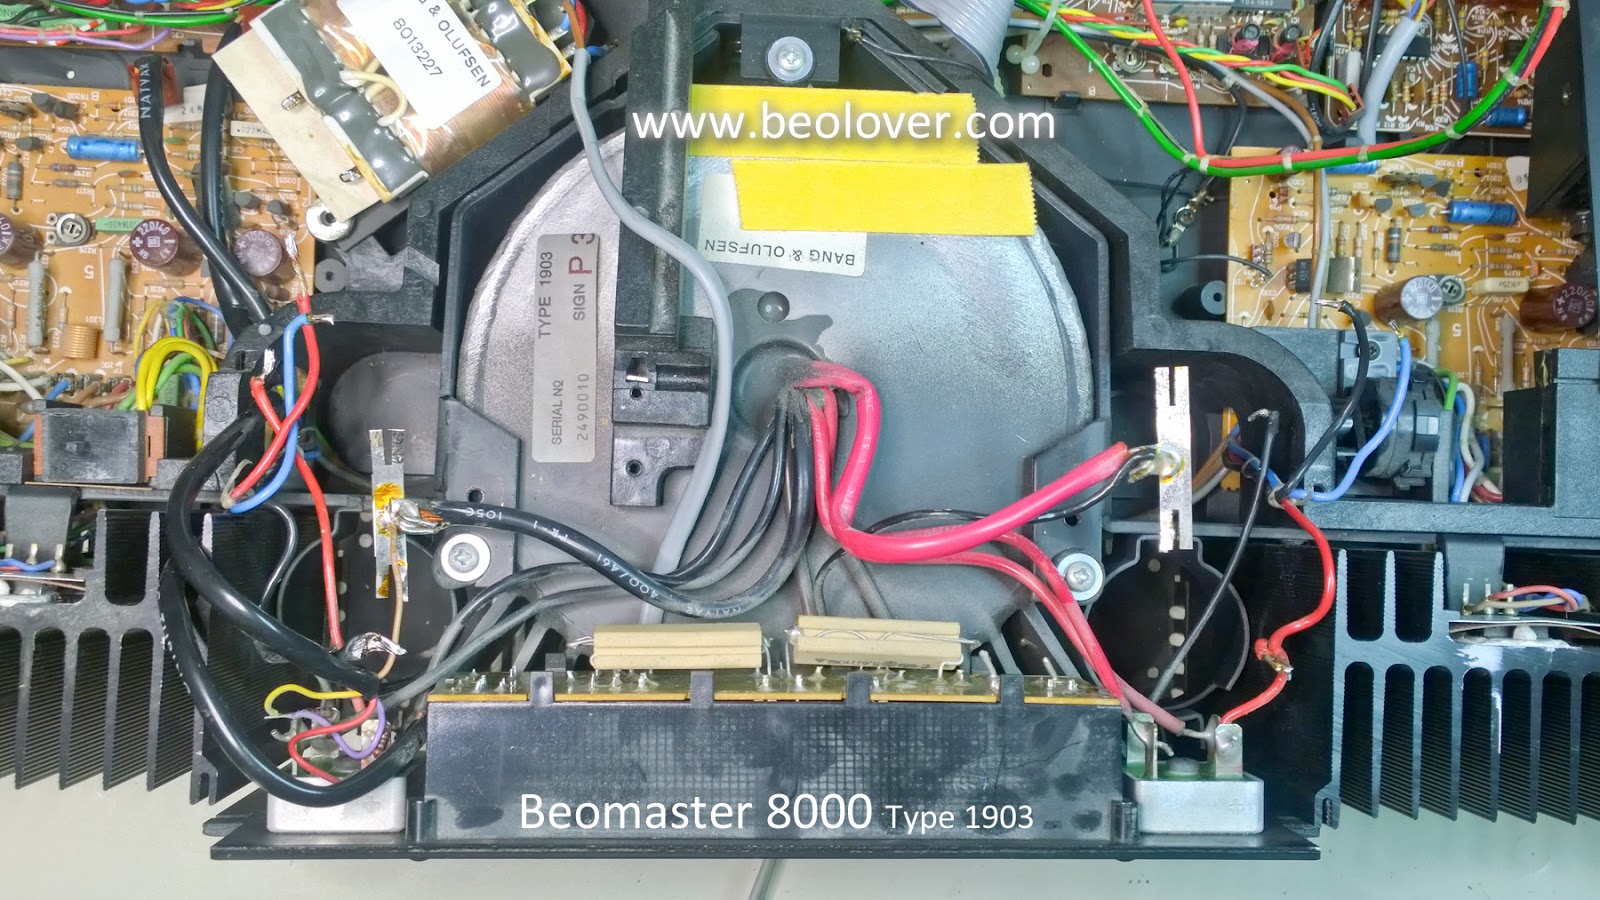
Now for the right channel...

Both sets are removed.
Here are the Beolover replacement capacitors. Modern 10,000uF replacement capacitors are quite a bit smaller in physical size. The Beolover replacement includes a 3D printed adapter so the replacement capacitors fit in the same space as the originals.

Note: Any DIY enthusiasts that are up for this challenge themselves can purchase these Beolover replacement reservoir capacitor kits through the contact form on the right.
And here are the left and right channel reservoir capacitors secured and connected up.


The right channel side of the reservoir replacement had more wires that needed to be moved out of the way during the recap. That included the gray cable for the smaller transformer. With the reservoir recap completed I routed the wires back through to the small transformer but left them disconnected for now as I will soon be recapping the power supply and output amplifier boards.

No comments:
Post a Comment
Comments and suggestions are welcome!