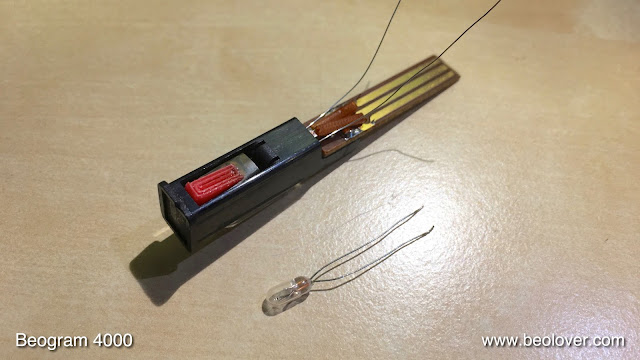
The final light bulb to replace with an LED in this Beogram 4000 was the sensor arm bulb. I recently developed a flexPCB based assembly with a warm-white LED that folds into the bulb compartment of the sensor arm. This Beogram 4000 has a sensor arm where the bulb/sensor compartment connects via a socket. Therefore, one can simply pull out the entire assembly and perform the LED conversion on the bench:
This shows the LED assembly together with the extracted bulb compartment:
and with LED installed:
The red 3D printed wedge serves to position the LED in the same spot where the filament of the bulb previously resided. Before installing and testing I measured the voltage at the collector of TR14, which amplifies the sensor signal before it is fed into the record detection circuit. In the Beogram 4000 2.2V DC should be present at the collector without a sensor signal. This was the case for this Beogram,
and so the installation could proceed:
The warm-white LED has enough red photons to present the B&O logo in its original red color. The final step of any light source replacement in the sensor arm is to measure the sensor response when no record is present. This is also measured at the collector of TR14 and an amplitude of 2.2V should be achieved with the sensor over the spinning platter to ensure proper disabling of the arm lowering circuit if no record is present:
As you can see this Beogram 4000 passed with flying colors. Each dip represents a platter rib passing under the sensor. A 'real-life' test with and without record confirmed the proper working of the circuit.


No comments:
Post a Comment
Comments and suggestions are welcome!