Featured Post

Beolover SyncDrive: DC Platter Motor Replacement for Beogram 4002 and 4004 (Type 551x and 552x)

Late Beogram 4002 and the 4004 (Types 551x and 552x), which have DC platter motors instead of the earlier synchronous AC motors usually suff...

Showing posts with label sanding. Show all posts

Friday, May 13, 2022

Beogram 4002: Plexiglass Hood Restoration

The Beogram 4002 (5523) that I restored recently came with a fairly scratched up hood. The good news was that the hinges were not cracked, and that the inside of the hood was almost undamaged. Only a few cleaning 'swirls'. So it was worthwhile trying polishing the hood back to a decent appearance. This shows the hood like it looked when I received the Beogram:

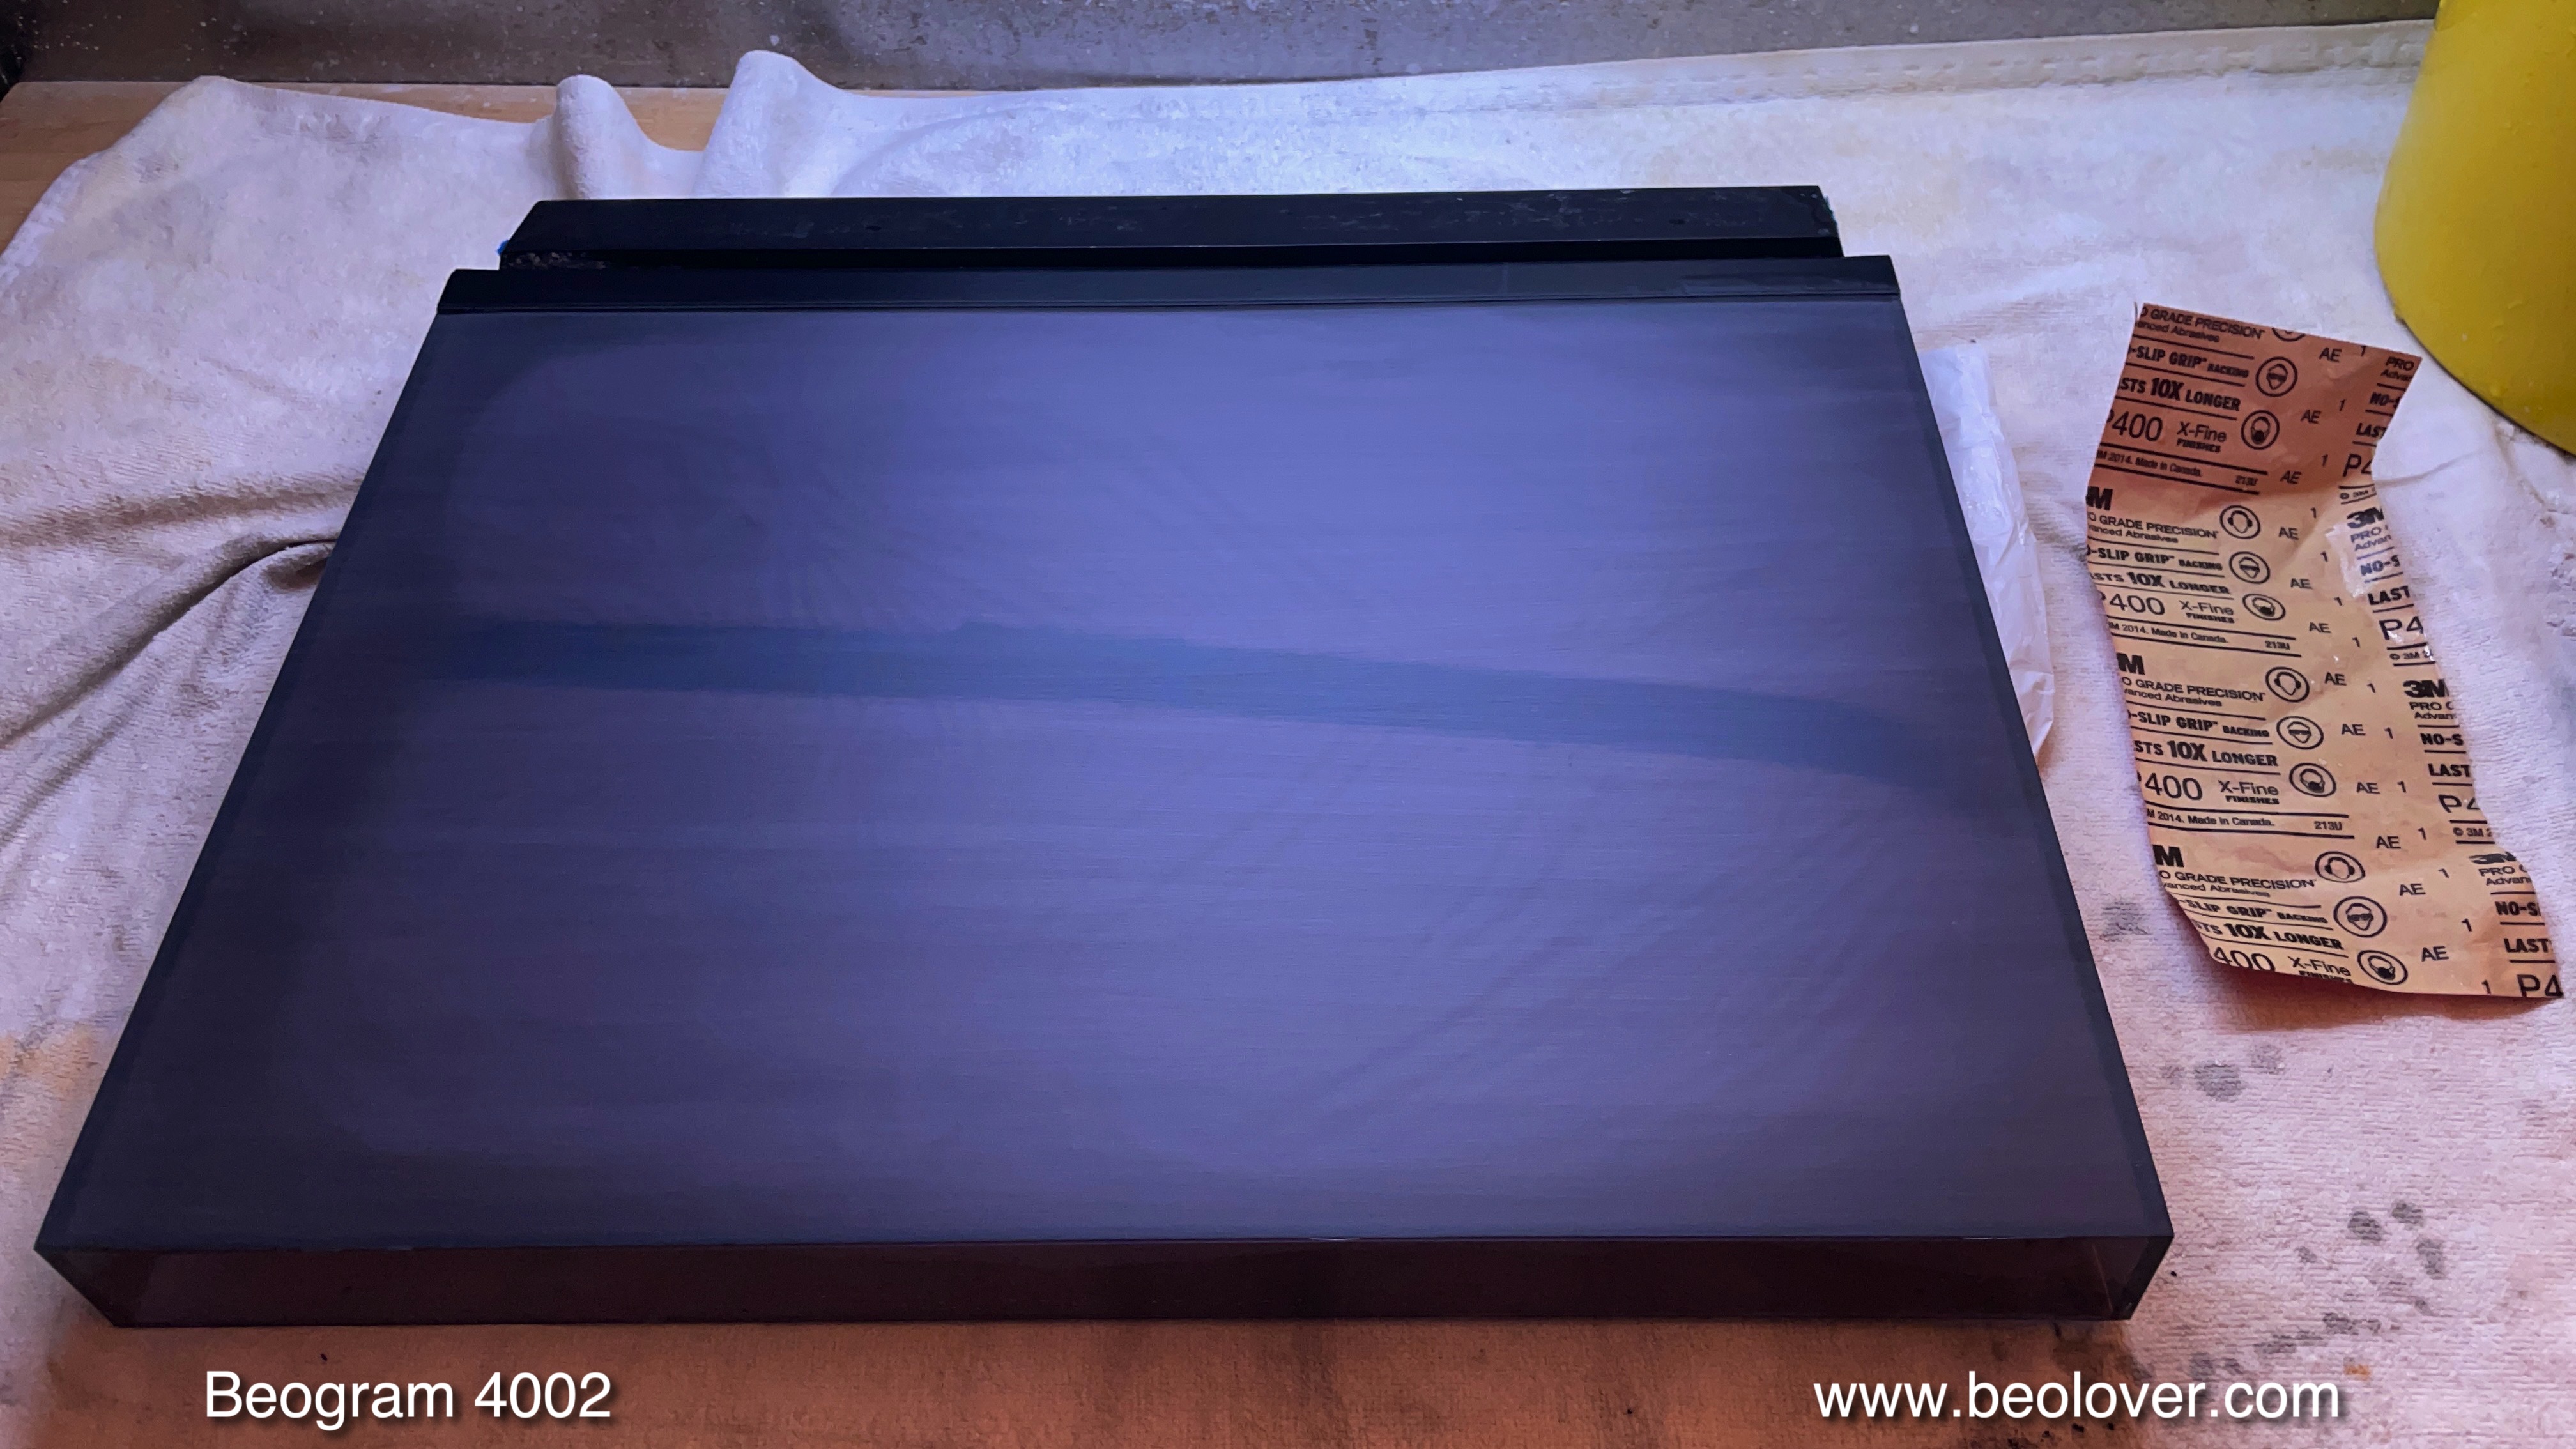
Since some of the scratches could be felt with a fingernail, I started with a 400 grit sand paper and 'equalized' the surface:

This removed all the bigger scratches along with the light ones and turned the hood into a matte, but homogenous surface. This is the usual starting point for polishing it back with ever finer sandpaper. After my usual 7 steps the hood was translucent again and looked pretty decent:

Of course, such polishing efforts are never perfect, and such a hood will never look like a newly moulded one. But this definitely looks much better than the original appearance!

Most 400x hoods have missing rubber bumpers that were supposed to soften the noise when the hood drops by its own weight onto the wood plinth. This shows one of the worn off bumpers. Usually there is still some rubber left in the mounting holes:
Before installing new rubber, the remnants need to be removed. It works well using a 2 mm drill bit for 'drilling' the degraded rubber out of the holes:
After this step it is time to install new rubber. I usually use snippets from 2 mm O-rings that I glue into the drilled out holes with super glue gel. Once the gel has hardened, I cut the snippets to a 1 mm length relative to the Plexiglass surface:
This gives the hood the original smooth 'plonk' sound when it is dropped by its own weight. Beolovely!


Monday, May 25, 2020

Beogram 4000: Hood Restoration - Polishing and Exchange of the Hinge

The Beogram 4000 that I completed recently still needed its hood restored. Of the two hoods I received, one had a crack up front at the left corner, while the other had a decent plexiglass body, but the hinge showed corrosion blooming under the black paint:
This is a frequent issue with Beogram 4000 hinges, and one can fix it by sanding the hinge down and then repainting it with black matte spray paint. But the better solution is to find a hinge that does not have this issue, since spray paint is never perfect. Luckily, the cracked hood had a near perfect hinge, and so I decided to exchange them.
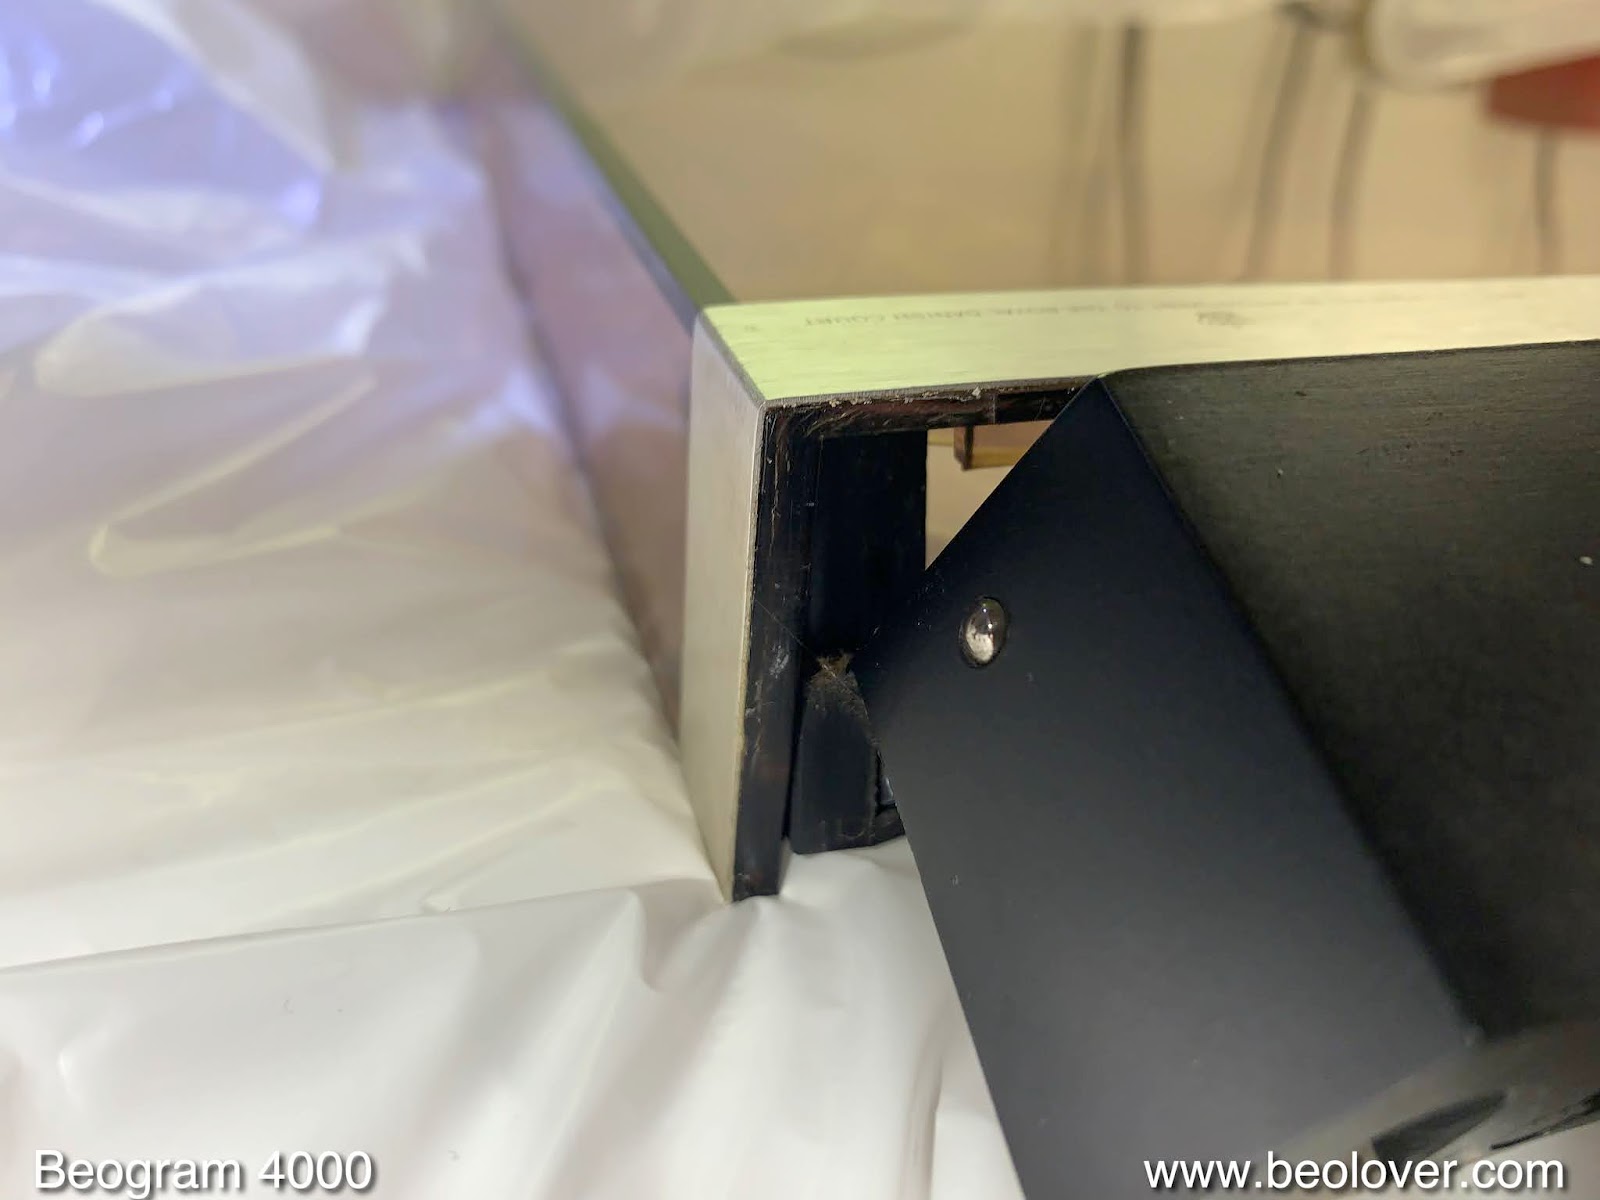
Taking the hinge out is not difficult, but one has to get under the easily damaged aluminum  strip that graces the hoods in the back. This can be done by carefully inserting a razor blade between the plexiglass and the strip:
One needs to be careful to not damage the plexiglass around the strip or the strip itself. They easily break off at the bend. So it is best to not bend them out too much. This is enough:
It is important that it also comes off a bit at the bottom, which usually happens due to the age of the glue - if it does not: It may be best to heat the hood to ~70C in the oven and then carefully pushing the strip down at the bottom. The heat softens the glue making it come off much more easily. But let it get too hot, and the plexiglass starts deforming, so it is a bit of a scary thing to do. Luckily in this case the strip came off fairly easily without too much convincing necessary, so I did not have to go to the oven treatment. Once the strip is off, just remove the two screws on both sides and the hinge comes off. The replacement is easily bolted in and then the remaining task is to glue the aluminum strip back on. 
In the past I used double sided tape, but I had to realize that in some cases the strips lifted off again after a few months. Pretty un-beolovely! Therefore, this time I decided to try out contact cement, which, I think they also used initially when they made these hoods.
The first step is to remove the old glue, which can be softened by placing paper towel wads drenched with isopropyl alcohol into the gap and let it sit for ~30 min:
After this treatment, the glue can be scraped off with a razor blade:
Now it was time to apply a thin layer of contact cement to both sides with a tooth pick. I use this (Amazon):
It is important to not apply too much cement, and also stay ~1mm away from the front edge of the strip, since some glue can be squeezed out there when the parts are pressed together. 
After the cement is fully dry (~15 min) the strip can be pressed into place. Since the strength of contact cement bonds strongly depends on the force and duration applied when pressing the parts together, I developed a set of clamps specially designed for the task (it is difficult to just use carpenter clamps or similar due to the irregular shape of the hinge mechanism):
I pressed the strips back into place by hand and then applied the clamps:
I let everything sit for a day, and then removed the clamps:
Nice how precisely the strip conforms around the corners! Beolovely!
After this it was time to polish the hood, since it was pretty scratched on top:
I started out with sanding it with a 320 grit until all the scratches were gone, and then I polished it back up to translucency in 10 steps with ever finer grit and finally with polishing compounds. A nice 2 hrs workout in the garage, and then the hood looked pretty nice again:
The final touch was to install new rubber bumpers for that satisfying 'plonk' when closing the hood. The original ones are usually gone at this point in time since the rubber degrades over time:
The sticky remnants of the old rubber can be drilled out with a 2 mm drill bit:
(be careful when you try this at home - it is easy to break out the plexiglass corner if one is not careful during this procedure). Once the old stuff is gone, a new piece of 2 mm O-ring can be glued into place with super glue gel. Once the glue is hardened, cut the O-ring snippet to 1mm length above the plexiglass:
Allright! Another Beogram 4000 re-hooded! Soon I will send this beauty back to its owner!



Thursday, April 18, 2019

Beogram 4004 (5526): Restoration of the Plexiglass Hood and a New DIN5 Plug

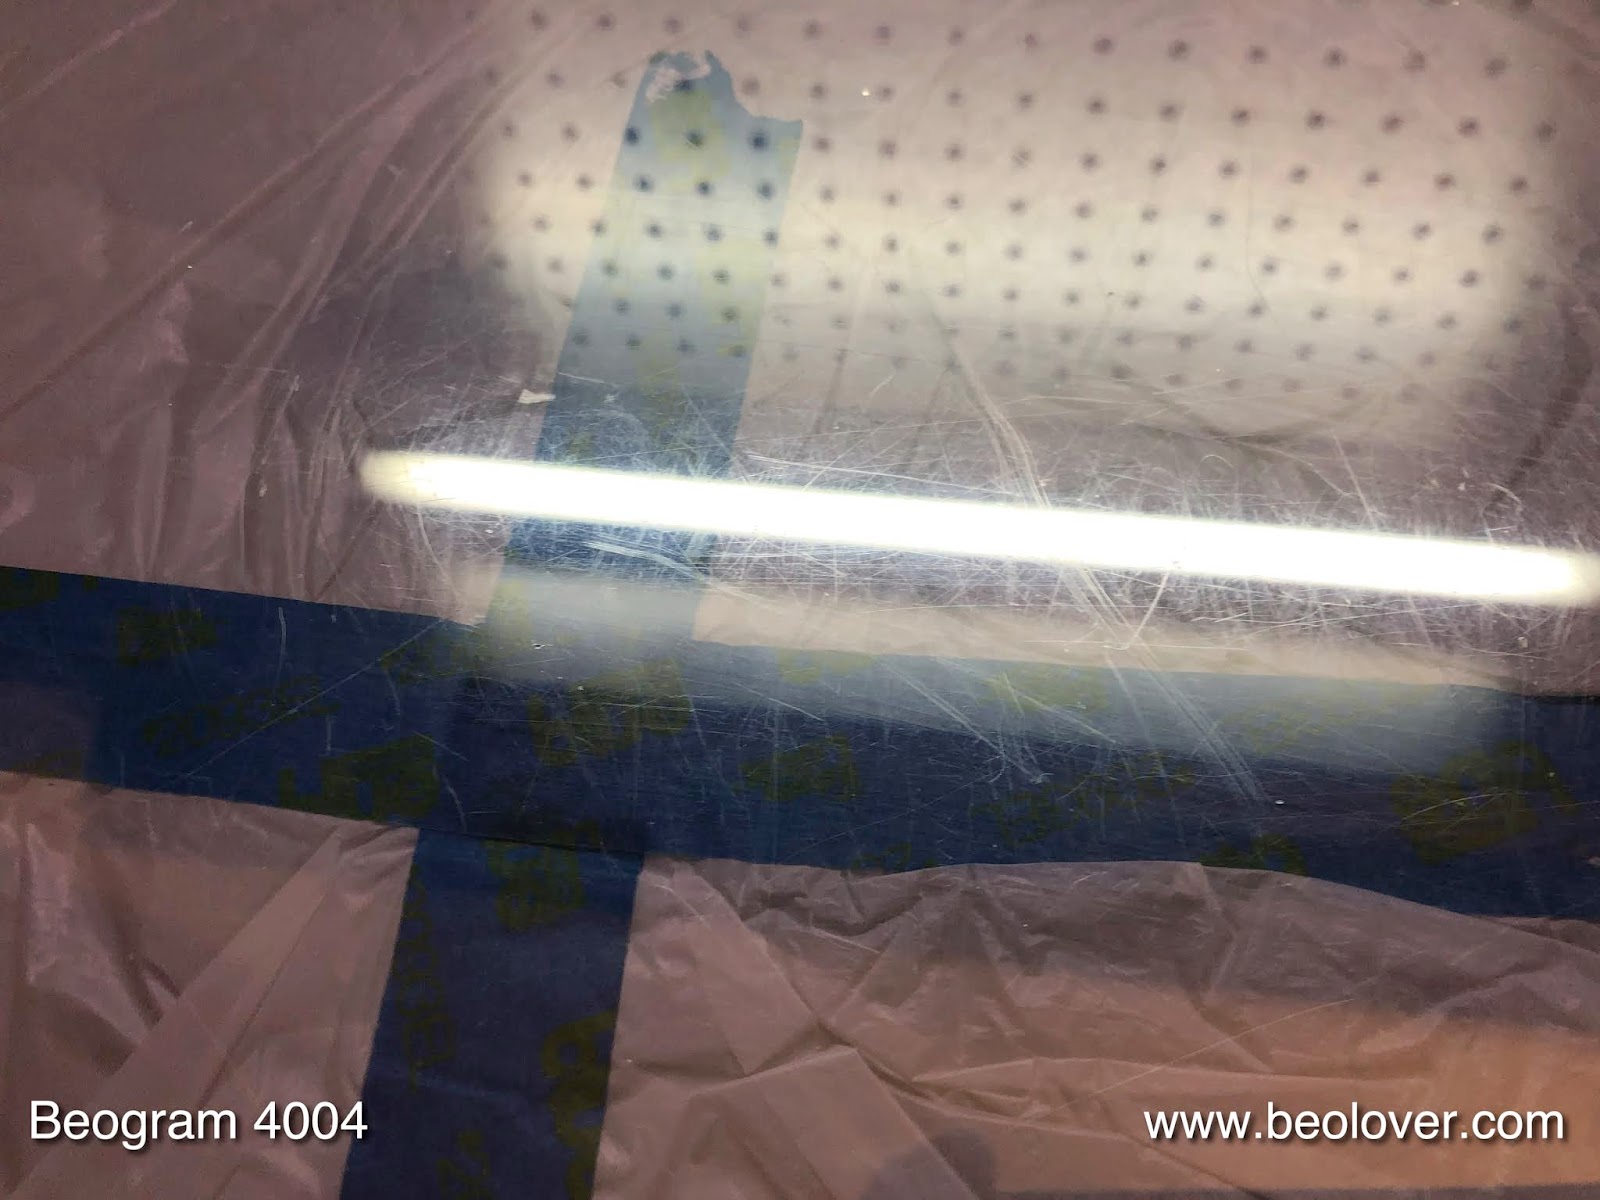
The restoration of the Beogram 4004 (5526) that is on my bench is almost finished. Today was hood polishing day. This usually means a nice workout at the work bench in the garage with some sand paper and polishing compound. Fun! This shows some of the scratches on the hood as received:

If one can feel the scratches with a fingernail, the hood needs to be sanded first to create a homogeneous surface. The scratches of this hood required a few minutes of sanding with 320 grit for equalization:
Once all the scratches are gone, it is time to roll up the sleeves and polish it back to translucency. This requires 8-10 steps of ever finer sand paper finished up with polishing compound. This is how the hood looked about 2 hrs later:
Pretty shiny, but of course not as perfect as a new hood.
The final step of a hood restoration is always the renewal of the rubber bumpers, that make sure the hood closes with a happy sound. As is the case with most Beograms at this point in time, the bumpers were broken off:
They can be replaced with pieces of 2 mm O-ring that are glued into the original cavities. But first the old rubber needs to be removed with a drill bit:
 Then the O-ring snippets can be glued in:
And trimmed to about 1 mm length once the glue has hardened:
With the final result looking like this:
After the hood was done, I moved on to replace the original oxidized DIN5 plug
with a modern all-metal DIN5 plug with gold plated contacts:
Beolovely! All this Beogram still needs before I can give it a spin is a few adjustments.


Wednesday, January 23, 2019

Beogram 4004 (5526): Hood Restoration

While I am enjoying listening to the Beogram 4004 (5526) that I recently finished up, there was still its scratched hood that needed a good polishing. This hood showed the usual scratching, but was otherwise undamaged. No cracks in the hinges etc..., i.e. a perfect starting point for a restoration. This shows the original condition:
I was able to feel some of these scratches with a fingernail, i.e. this hood needed an equalizing  sanding before polishing it back to translucency. Since the scratches were not too bad, I started out with 320 grit sand paper and went at the surface until all the scratches were no longer visible:
Then it was time to polish it with ever finer grit paper. After 6 steps it looked pretty good again:
Most of these hoods had rubber bumpers installed at the front corners, but they are usually broken off. I usually drill them out with a 2mm bit:
And then I glue snippets of a 2mm O-ring into the cavities:
After the glue is hardened I cut them to 1 mm length with a razor blade over a 3D printed 1mm thick washer:
This hood is ready to be installed! Soon this Beogram 4004 will travel back to its owner!


Friday, April 13, 2018

Beomaster 6000 (2702) restoration: restoring the back metal frame and wood plinth

The black aluminium anodised frame needed some TLC. A good cleaning of the metal and a new foam sealing did the job.


I used the foam that is typically used for speaker cabinet building. It's self adhesive and comes in different dimensions.


The wood plinth was already in a great shape with nice corners and no big damage. I light sanding was done followed by a good rubbing with proper rosewood oil.


After sanding and oiling..


The black felt that is glued on both top sides of the frame was also removed and replaced with new ones glued with contact glue.


New felt strips cut to the correct size


Next in line is the key panel.