The belt replacement on the CD50 is not something that can be done in 5 minutes by its owner.
As nice as these CD players are they require quite a bit of disassembly to get to the CD tray drive belt.
As nice as these CD players are they require quite a bit of disassembly to get to the CD tray drive belt.
I started out by removing a single screw that connects the front cabinet lid to the front of the CD tray.


I am not going to show a step by step removal of the CD50 inner parts but I will show a few of the key steps to get to the belt.
After freeing up the CD tray from the front of the cabinet I cleared space behind the CD tray (and laser assembly) so I could move them out of the way and expose the gears involved with the CD tray belt.
After freeing up the CD tray from the front of the cabinet I cleared space behind the CD tray (and laser assembly) so I could move them out of the way and expose the gears involved with the CD tray belt.


There are four screws that must be removed to allow the laser assembly to be lifted off the CD tray assembly.


Once the laser assembly is lifted out of the way the CD tray belt should be visible.
The following photo shows where the belt should be but there is no belt visible.

Looking closer my worst fear regarding the belt is realized. I can see remnants of a deteriorated belt.


It wouldn't be too bad if the repair task for this type of belt failure was just to gather the broken belt pieces and throw them away. Instead, these belts begin to deteriorate into a sticky, black, glue-like substance that sticks to everything. The rubber has broken down in a way where it doesn't dry out. It remains soft and sticky. It is a real pain to clean up. The only way to remove it is to wipe it off with Q-tips, cleaning pads and isopropyl alcohol.
To make the problem worse, the belt originally broke into multiple small pieces so the gooey substance is in various places inside the CD50.
All along one side of the CD tray slide.


Here is a better look at what the residue looks like up close.


The pulley on the CD tray drive motor is clean and ready for a new belt but the attachment of the other end of the belt requires more disassembly.
The CD tray drive mechanism has a plastic gear assembly that must be disassembled.
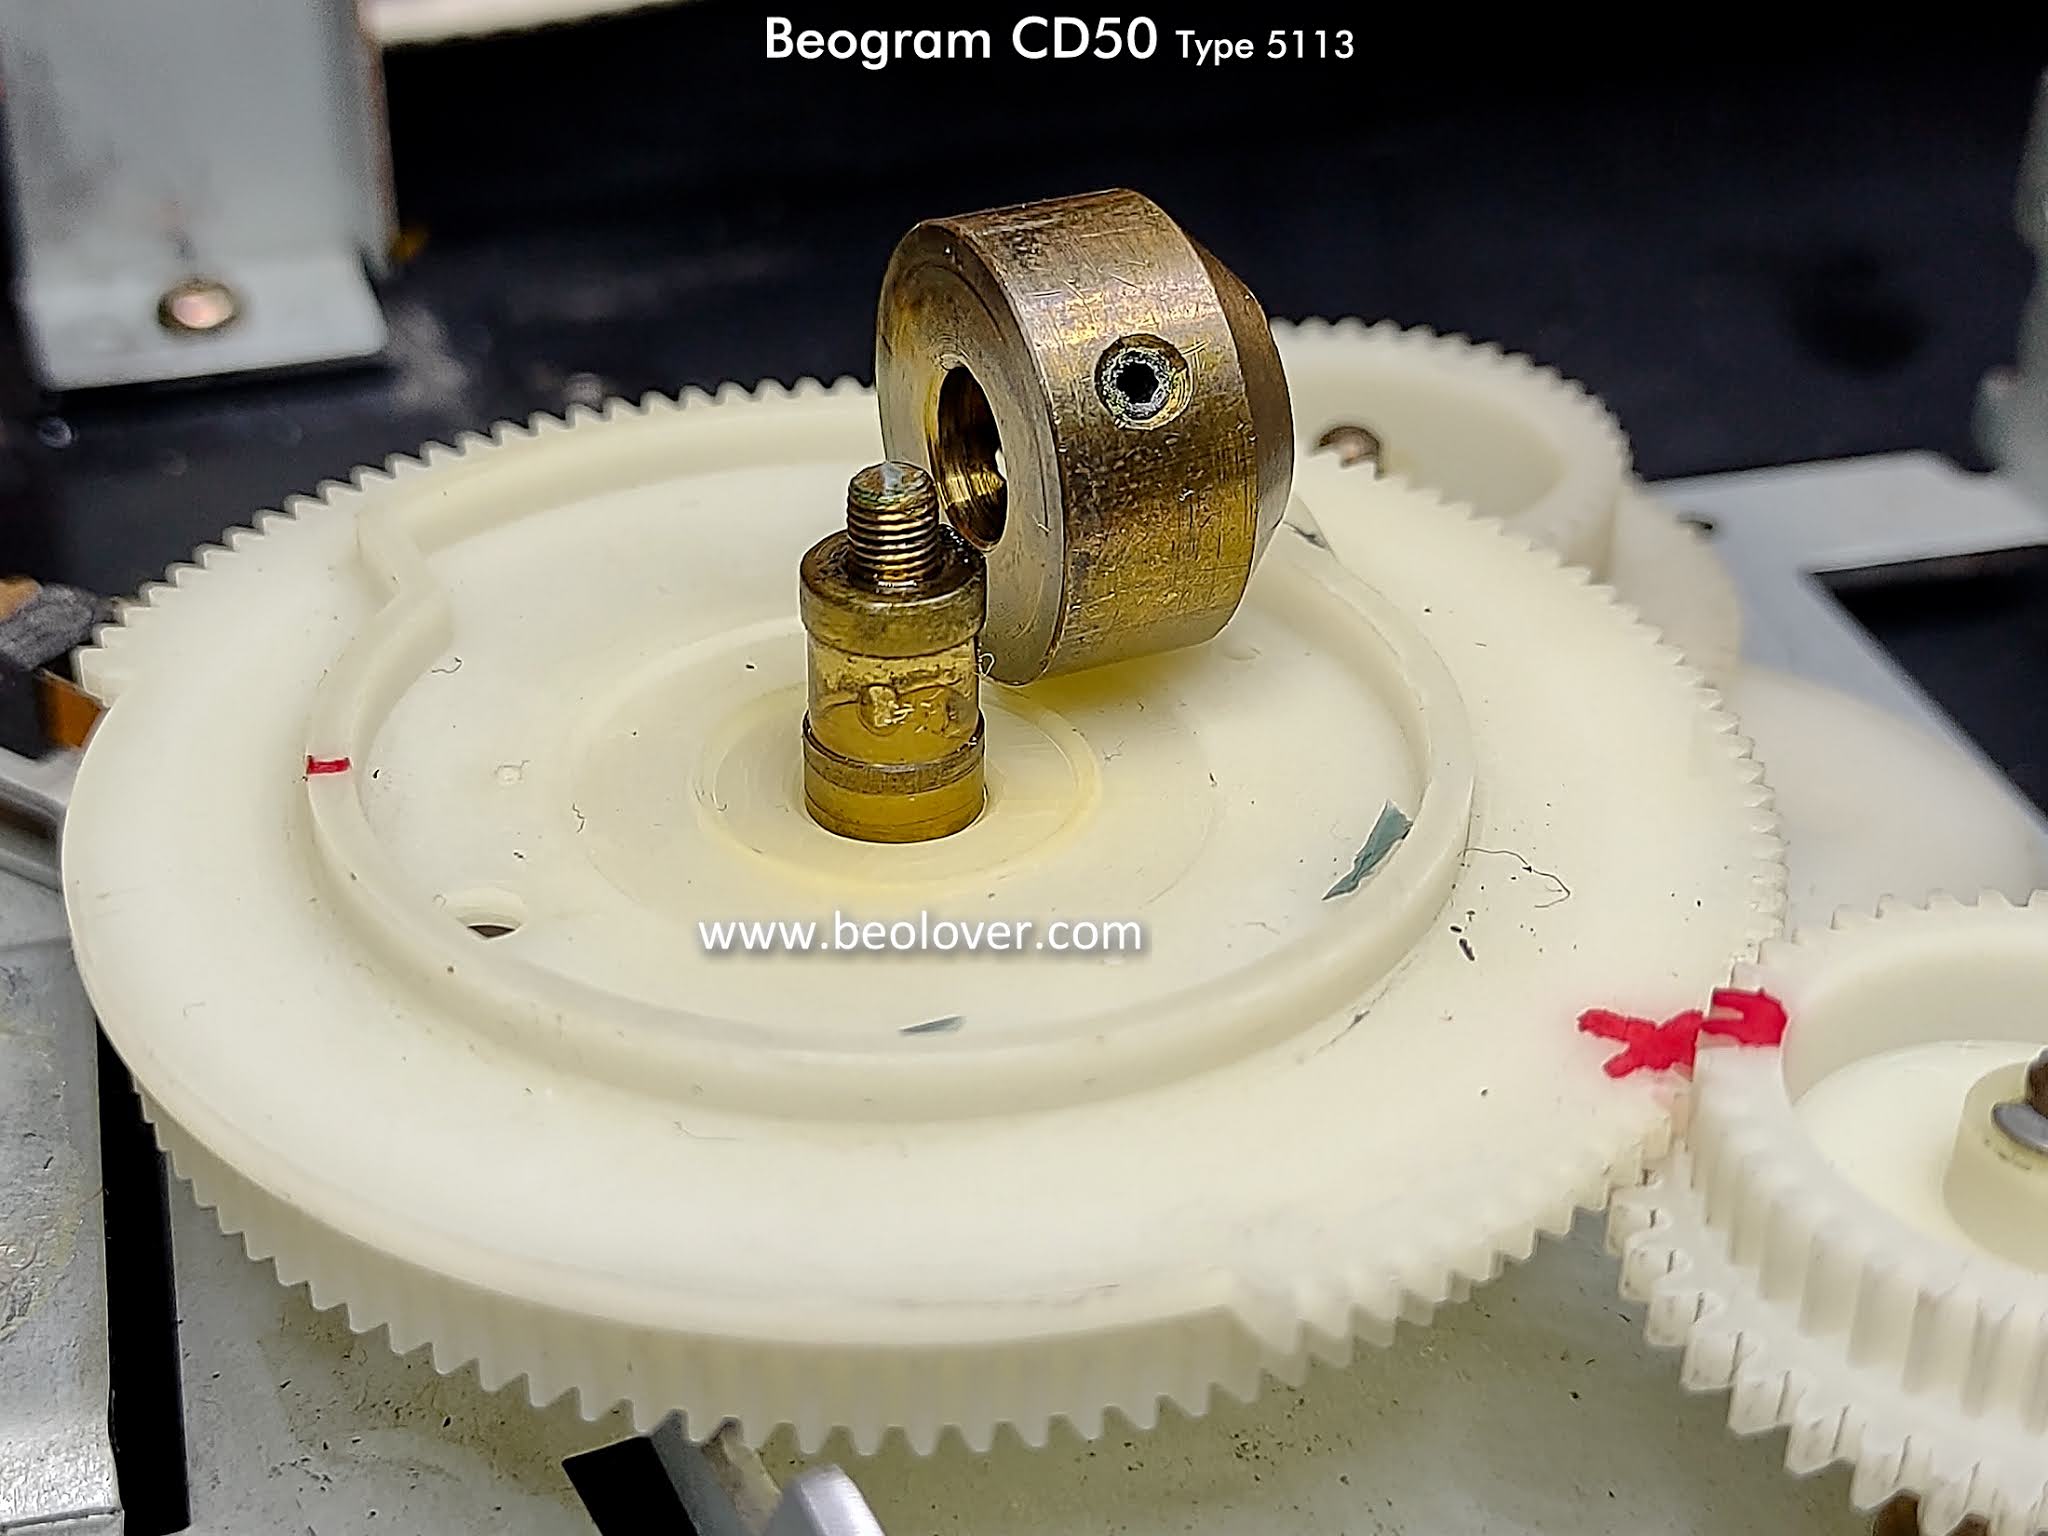
The first step in disassembling the gears is to mark their starting positions. The gear pieces must be assembled with the correct orientation in order for the drive system to work so marking the positions before removing anything will insure that the pieces can be easily reassembled later.


The next sequence of photos are a step by step removal of the CD tray gears in order to get to the gear/pulley for the CD tray belt.


When I tested rotating the pulley the belt attaches to I noticed a lot of resistance. It is just over a metal post so it should turn easily.
I pulled the gear/pulley off the post and immediately saw more of the black, goo, belt residue underneath. It was causing some significant damping to the rotation of the gear.
I pulled the gear/pulley off the post and immediately saw more of the black, goo, belt residue underneath. It was causing some significant damping to the rotation of the gear.

I did some more cleaning and finally got rid of all the troublesome belt residue.

Now I could finally install a nice, new CD50 belt sourced from Martin Olsen's Beoparts store.

The new belt is installed. I can move on to the next step in this CD50 restoration.


No comments:
Post a Comment
Comments and suggestions are welcome!