I finally found some time to revisit my 4002 Commander remote control design and make it compatible with the Beogram 4004, as well as alleviating some of its original design shortfalls. I recently received the first version of the revised boards and tested them in the Beogram 4002 that I recently restored.
This shows the new board before installation:

The main changes are that the remote receiver and auto-repeat indicator are now connected via small wire-to-board connectors (an earlier issue was that the directly soldered wires had a tendency to break off), that the 5V rail for the microcontroller is now fed from a buck converter that about halves the power consumption of the board, and that there is a provision to select 4002 and 4004 compatibility by means of setting three jumpers. In this post the board will be shown installed in a 4002. This shows the original situation where the keypad is plugged directly into the main PCB:

To install the Commander it is best to take the keypad out:

Then the board can be plugged into the keypad jack on the main PCB:

The IR receiver (black wires) is fed between the plinth and the enclosure:

Then the keypad can be reinstalled. The repeat indicator LED board is bolted in together with the main bolt that holds the keypad in place:

Then the LED board can be connected with a red jumper:

Unfortunately, this initial version of the board still has two issues. Due to spelling mistakes I made in the design software, two connections were lacking on the board, and I had to manually add two wires to the board...I think it is a rule of nature that the first iteration of a PCB is never perfect...;-).

I hope the next iteration will be the final one! Then it was time to select 4002 compatibility by plugging three (red) jumpers onto the '4002 header' on the board:

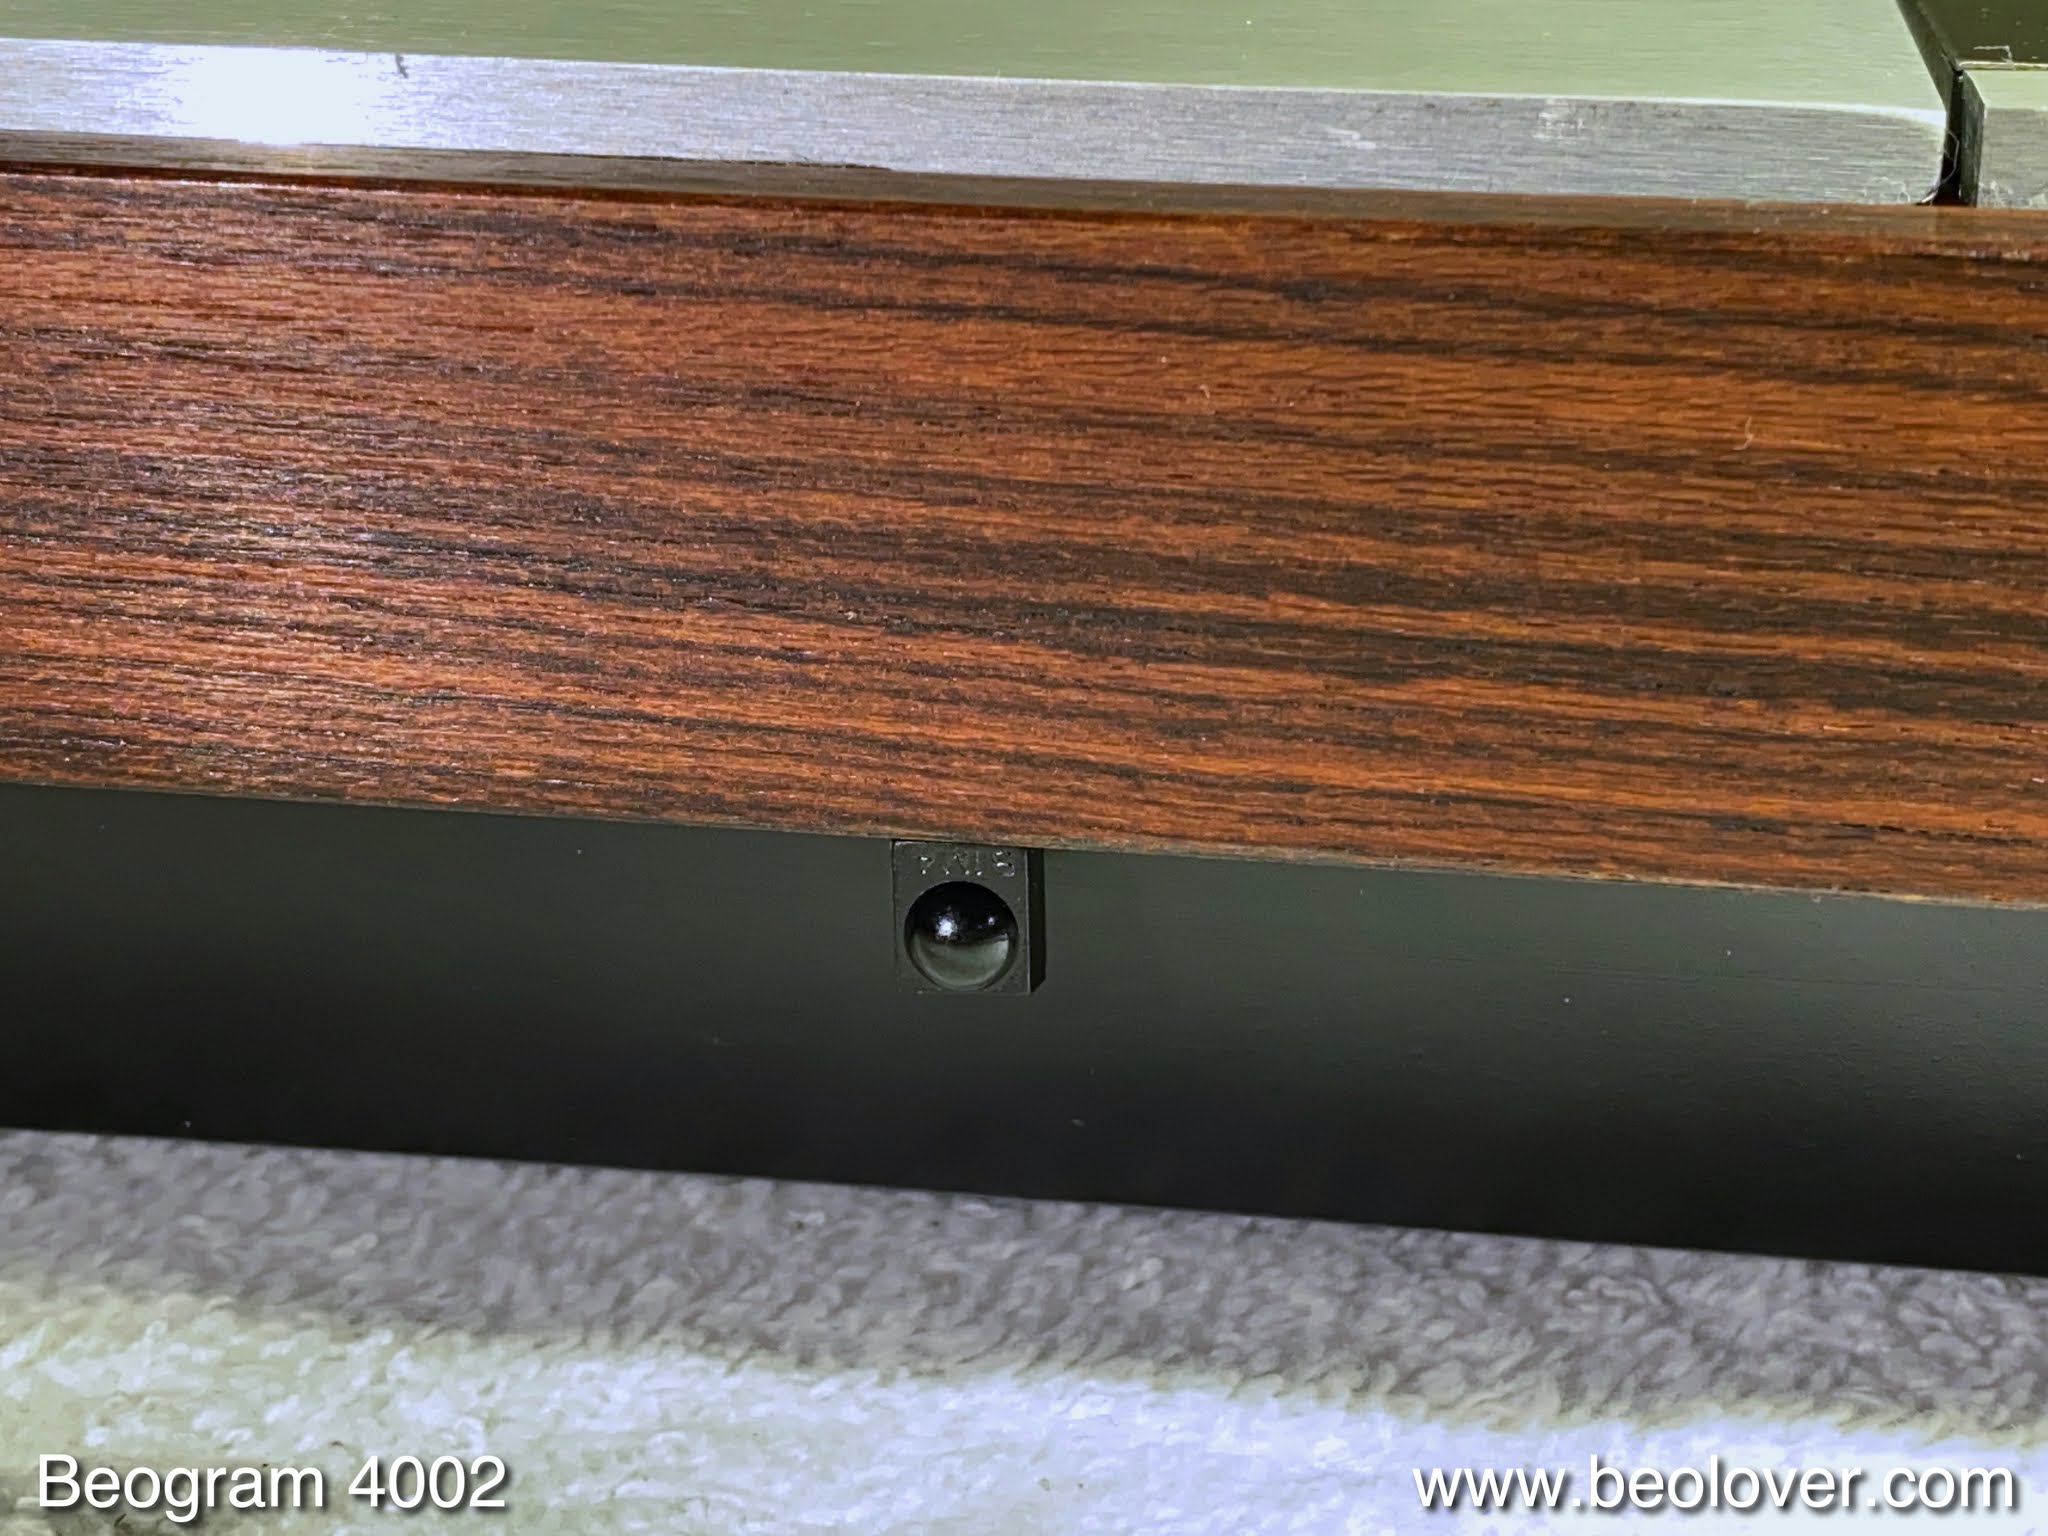
After installing the aluminum plates and pushing back the plinth the IR receiver peeks out stealthily from underneath the plinth.
And this completed the installation of the 4002/4 Commander remote control! A perfect way to protect the rebuilt keypad in this Beogram 4002!
No comments:
Post a Comment
Comments and suggestions are welcome!