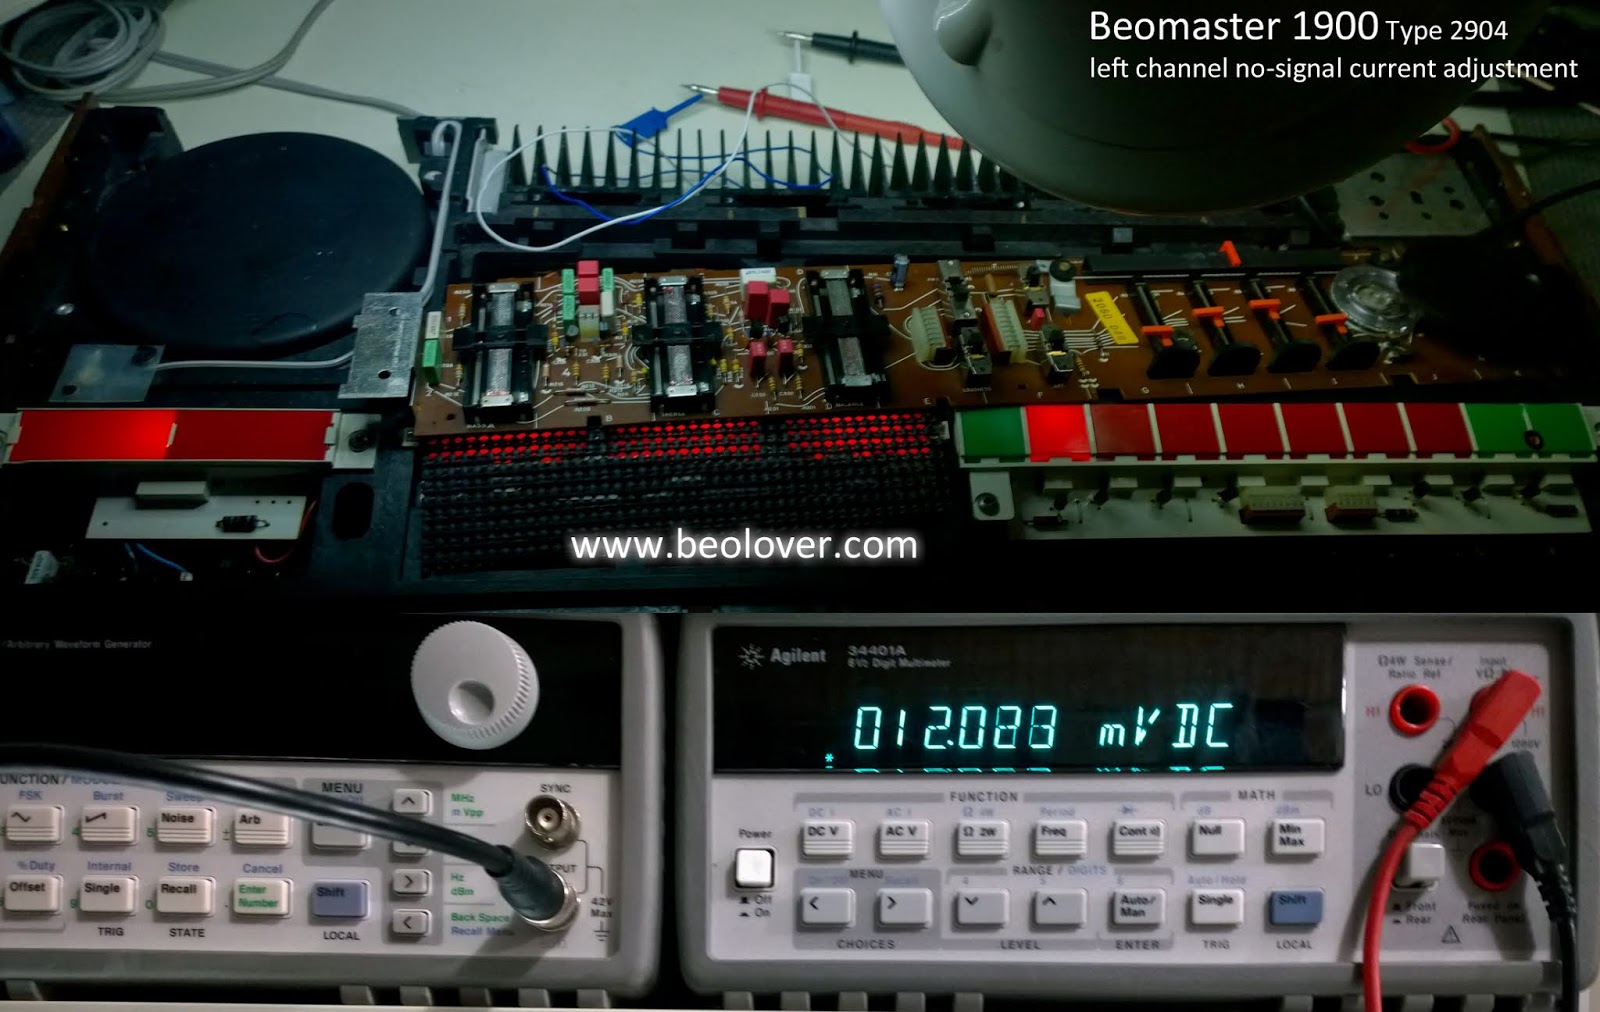
The adjustment procedure is to measure the voltage across the left and right emitter resistors (R256/R356 respectively) and adjust the left and right trimmers (R249/R349 respectively) so the voltages read 12mVDC.
The emitter resistors are in a bad location to connect up probes from the top of the main board so I connect the measurement probes on the underside (trace side).
There is just enough room to get to the trimmers on the component side for the adjustment.
Here is the left channel

The measurement and adjustment are to be made when the amplifier is cold and first turned on. The volume level should be at its minimum and no speakers should be connected.
Here is the measurement for the left channel emitter resistor
Here is the right channel

Another service manual check and adjustment is for the FM1 tuning voltage.
This test measures across the tuning board 4R1 (4TP1) while setting the Beomaster 1900 to FM1 and the FM1 tuning slider to 88 MHz. The 4R2 trimmer is adjusted so 4.7 VDC is measured at 4TP1/ground.


The same type of test is performed for FM5. The measurement is again measured across 4TP1 to ground but the FM5 is the selected FM source. The FM5 tuning wheel is turned to 88 MHz then the 4R8 trimmer is adjusted to 4.8 VDC at 4TP1.

Once these adjustments were made I connected up my FM antenna and my workshop Beovox S55 speakers.
This Beomaster 1900 is playing music again and sounding quite nice.

I let the Beomaster play overnight to burn in the new components. Later today I will start reassembly of the Beomaster then run some performance tests.
No comments:
Post a Comment
Comments and suggestions are welcome!