I completed the last few component restoration tasks.
First there was the RPM indicator panel update to the Beolover RPM indicator modules. Those are custom plug 'n play LED lamps for the RPM panel. Platter motor stability tests with the LED RPM lamps show improved motor speed stability so when we restore a Beogram 400x with a rebuilt platter motor we always replace the RPM indicator lamps and the RPM relay on the controller board.

Here are the Beolover RPM indicator modules installed.

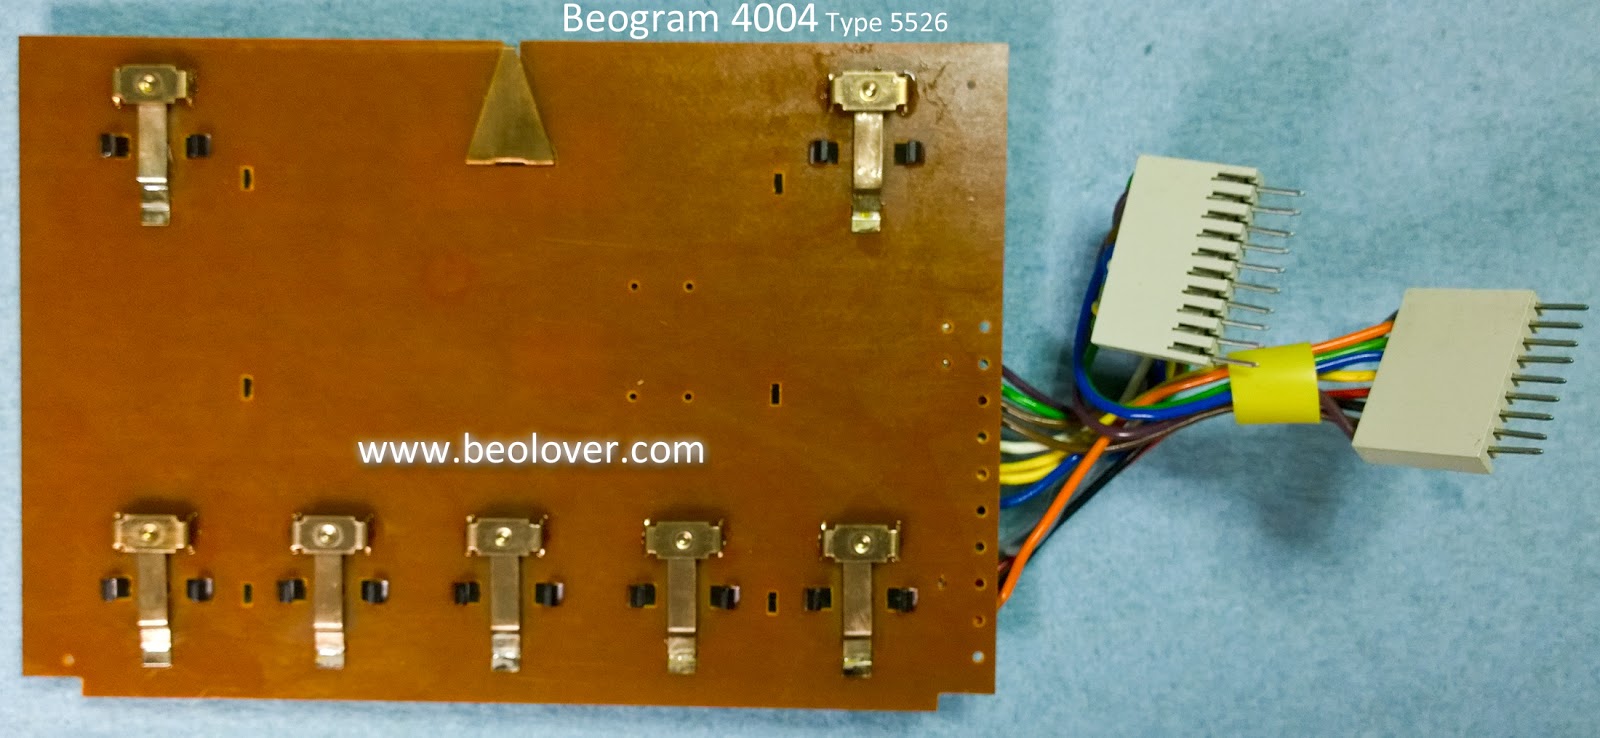
The keypad button contacts usually have oxidation that needs cleaning up.

The contacts on this one aren't too bad but while I have the keypad opened up I cleaned it with a fiberglass brush and Deoxit.

Now the components can be reassembled in the Beogram cabinet.
For the floating chassis I installed the Beolover 3D printed transport lock bushings.


With the bushings in place I prepared the transport lockdown screw assemblies. I will just show one as the other two are the same.


The upper and lower locking nuts were installed at the very ends of the threads to give maximum distance between them when the floating chassis is unlocked.
Next was the installation of the new reservoir capacitor. The new capacitor uses a Beolover 3D printed housing so it fits perfect in the cabinet.

Looks great.
Now for the reinstallation of the DC platter motor that Beolover restored for me at the beginning of December.

Now for the installation of the controller board, output board, keypad and RPM indicator panel.
This Beogram is ready to try a power on test.


Lights are on, the motors turn...those are good signs.
The next step is to measure the voltages and key sensor signals before starting the service manual checks.
No comments:
Post a Comment
Comments and suggestions are welcome!