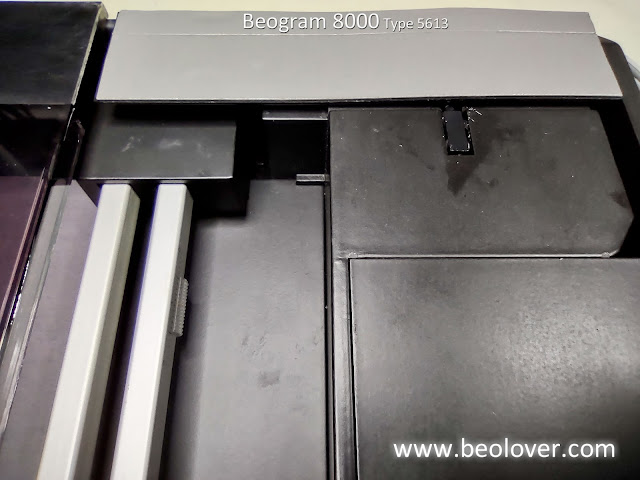
Since the previous post on this Beogram 8000 project, I have been enjoying playing records on this Beogram turntable while I looked for a replacement dust cover and back plate.
I was able to find the two pieces I needed for the dust cover repair but the dust cover needed a little bit of polishing to be an acceptable replacement.
The replacement dust cover isn't without a few blemishes but it polished up nicely without requiring a full dust cover restoration.
Here is the back plate I found to replace the broken, original back plate.
My preferred way of removing and installing a Beogram 8000/8000 dust cover assembly is with the hinge bar removed. I find it much easier to install the dust cover and tonearm compartment lid without being attached to the back plate.
Here is the back plate attached to the Beogram 8000 cabinet.
Now the dust cover can be attached and the metal hinge rod inserted to hold it in place with the cabinet.
I stop the hinge rod as it reaches the tonearm compartment lid hinge.
For the metal tonearm compartment lid I still had to reattach the lid to the hinge.
I prefer to do that with the dust cover and lid hinge in place so I can align the metal door when I attach it.
Another task here is to replace the metal door hinge damping grease.
Here are photos of the new damping grease and the metal door hinge attached to the cabinet.
To attach the metal lid to the hinge I use the same type of VHB tape that I used for the deck panel.
Using the dust cover, the side of the cabinet and the control panel as visual guides, I fit the metal lid to the VHB.
The fit is perfect and the new damping grease works great.
The final steps are to attach the spring damping mechanism for the dust cover.
Here are the pieces for the dust cover damping mechanism.
There is a leaf spring and a hinged bracket that fits into the back of the cabinet and into the hooks of the metal receiving bracket epoxied to the underside of the dust cover.
These components along with the back plate are common areas where these Beogram 800x turntables get broken. I will mention it again, the back plate should really not be removed if it is still properly attached to the back of a Beogram 800x cabinet.
The most common problem of the dust cover damping not working is that the original, double-sided tape for the metal receiving bracket has detached from the underside of the dust cover. That causes the dust cover lowering and raising mechanics to fail.
If that happens the damping hinge mechanism needs to be disconnected from the metal receiving bracket first...then the dust cover removed (by pulling the metal rod for the piano type hinge out).
The fat end of the leaf spring fits under the tension set screw (shown with the Allen wrench above) while the narrow end of the spring fits into the hinged bracket.
The flat, plastic part of the bracket faces the front and the top of the hinged bracket fit into the hooks of the metal, receiving bracket (located under the dust cover).
It seems a bit odd the first time you work with this damping mechanism but it isn't really difficult.
I suggest starting out by making sure the hex tension screw is opened up to where it is easy to fit the leaf spring underneath. That will also have the least tension on the spring when the hinged bracket is fit into its position.
When the components are attached as in the above photo, the Allen wrench is used to tighten and apply tension to the spring damping of the dust cover.
The service manual says to adjust the tension so when lifting the lid it will automatically seek its top position when the lid opening reaches about 32 cm.
The tension adjustment should also result in the lid lowering operation automatically closing when the lid opening reaches 12 cm.
Here is the fully open position.
The last piece to fit in the cabinet is the flat, plastic trim piece that hides the hinge damping mechanism.
That completes this project and clears space on my workbenches for the next group of Beogram turntables.


No comments:
Post a Comment
Comments and suggestions are welcome!