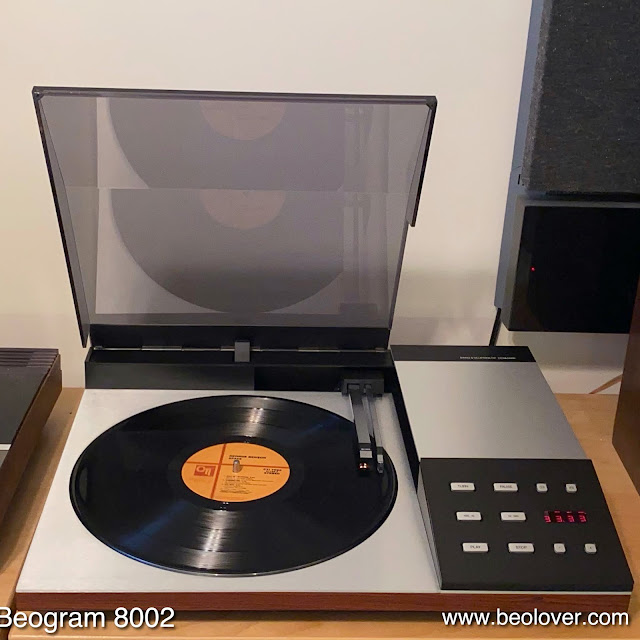
I just completed the restoration of the Beogram 8002 (5633) that I recently received from Michigan. My initial assessment of the unit is discussed here. This post gives a summary of the work done. The first step was to open up the unit (disconnect the three leaf springs from the chassis, remove the two screws on the left side of the enclosure, then flip open to the right):
Featured Post
Beolover SyncDrive: DC Platter Motor Replacement for Beogram 4002 and 4004 (Type 551x and 552x)
Late Beogram 4002 and the 4004 (Types 551x and 552x), which have DC platter motors instead of the earlier synchronous AC motors usually suff...
Saturday, November 21, 2020
Beogram 8002 Type 5633: Restoration and Test Drive with George Benson
I extracted all vital parts and put them on the bench:
This shows the PCB in its original condition:
I replaced all electrolytic capacitors with new Japanese 105C types:
There is one more capacitor in the microcontroller 'can':
The motor phase capacitor is in the power block. I found that someone already had replaced them with two back-to-back unipolar types:
Since they were flopping around a bit dangerously, I replaced them with my more orderly 3D printed assembly:
The two remaining capacitors to replace were the 5V voltage regulator in- and output capacitors:
This shows the new ones in place:
The next step was to add a switch that allows connecting system and signal grounds. This is useful if there is a hum when connecting the unit to a RCA input:
Then I focused on the mechanical aspects. Usually, the carriage transport mechanism is gunked up with old lubricants. I extracted the parts and cleaned them in an ultrasonic cleaner:
I put the newly shiny looking parts back in with small dabs of synthetic grease on critical points:
Then I adjusted the carriage transport control voltages to ~620mV according to specifications for both directions:
Before I could put the innards back into the enclosure I needed to glue the main aluminum plate back into place. They often come off due to disintegrating double sided tape. A good way to remove the old tape is by soaking it with isopropyl alcohol over night. In the morning I was able to remove it with a plastic scraper:
The unit also had lost its hood bumpers:
I drilled the old remains out and installed snippets of an O-ring, which I cut to 1 mm length
And then I put everything back together, and it was finally time for a test drive! I selected "Space" by George Benson, which I recently acquired. Another great album from the CTI label. George Benson recorded it in 1978 (CTI 7085). This vintage album was cleaned ultrasonically with a CleanerVinyl ProXL setup. After the clean it sounded like new! This shows the Beogram 8002 in action:
Beautiful! I will now play it a bit longer, and if nothing else comes up it will soon be time to return it to its owner in Michigan.
Labels:
1703DVEBG8002,
8000,
8002,
aluminum,
arm,
bang,
belt,
Beogram,
capacitors,
damage,
electrolytic,
hifi,
olufsen,
panel,
parallelism,
repair,
restoration,
tonearm,
tracking,
weight
Subscribe to:
Post Comments (Atom)


No comments:
Post a Comment
Comments and suggestions are welcome!