
Yuck! Actually I understand why this type of repair was done and it actually works. But it is just so unsightly that it makes it wrong.
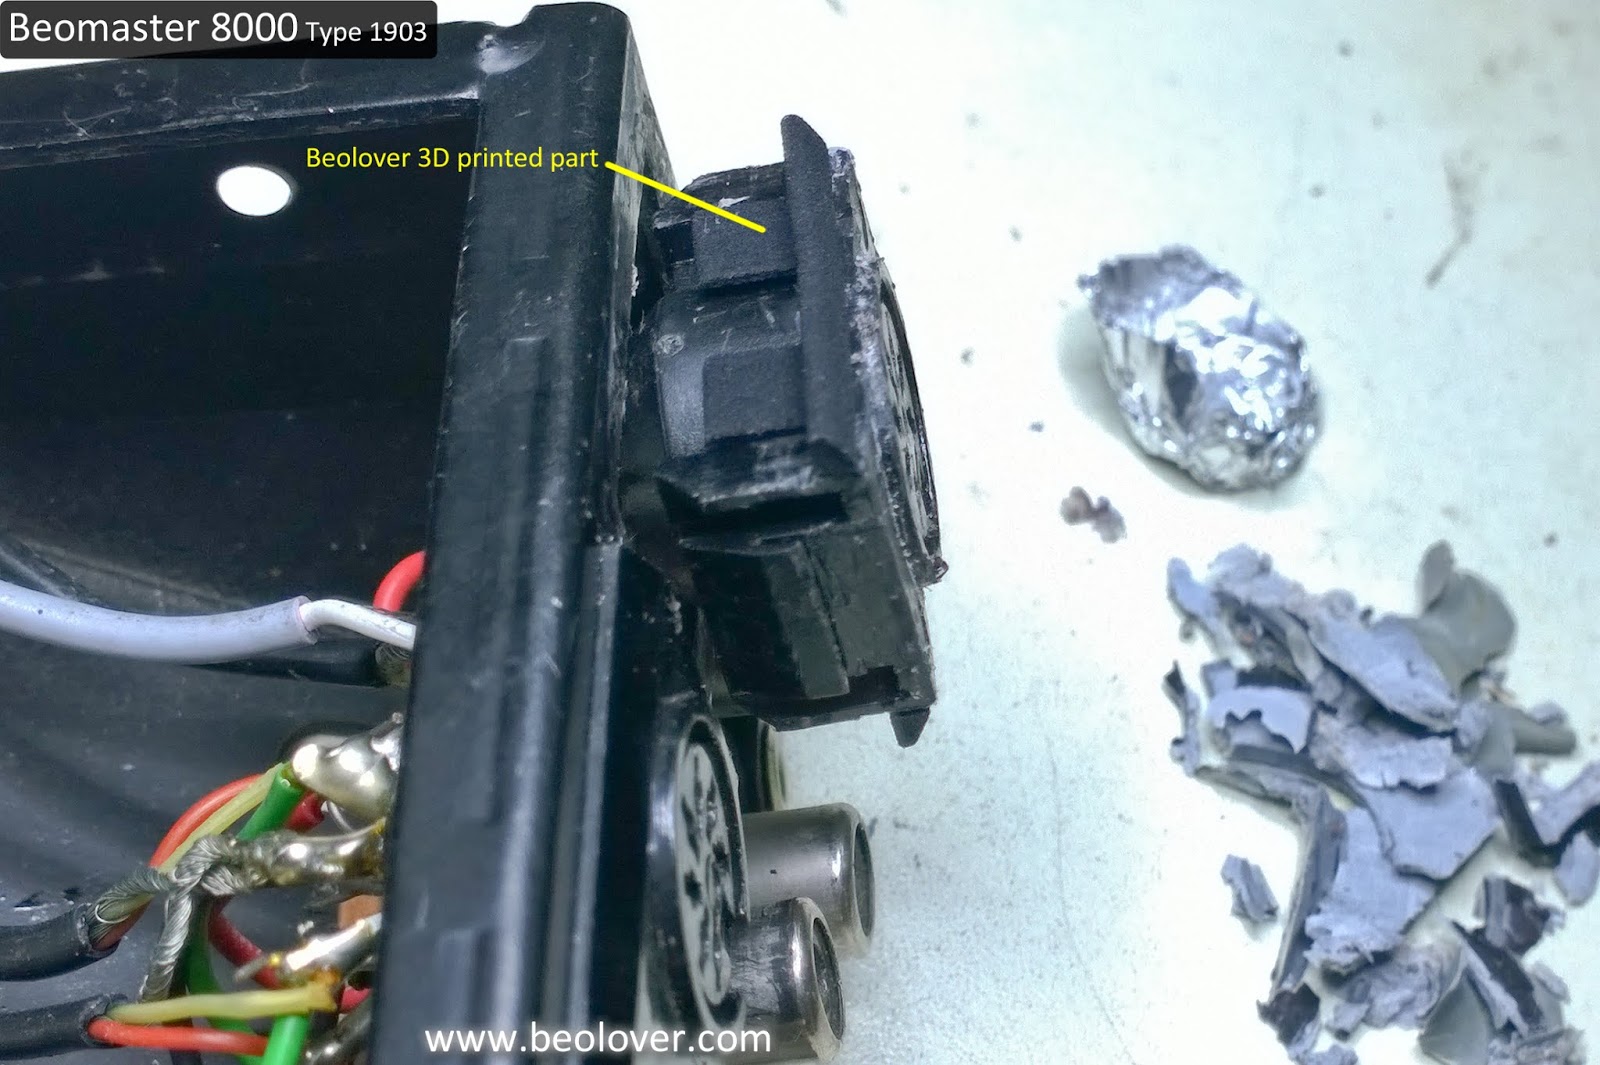
Fortunately the there is a Beolover 3D printed part fix for this type of problem. Installing the 3D printed parts is quite easy but the preparation to apply them here took quite a bit of work.
The first step is to remove the epoxy glue. I used some heat from a heat gun and various size razor knives to remove the glue. To protect the plastic DIN jack housing I used tin foil.

The heat did most of the work and I got all of the glue removed.
Now to apply the Beolover 3D parts. They fit perfectly into slots already there on the DIN jack housing. No glue is necessary.


I figured that all of the rough handling by the glue removal procedure might cause some DIN jack wiring to break and that was the case.

The resulting wire repair task wasn't too bad. I just had to be careful in removing old solder connections and rewiring the broken leads.

The wires all look correct again. I checked them against a known, good spare panel that I have.
I will touch up the scratches on the metal panel with some black paint then reinstall the source panel in the Beomaster.

No comments:
Post a Comment
Comments and suggestions are welcome!