
The next capacitor update was on the platter drive capacitor 4-C1 that is located in the Beogram transformer case. Because the new replacement is much smaller Beolover made a nice capacitor mount using a 3D printer.
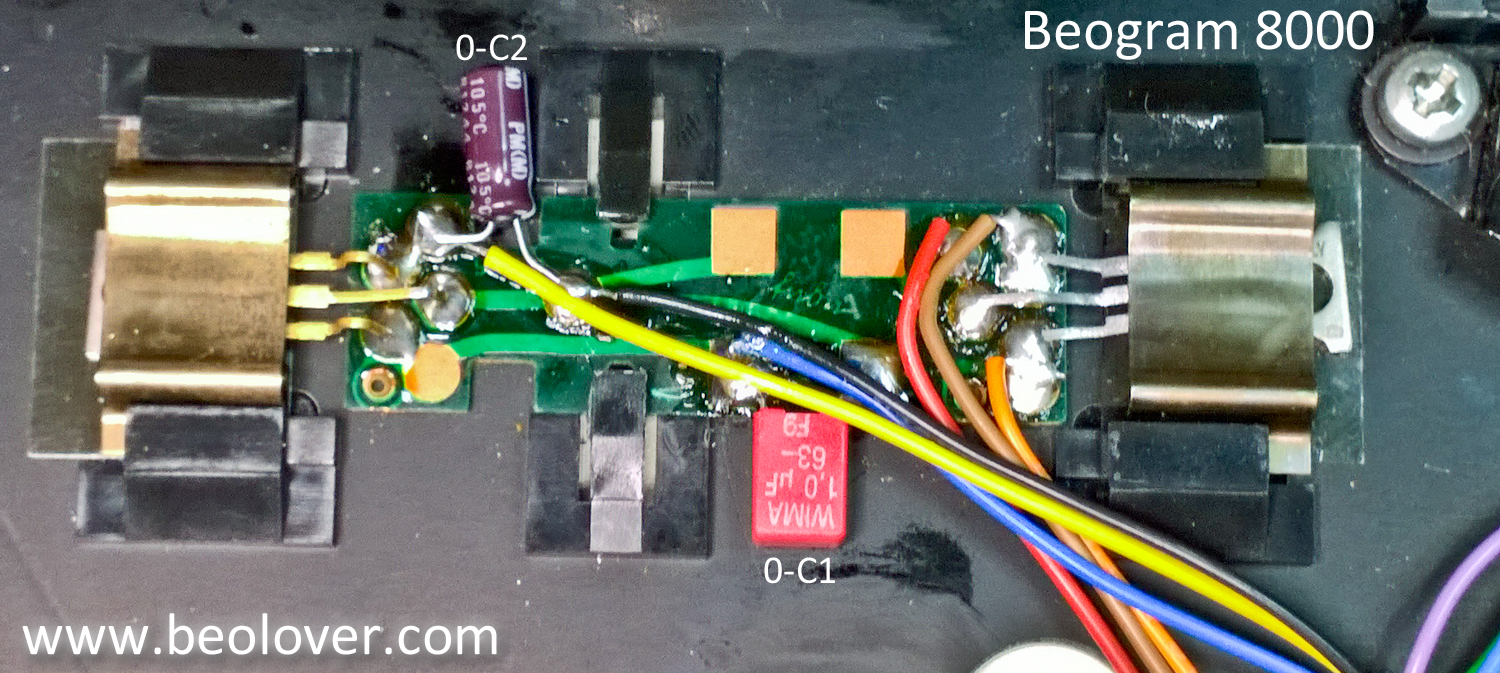
The final two capacitors to replace are the chassis mounted 0-C1 and 0-C2 capacitors (1uF and 47uF respectively).

That completes the bulk of the electrical restoration. There may some additional electrical component restoration depending on if any of the Beogram sensors or lamps have failed.
I am anxious to try out the recapped circuitry so the next task on my to-do list is to clean and lubricate the tangential arm assembly.
No comments:
Post a Comment
Comments and suggestions are welcome!