No soldering today. I thought it is finally time to work a bit on my recently obtained Beolab 4500 active speakers. They came from ebay where they were listed as non-working. While they turned out to be working after all, they had badly scratched plastic panels and one significant scratch on one of the aluminum panels. While I am not sure what to do about the aluminum panel, the plastic panels can be easily fixed. Last year I polished the dust cover of a Beogram 4004 to a pretty new looking state. I used the amazing Micro-Mesh KR-70 polishing set, which consists of a rubbery polishing block and a series of fine grit sandpaper. Following the instructions that came with the kit allowed me to fully restore the 4004 cover.
Today, I used this kit on the Beolab 4500 panels. Taking the panels off from the amplifier part of the speakers is pretty simple, but one needs to pay attention that some pretty thin and short cables that are attached between the panel and the amplifier chassis. Hence, after removing the torx screws, carefully lifting off the panel and removing of the plug on the display board and the complete input switch board are required to get the panel off.
Before polishing I also removed the display board from the panel. Since the polishing process involves the use of water, it is best to protect the display board. I also covered the brushed aluminum coated part of the panel with bubble wrap to protect its surface during the polishing process. Here is a pic:
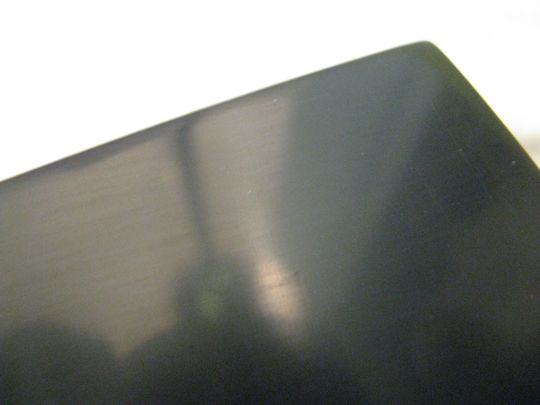
This pic shows a close-up of one damaged area:
When the damage is so deep that one can feel it while moving a finger across, the Micro-Mesh manual prescribes to start with standard 220 grit sand paper from a hardware store. Now, this type of paper is common for wood working, i.e. it is pretty coarse. When I did this the first time I was very reluctant to put this grit to work. Essentially, it dulls the surface completely - a scary moment for the Beolover...;-). Here is a picture after I worked the panel with the 220:
Looks pretty 'woody' doesn't it? This step is probably the most important step of the entire polishing process. With the 220 basically the surface is removed to a depth of the deepest damage. In other words the 220 needs to be worked in an even parallel stroke across the surface (and sides of the panel) until the only scratches present are those from the 220 grit. This means all scratches need to be in the direction of the stroke, and the entire surface needs to be completely homogeneously scratched.
The following steps are basically to use ever finer grit, and apply each grit level with strokes that are 90deg off relative to the stroke used for the previous grit. This allows to see the moment when the scratches from the previous grit are replaced by scratches from the current (finer) grit (dry the surface and look at it against a light source - if you see 90deg off scratches keep at it until they are gone). Successively, with each step, the scratches get more shallow, until they become invisible. That is the moment when the surface is fully reflective and shiny.
Here are a series of pics from this process:
After 400 grit:
After Micro-Mesh 1800:
After Micro-Mesh 2400:
After Micro-Mesh 3600:
After Micro-Mesh 4000 (it starts getting shiny):
After Micro-Mesh 6000 (very nice! almost as new!):
After Micro-Gloss polishing fluid:
That's it!!
In summary, the most important aspect is that after each step all scratches from the previous level must be gone, and that only scratches from the current grit are left. If the previous scratches are not completely removed, it will be impossible to get them during subsequent steps, since the grit gets ever finer, and does not have enough 'power' to remove deeper scratches from coarser, previous, grits.
One more panel to go! Can't wait to hook these elegant beauties up to my Beosound 9000!!