We are very excited to have finally launched our Beogram 4002/4004/6000 keypad restoration service, more information in available in this post and on our store listing.
This restoration is for a customer in Germany who elected to have their 4002 and 4004 keypads restored. Below is the original condition of the keypads. Both have the typical shine marks where the keys have been pressed repeatedly over time. Even though the coating has not worn through, they do look quite weathered, which is to be expected. Also note that the finish on one of them may not be original as it is different than the other:

The first step is to apply heat for 20-30 minutes so that the glue can soften up. After this, I can start to slowly lift the keypad plate from the frame, which requires a bit of patience on DC models. The glue will eventually let go of the plate and leave the frame in this condition:

Since I will be replacing the top plate, I don't have to do any restoration to the original part (but will return the original parts to the customer):
I carefully scrape all the glue off the keypad frame and do some a deep cleaning of all the surfaces. The remaining marks you see (for example in the top area that is normally hidden under the RPM speed module) are actually imperfections in the original anodizing. B&O was careful to perfect the areas you can actually see.

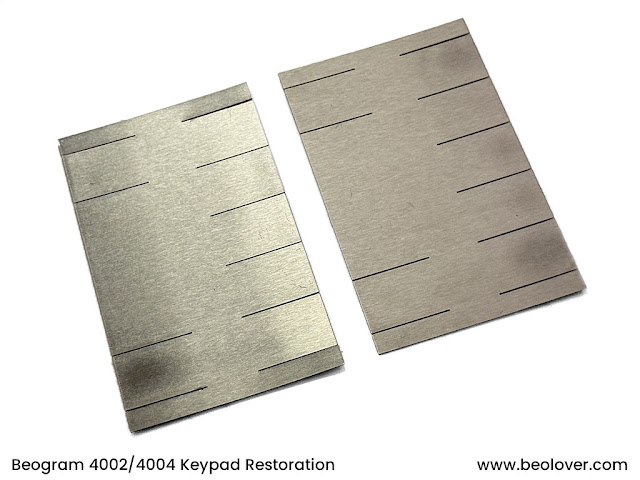
I then repaint all of the black lines that run under the keypad plate as they normally have some wear marks and also scrape marks from where glue was removed from the painted area.

I then prepare our replacement back pieces with adhesive. These back pieces are improved from the originals such that they will not pull the keys down below the surface.

I then insert these into the frame and cut the links that connect the key pieces to the center part. The design of the center piece (original version and our version) has a specially banked edge that keeps the keys from being pressed too far, that is its purpose. Each key also has a two hooks that keep the key from being pulled up. These have been adjusted to be correct for the adhesive I am using, which is more accurate than the glue used on the originals.

Below are the final results, another great restoration. In addition to the keypad plates being new, the whole part is much fresher after going through this process of deep cleaning and restoration:


The last step is to prepare these for safe travel back to Germany, where I hope they will provide many more years of service!
No comments:
Post a Comment
Comments and suggestions are welcome!