I re-assembled the bottom part of the cabinet and re-attached the slider control bar. While it was removed I cleaned off the old grease and applied new, clean grease for the slide controls.
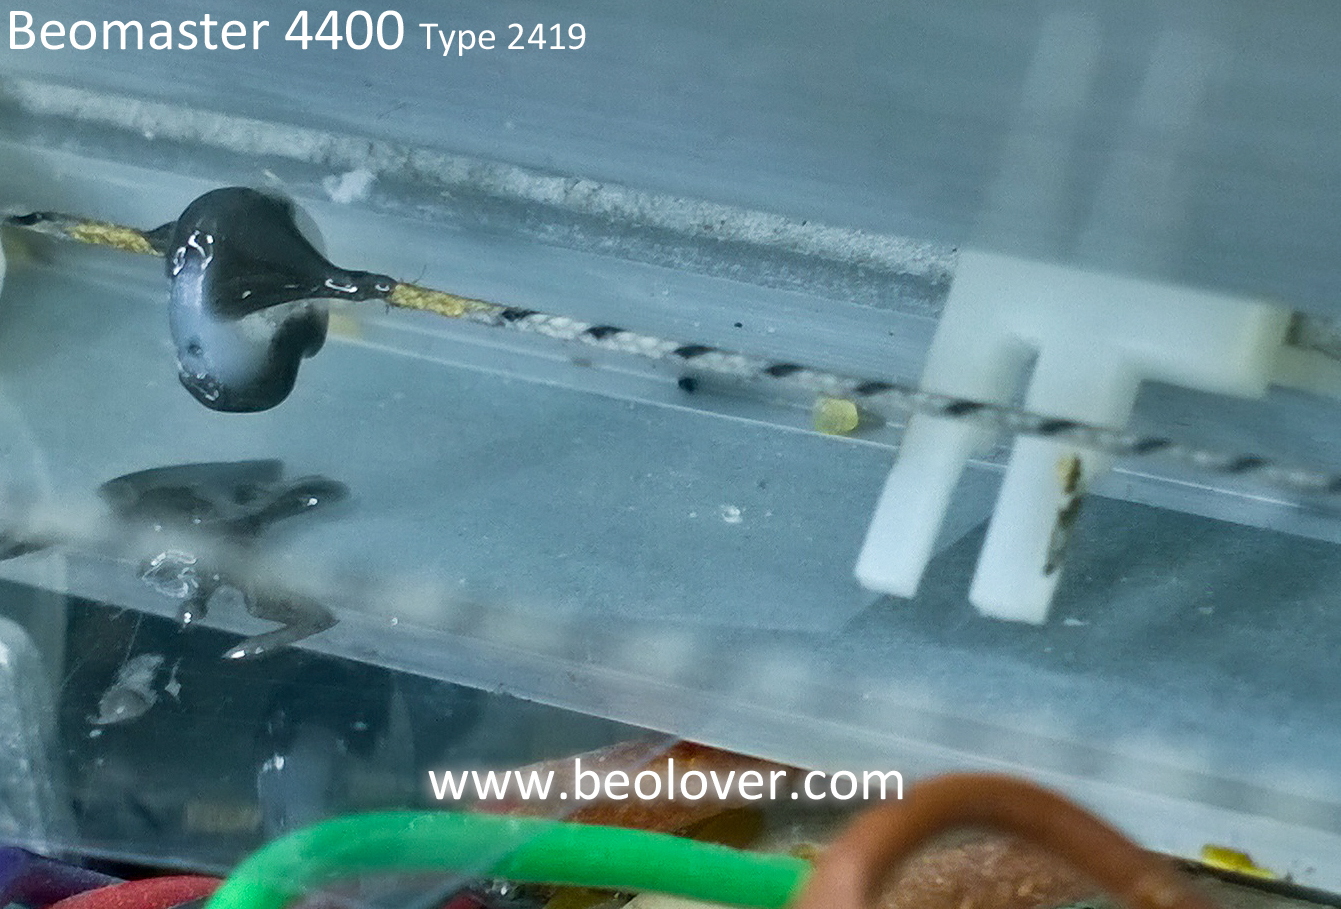
In lining up the slider control slots with their catches I saw that the tuning cord catch for the tuning dial had started to fall apart. The main plastic post was mostly missing. It looked like the catch was mostly hardened glue.

That left over clump of glue wasn't going to fly. In fact more pieces of it started to crumble when I touched it. I needed to fashion a substitute.
After looking through my parts bins and thinking about it I decided a nylon, M2 washer could become the new tuning cord catch. I cut a small section out of the washer so it would fit over the tuning cord. I marked either side of the old, remaining catch then carefully removed the old piece.
I used Araldite fast setting epoxy to attach the washer to the tuning cord.

After test fitting that with the tuning dial slot I added some JB Weld fast setting epoxy in the washer slot that I had cut and along the top of the tuning cord and the washer. That secures the washer better and provides a little mounting edge to fit in the tuning dial slot. One reason to use JB Weld for that last part shaping was because the color difference helped be tell the glue was where I wanted it.
I let the epoxy cure then tried out the new catch. It fits great and looks like it will work well.

Before I put the top cover on I will do some functional testing with the reassembly I have done so far. Now for a little relaxation and test listening of the Beomaster.

No comments:
Post a Comment
Comments and suggestions are welcome!