I recently received a Beogram 4002 (Type 5513) from a customer in Tennessee for a complete functional restoration. The unit arrived safely packaged in a Beolover shipping container. This post discusses the initial condition of the unit.
This shows it as extracted from the box:

As so often, the hood is pretty scratched and has an area that looks like damage from a harsh chemical. I would recommend to replace the hood with a new one from the Beoparts-shop in Denmark and a new reproduction aluminum strip.
Unfortunately, the hood hinge shows signs of corrosion:

It will not take long until the paint comes off in these areas and then the aluminum will show.
I removed the hood and had a look at the cosmetic condition:

The aluminum surfaces are pretty good without major damages. The keypad is also still fairly pristine and has only very faint finger smudges that need the light to come from a specific direction to be visible:

A perfect candidate for the installation of a Beolover Commander remote control system, which allows using the deck entirely without touching the keypad. The acids in the skin cause the coating of the keys to deteriorate, i.e. it is best to not use these keypads anymore if they are still on a decent condition. The alternative is using a soft cloth to press the keys.
The plinth is also still pretty nice. It only has minor damages on the corner bottoms:


This can be camouflaged with a bit of crayon of appropriate color.
Two of the plastic feet of the enclosure are missing and have been 'replaced' by glueing rubber bumpers to the enclosure bottom:
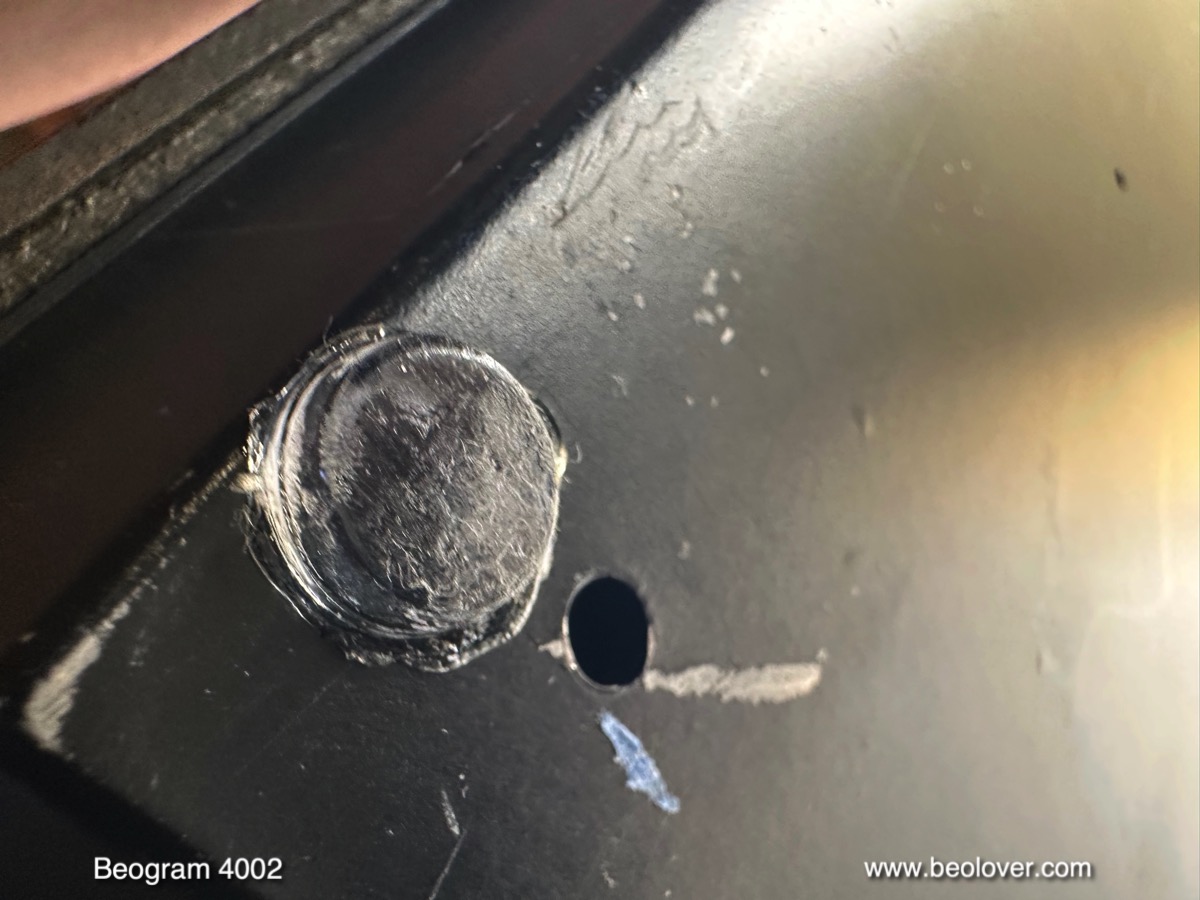
I hope I can remove those without too much damage to the paint and replace them with proper rubber feet.
After this visual inspection, I removed the aluminum panels and had a look below deck:

The unit looks original as far as I can tell at this point. Original is always the best starting point for a restoration. As usual with this vintage 4002 the orange transport lock bushings show already first signs of deterioration:

I finally plugged the unit in and hit START. The carriage started moving sluggishly towards the LP setdown point and found it and the solenoid engaged. The platter motor was also running, all good signs.
I think this will be a pretty straight forward restoration. Stay tuned for the next post that will discuss the work that was done.
No comments:
Post a Comment
Comments and suggestions are welcome!