This post shows the initial assessment of a nice, original owner's Beogram 8000 turntable sent to me for restoration. Since the owner was in the same state we arranged for person to person pickup instead of dealing with packing and shipping. I like that a lot better when the worry about shipping is out of the picture.
This Beogram 8000 is in great shape cosmetically. The problems with it are the usual problems with aging parts in the Beogram. It is over forty years old and without any restoration work, these turntables usually are no longer working at this point.


I proceeded with disassembling the Beogram 8000 by unlocking the floating chassis and removing trim panels.
This Beogram 8000 has already had the metal deck plate and access door (over the tonearm) re-attached. The dust cover works great and the lowering hinge appears to be in good shape.
There is a lot of dust debris scattered around in the cabinet.
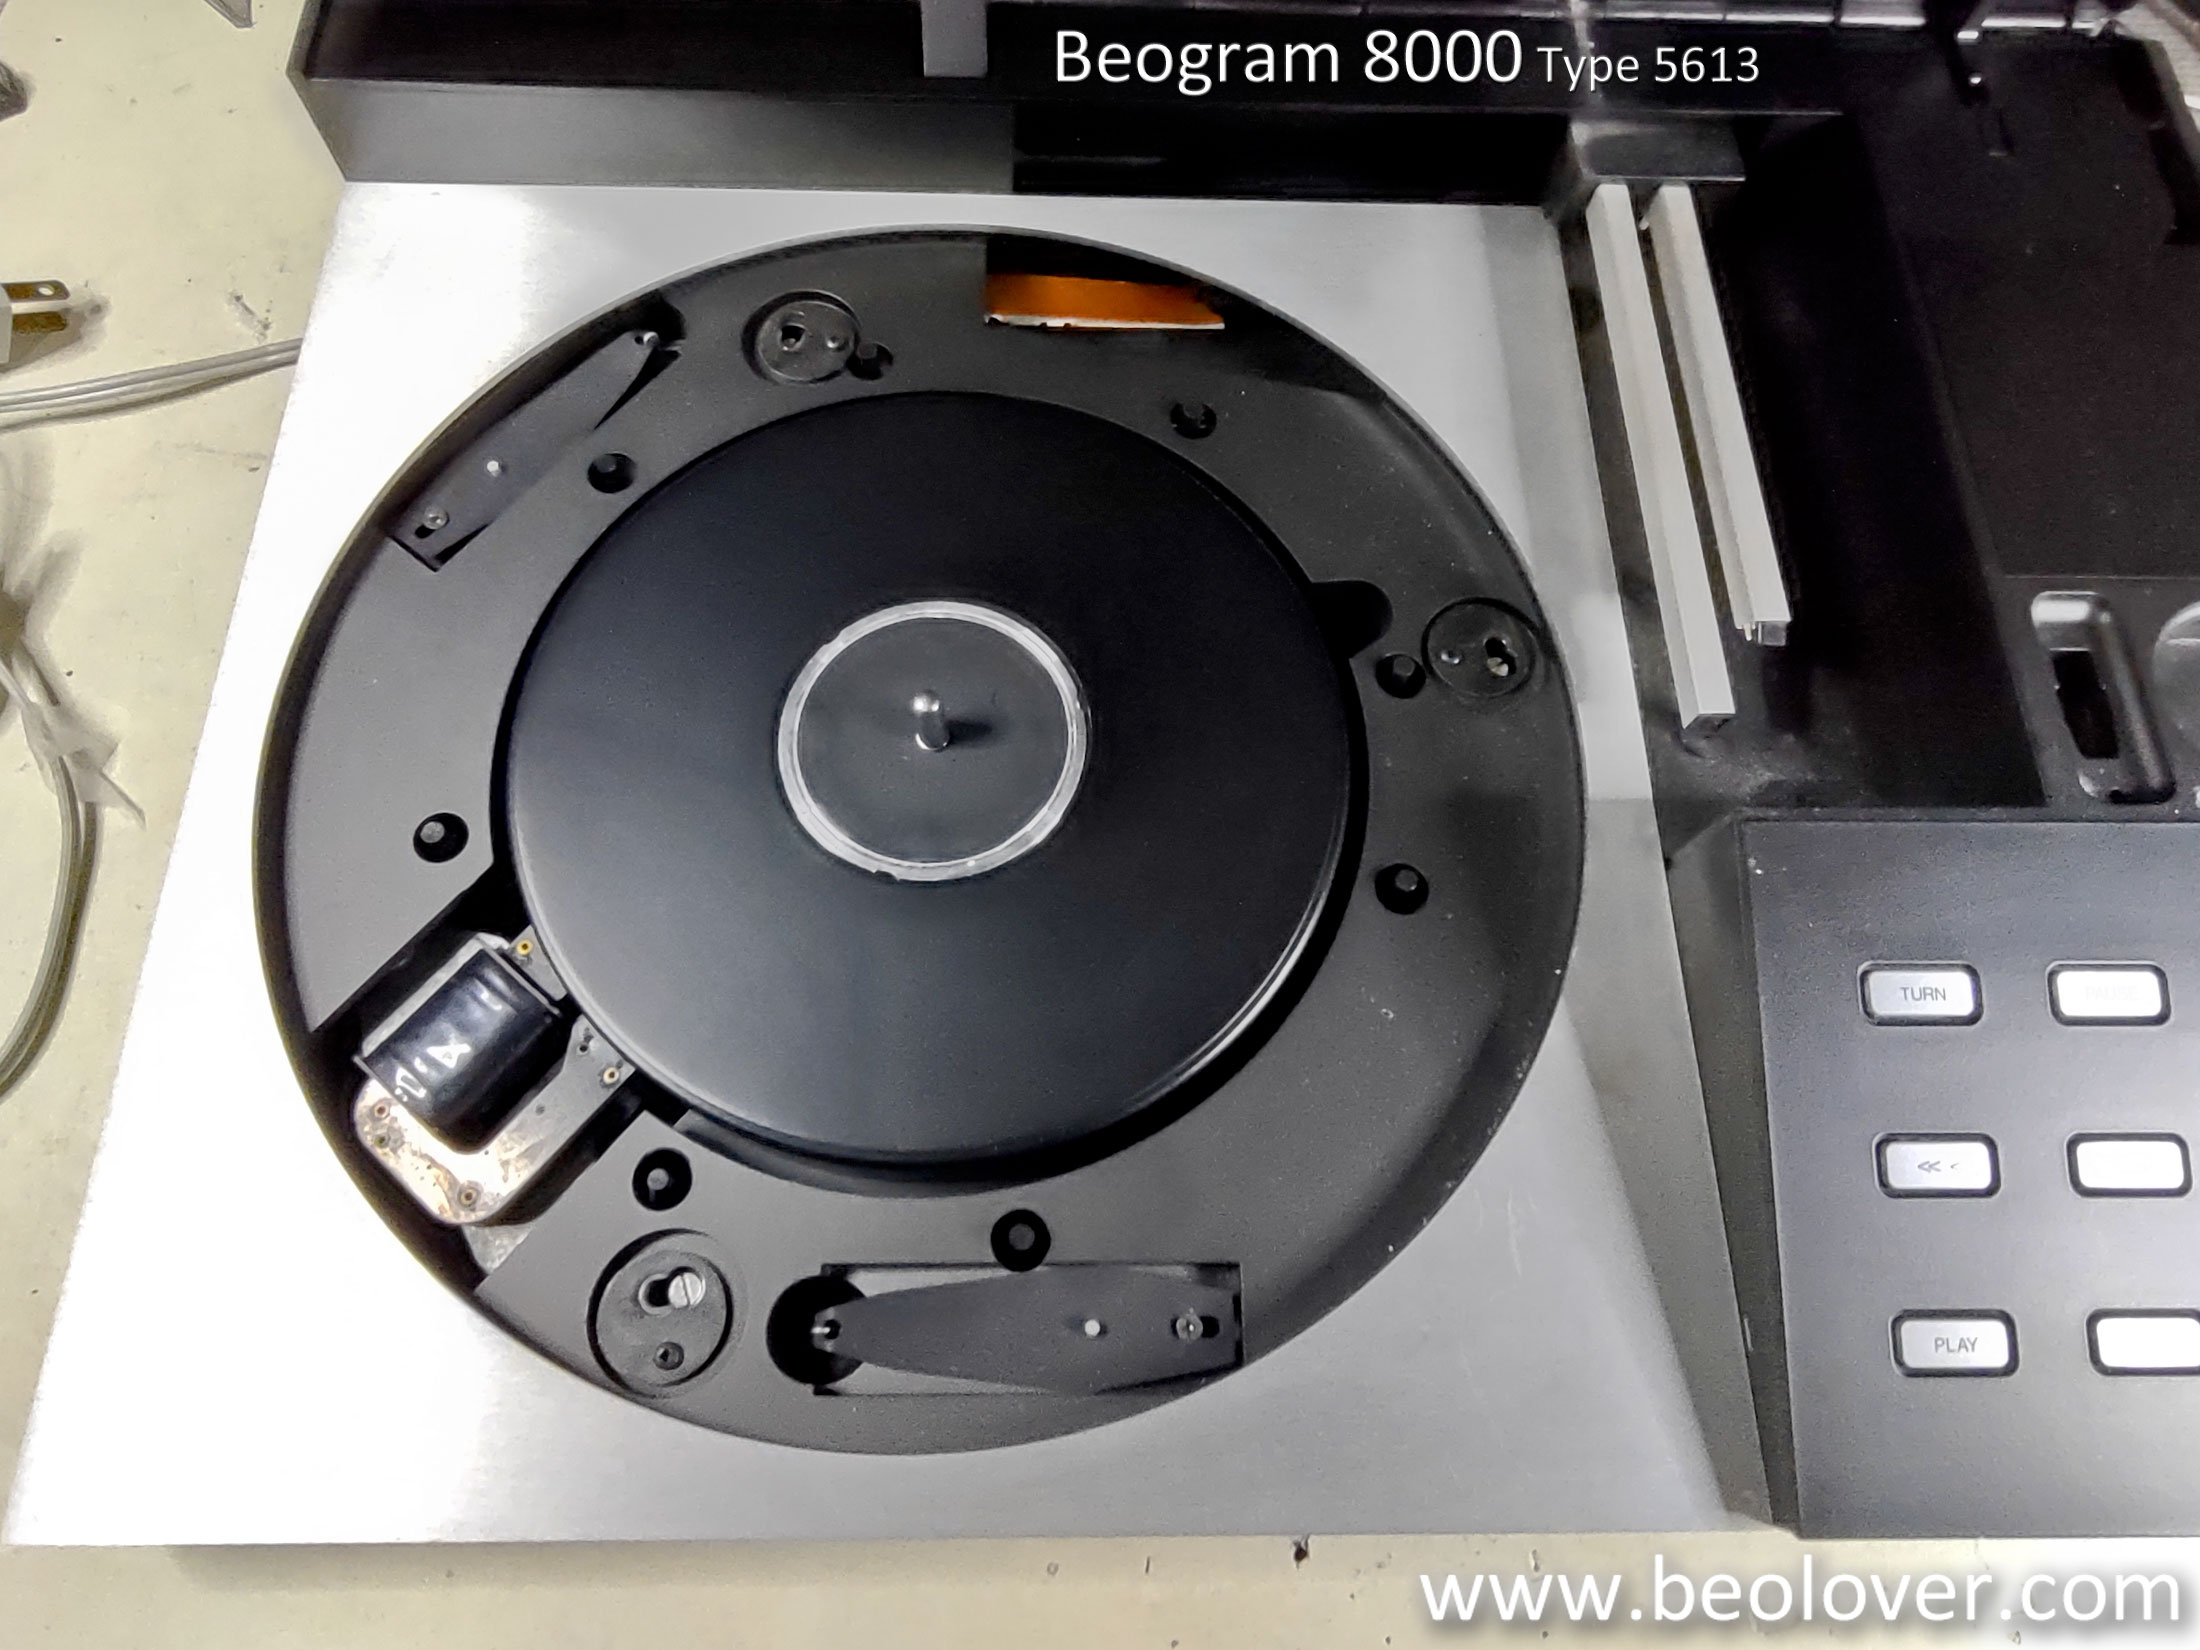
Removing the black, metal lid under the tonearm revealed why.

The original B&O double-sided tape for that lid assembly has deteriorated and produced dust particles everywhere around it.
That isn't unexpected and will clean up pretty easy. I will reattach the separated pieces with 3M VHB double-sided tape.
Next, I opened and removed the control panel assembly.


An important and nice thing here is that all of the plastic mounting tabs that attach the control panel PCB to the button panel are all intact. Those tabs are often broken off by people attempting to open the button panel incorrectly. This one is perfect.

To get to the main turntable components for assessment and removal I had to put the Beogram 8000 into its service position. That means removing two screws on the left, underside of the cabinet (not shown in the photo) and disconnecting the three floating chassis spring clips (as shown).

With some careful maneuvering of some Beogram parts to avoid the deck from hitting the arm assembly, I lifted up the cabinet lid to reveal the floating chassis underneath.


I don't like to leave the Beogram 8000 in this service position because there is nothing to hold the tilted cabinet top in this position. I am sure a good number of dust covers have been damaged because of incidents involving service position mishaps.
My technique is to temporarily secure the cabinet while I remove all of the internal components.
After that, I close the cabinet back up and store it safely away while I work on the internal component restorations.
Here are the Beogram 8000 internal components removed.

I was happy to see that this serial number Beogram 8000 has all of the circuit modifications B&O added to the Beogram 8000.

Earlier serial number Beogram 8000 turntables don't have all of the add-on boards shown (outlined) in the photo.
Everything on the boards is original as I would expect.
This Beogram does have the earlier model platter speed sensor though. That isn't a problem but is important to note because the current limiting resistors for the speed sensor are located on the main PCB and not on the speed sensor assembly as later Beogram 800x turntables have.
Here is the speed sensor and the current limiting resistors (on the main PCB).


The inside of the transformer assembly looks good.
I will replace the bipolar capacitor with a new one as part of the restoration.

On the microcomputer (uC) assembly, I will replace the C28 capacitor there and will install a new, modern socket for the uC IC.

On the floating chassis there are two capacitors that will need replacing. They are on a voltage regulator.

Another floating chassis component that will be replaced isn't in the photos and is the phono muting relay that is attached to the small PCB with the DIN phono socket.
The last few things I like to look at during a Beogram 8000 assessment is the tangential arm assembly and its spindle.


Everything looks good. Of course I will be cleaning off the old grease and oil to redo those mechanical items. I cleaned some grease off the white, plastic nut on the spindle. That is a part I always check first. This one is in great shape but occasionally I will come across a Beogram 8000 where that spindle nut is damaged and has to be replaced. So I always check that at the start.
Aside from replacing the electrolytic capacitors in this Beogram I will reflow the solder joints of all the board connectors. The mechanical parts will be cleaned and relubricated. It is a usual retoration step to replace the servo motor belt with a new one so I will check that. A new, metal tachodisc will be installed. The service manual checks and adjustments will be performed. During those tests I will measure and look at all of the sensor signals on an oscilloscope to verify everything is good.
No comments:
Post a Comment
Comments and suggestions are welcome!