The Beogram 4000 that I recently restored also had a scratched hood. Instead of spending 3 hrs in the garage polishing an old hood, my customer sent me a brand new reproduction hood from the Beoparts-shop in Denmark along for installation. These hoods represent a milestone in Beogram 400x restoration. They are manufactured via injection moulding, exactly like the original hoods. This means there are no seams like you find them on hoods made by fusing laser cut panels together.
In short: These hoods look exactly like the original ones. They were developed by Dillen (Beoworld). Their availability has advanced Beogram 400x restorations quite bit. Get your new hood directly from Beoparts-shop or get in touch with the Beolover. I have a bunch in stock in the US.
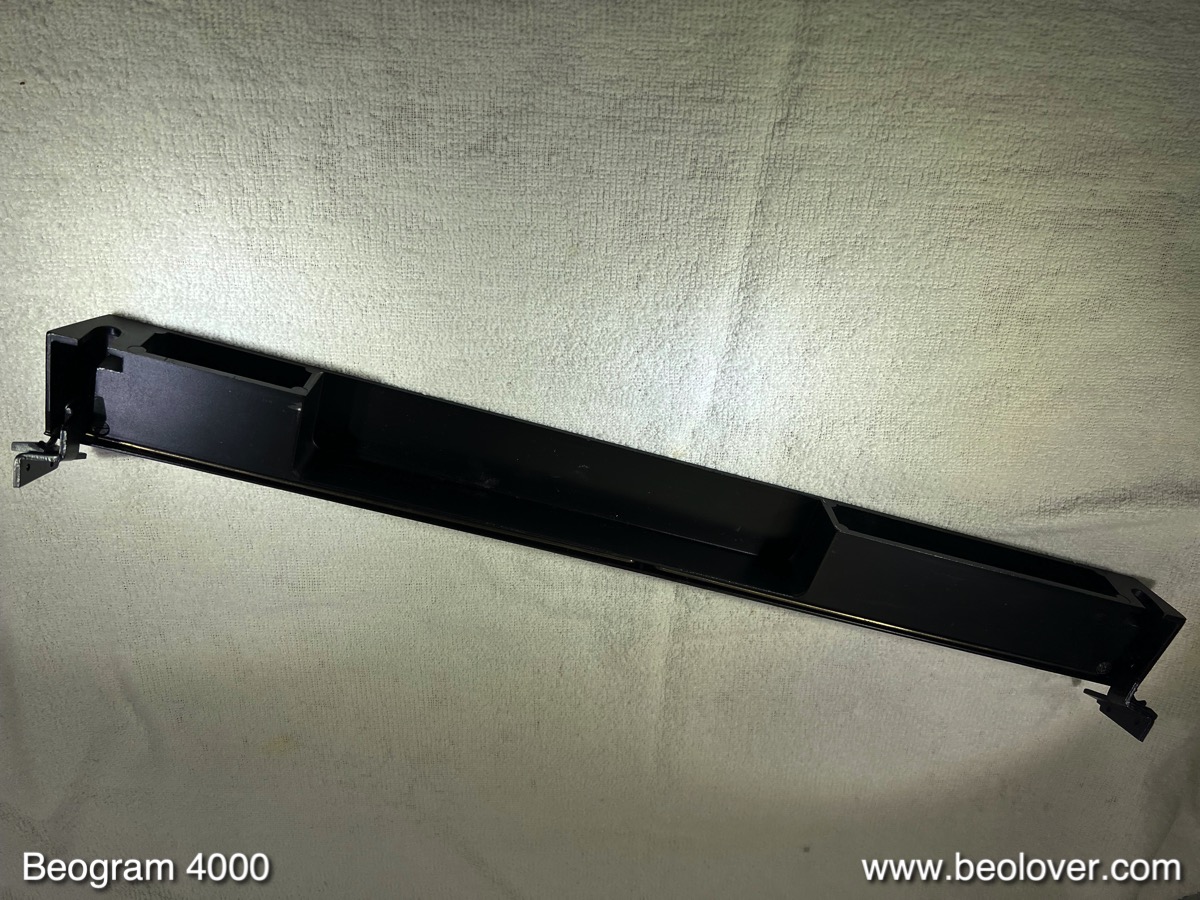
This post shows how I installed the hood on the original hinge part: Here is very the awesome new hood and a matching aluminum trim:
These hoods come covered with a self-adherent foil to prevent scratching during shipping and installation. I left this foil in place except around the hinge area.
Let's do it! The first step is to remove the hinge part from the original hood. Usually, one can remove the sides of the aluminum trip with a razor blade:
This allows bending the trim back far enough to get to the often rusty screws:
Simply remove the screws and then take the hinge off:
Then bolt the new hinge in. It has an improved design. The original screws were countersunk flathead type. This creates lateral stress around the bolt holes and is in my opinion the main reason for the frequent cracks that form around the holes, rendering the original hoods obsolete.
The new design uses socket head screws with a thin head. This prevents most of the formation of lateral stress, so there is hope that these hoods may last longer. This shows the bolts in place (don't forget to use the supplied plastic washers under these bolts. This will reduce the stress even further):
Once the hinge has been bolted in, it is time to install the aluminum trim. The key aspect is to apply it precisely centered, that the trim sides reach down to the bottom of the hood on both sides in exact the same way matching the lower edge of the plexiglass. I designed a clip-on part that allows to apply the strip exactly centered. This shows the part for the left end of the strip
and this for the right end. Just place the strip that it exactly matches the ends of the two parts:
I use a small piece of blue painter's tape on the plexiglass to make a small alignment mark on the hood and the strip. Pencil can easily be removed from the brushed aluminum strip:
Using this alignment mark it is a simple task to place the strip exactly centered with the glue down. After pressing the strip into place on top of the hood, I bent the sides down. I realized that it is difficult to properly press the strip-sides into place on the plexiglass, and so I used two clamping tools that I had developed earlier for hinge repairs to press the sides into place for 24 hrs to let the glue bond properly:
I have a mirrored clamp for the other end:
After 24 hrs I took the clamps off. And here we go: A new reproduction hood installed. Beolovely!


No comments:
Post a Comment
Comments and suggestions are welcome!