This week I started another Beogram 8000 turntable restoration and it is another Beogram sent in by the original owner. I like all of these Beogram projects but it is always special when it is from an original owner. All of the history of the turntable is known and usually the turntable is in very good condition.
That is definitely the case with this one.
The cosmetic aspects of the Beogram are great. I was particularly happy to see that as I have had a few lately where the dust cover and hinge pieces of the cabinet were damaged in places that could not be repaired (and meant finding substitute replacement parts).
This Beogram is great though.
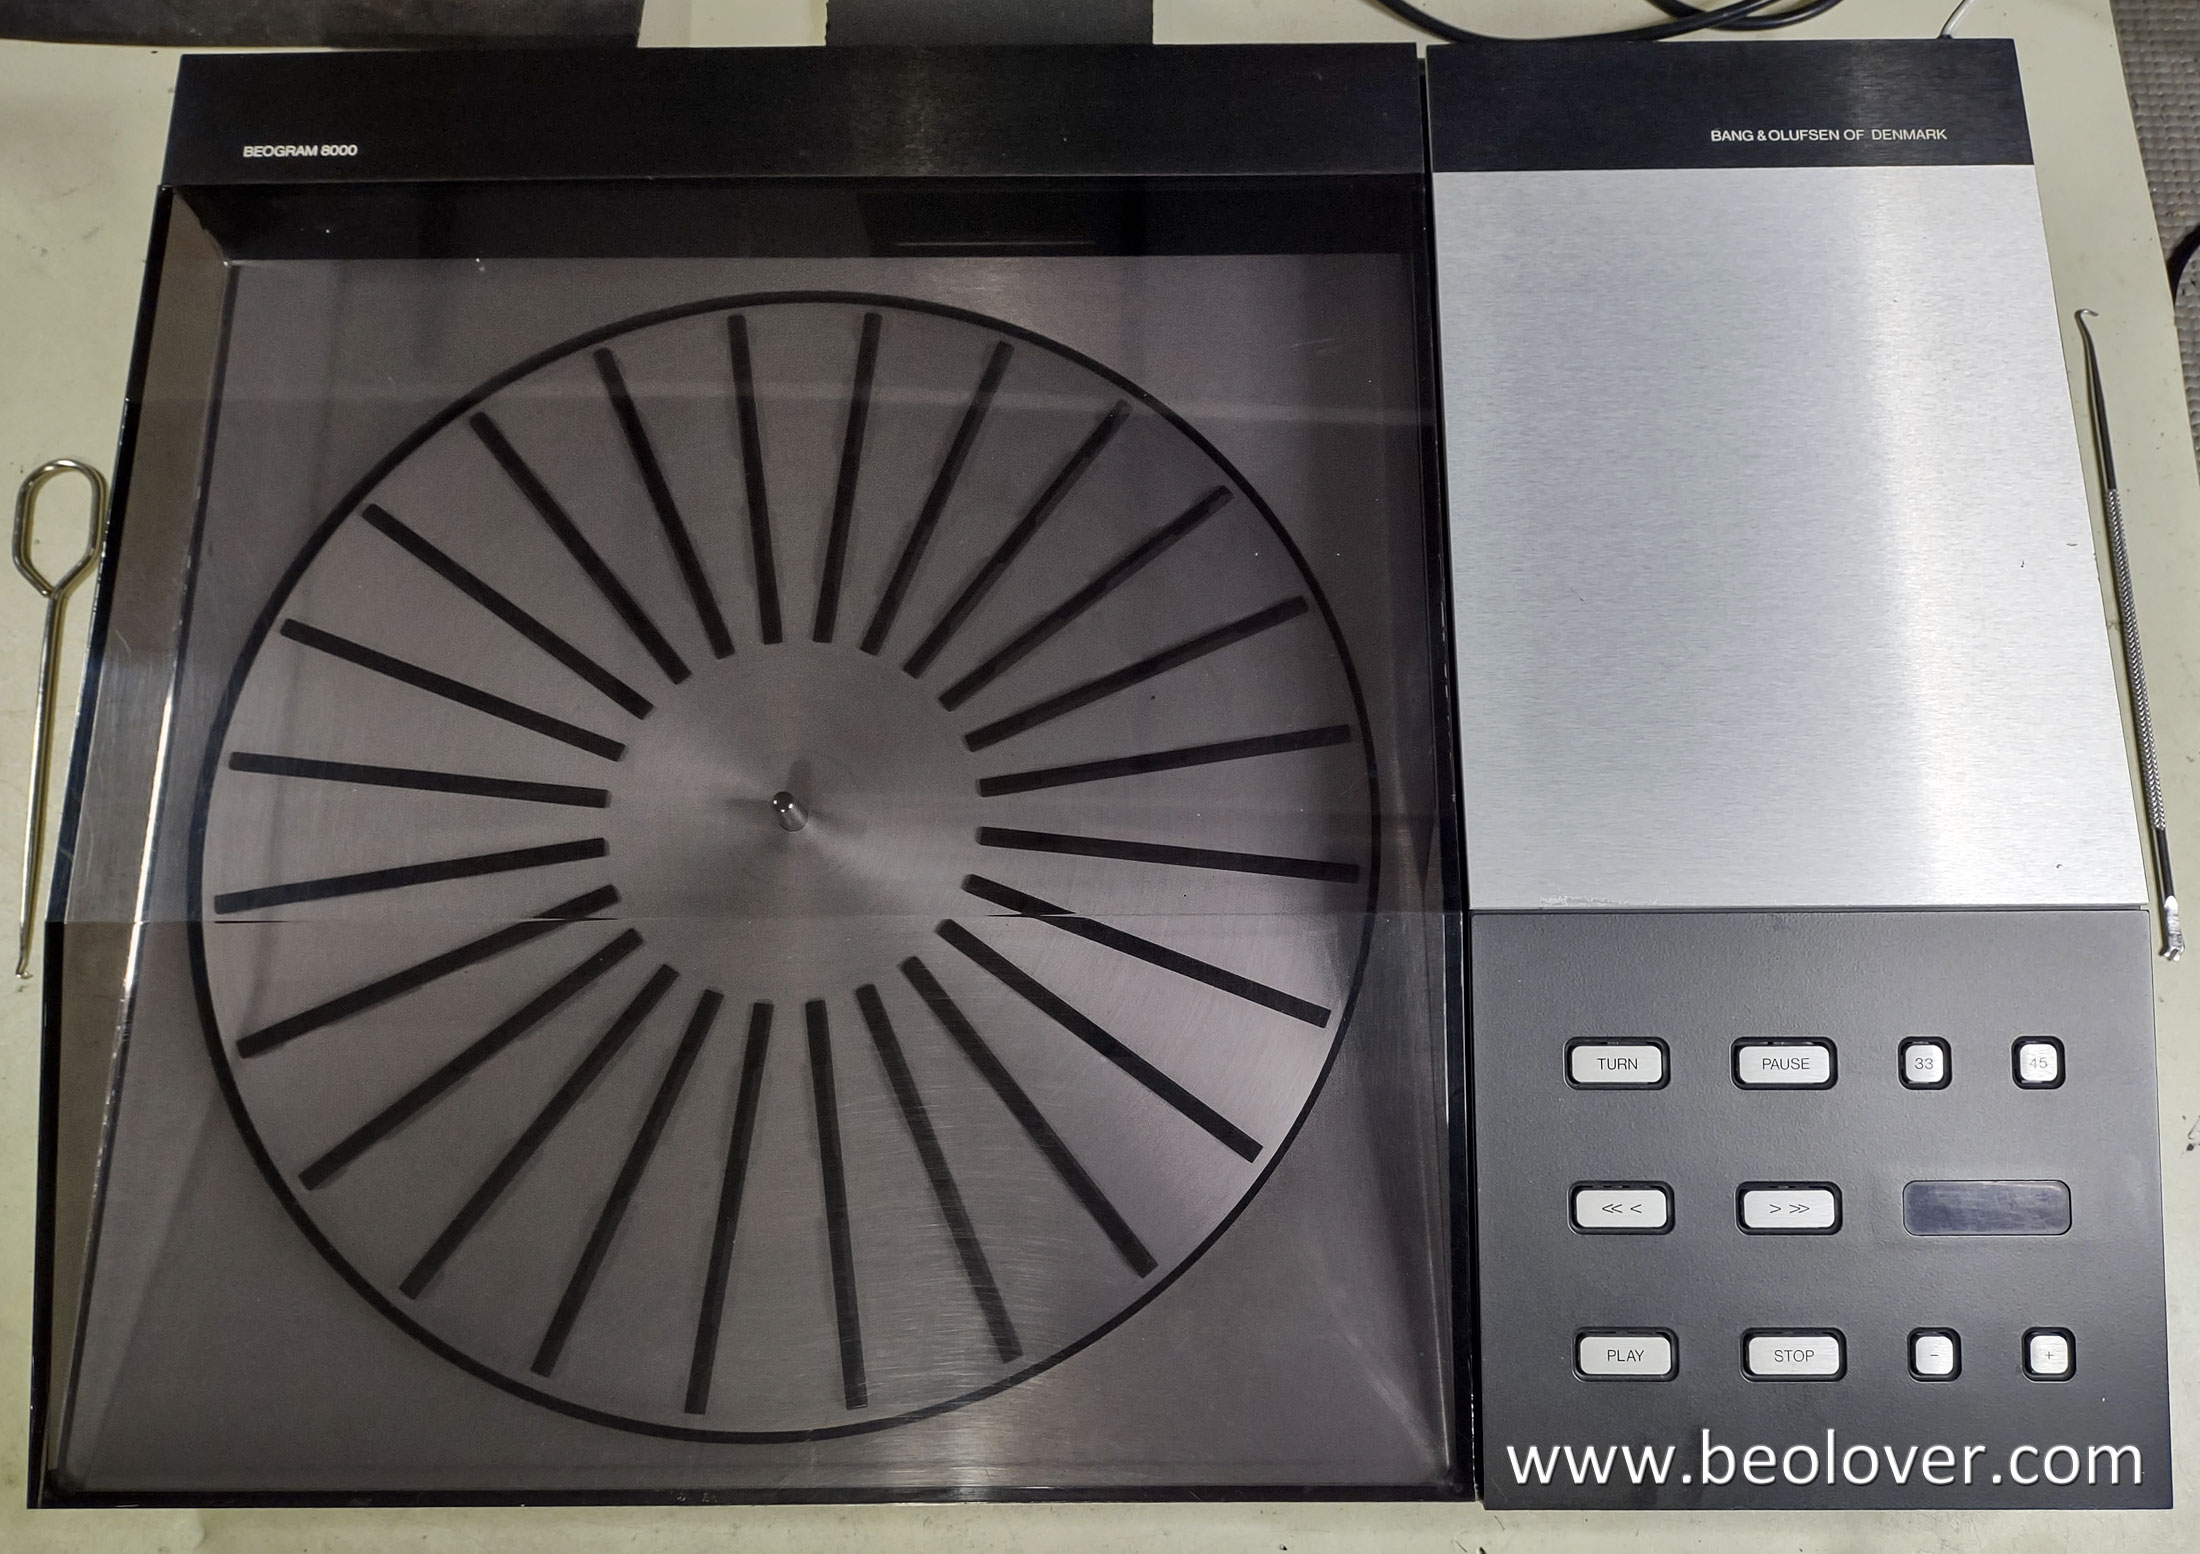

It has a nice looking MMC-20CL cartridge that I will test later.
For now, I want to remove all of the internal turntable components from the nice cabinet and store the cabinet away until the Beogram 8000 is ready to be reassembled for testing.
Here is the Beogram opened up into its service position, ready for removal of the floating chassis assembly and the electronics.


I spotted a couple of problems but neither are critical to the restoration.
At the top, left corner of the main circuit board there is a rubber grommet missing that secures the PCB 1 to the cabinet post (highlighted).
At the lower left corner of PCB 1 there is a broken corner of the circuit board. It is right where the transformer assembly plugs into PCB 1. It is likely that this Beogram suffered a hard jolt during its life (probably during shipping). I have seen this problem before. A jolt causes the transformer to move and put pressure on the PCB 1 circuit board.
Notice that someone glued a couple of soft pads to fit under the PCB board connector for the transformer. Not a bad idea for a safety precaution.
Here are the internal components removed.
The floating chassis assembly and the transformer (opened up).

Here is another interesting modification.

A grounding wire for the Beogram 8000 chassis is fixed to the metal lever on the floating chassis.
The Beogram cabinet base has a metal tab where that ground wire normally goes.
Not a big deal but it just jumps out as something different :-)
This Beogram 8000 is a model that is after the initial run of serial numbers and before the later serial number units that came out just before the Beogram 8002. Unfortunately the B&O sticker with the serial number is missing from this unit. I asked the owner to check at home to see if he happens to have the number somewhere. It is nice to know what the serial number is on these different projects as there are often quite a few differences.
Especially in the case of what version of speed sensor the Beogram 8000 has.
This one has an early version where the platter speed sensor does not have any current limiting resistors on the sensor assembly. The resistors are located on the main, PCB 1 circuit board.
This Beogram 8000 unit does have the updated, metal tacho-disc for the speed sensor however.

The reason it is important to note the type of speed sensor assembly is in case someone wanted to try out a different main board (PCB 1) with the Beogram. If a PCB 1 board version without the current limiting resistors (i.e. a later serial number PCB 1) was substituted with this Beogram's PCB 1, the speed sensor assembly would get damaged and become unusable.
Here are all of the internal components laid out and ready for restoration work to begin.

Here are some more details on circuit board differences between various Beogram 8000 units.
The main, PCB 1 circuit board on this Beogram 8000 unit has the add-on, PCB 6, settling circuit but not the later PCB 7, reset control circuit.
The PCB 2, microcomputer circuit board for this Beogram is prior to B&O adding the flip-flop IC on the speed control signal to the processor.
The flat ribbon cables on this Beogram are the multi-colored cables that are slightly fatter than the plain, gray cables of later units.


The majority of this restoration work will be to replace the electrolytic capacitors, re-flow solder joints on all of the connection points, clean and lubricate the mechanical parts (including changing the servo motor belt) and perform the service manual adjustment/checks. That is what I like about a well taken care of, one owner turntable restoration.
No comments:
Post a Comment
Comments and suggestions are welcome!