The first service manual adjustment is to set the platter height so the surface of the platter is 23mm from the top of the fixed arm.
I set my calipers to 23mm then adjusted the platter bearing screw so the platter measured 23mm from the top of the fixed arm.

Next, I adjusted the tonearm lowered position limit so the tip of the stylus is about 1mm from the top of the first platter rib.

Then I checked the stylus tracking path by stretching a string from the center of the platter to the edge of the Beogram cabinet. As I placed the stylus at various points along the string I checked that the distance of the stylus to the string stayed consistent.

Following that adjustment procedure I checked the tracking sensor sensitivity.
With a test record on the platter, I lowered the Beogram 4004 tonearm onto one of the middle tracks.
The platter was not connected to the motor (the belt was removed) so nothing was moving.
I manually rotated the platter and observed when the servo begins to move the spindle (to track the record)
.
The Beogram 4004 servo should start rotating the spindle pulley within one or two platter revolutions after the tonearm sets down. After that the servo should move the spindle on every revolution.
I set the tracking sensitivity to rotate the spindle after one revolution.
All of the adjustments so far were without the platter belt installed. Any moving of the platter was done manually.
Now it was time to install the platter belt and begin checking the platter speeds (33.3 and 45 RPM).
For the platter speed adjustment I used the two trimmers that were installed on the reworked PCB 1 board to adjust the 33.3 and 45 RPM turntable speeds. The speed adjustment knobs on the speed indicator panel were set to the 0 position.
I use the Beolover RPM Tool to check the platter speed as I adjust the speed trimmers. The following two pictures show the RPM tool and adjustment.


This Beogram 4004 is ready for playing records.
I will test this turntable in a listening room for a few days to make sure everything works properly before returning the Beogram to its owner.
.
The Beogram 4004 servo should start rotating the spindle pulley within one or two platter revolutions after the tonearm sets down. After that the servo should move the spindle on every revolution.
I set the tracking sensitivity to rotate the spindle after one revolution.
All of the adjustments so far were without the platter belt installed. Any moving of the platter was done manually.
Now it was time to install the platter belt and begin checking the platter speeds (33.3 and 45 RPM).
For the platter speed adjustment I used the two trimmers that were installed on the reworked PCB 1 board to adjust the 33.3 and 45 RPM turntable speeds. The speed adjustment knobs on the speed indicator panel were set to the 0 position.
I use the Beolover RPM Tool to check the platter speed as I adjust the speed trimmers. The following two pictures show the RPM tool and adjustment.


The last adjustments are to put the Beogram 4004 deck panels back together and check that everything aligns.
The platter needs to be centered in the deck opening and the top of the platter should be even with the top of the deck plate.
The platter needs to be centered in the deck opening and the top of the platter should be even with the top of the deck plate.
Those adjustments can take quite a while to get correct and you often have to go through several iterations of the adjustments. That was the case here although it wasn't really to bad.
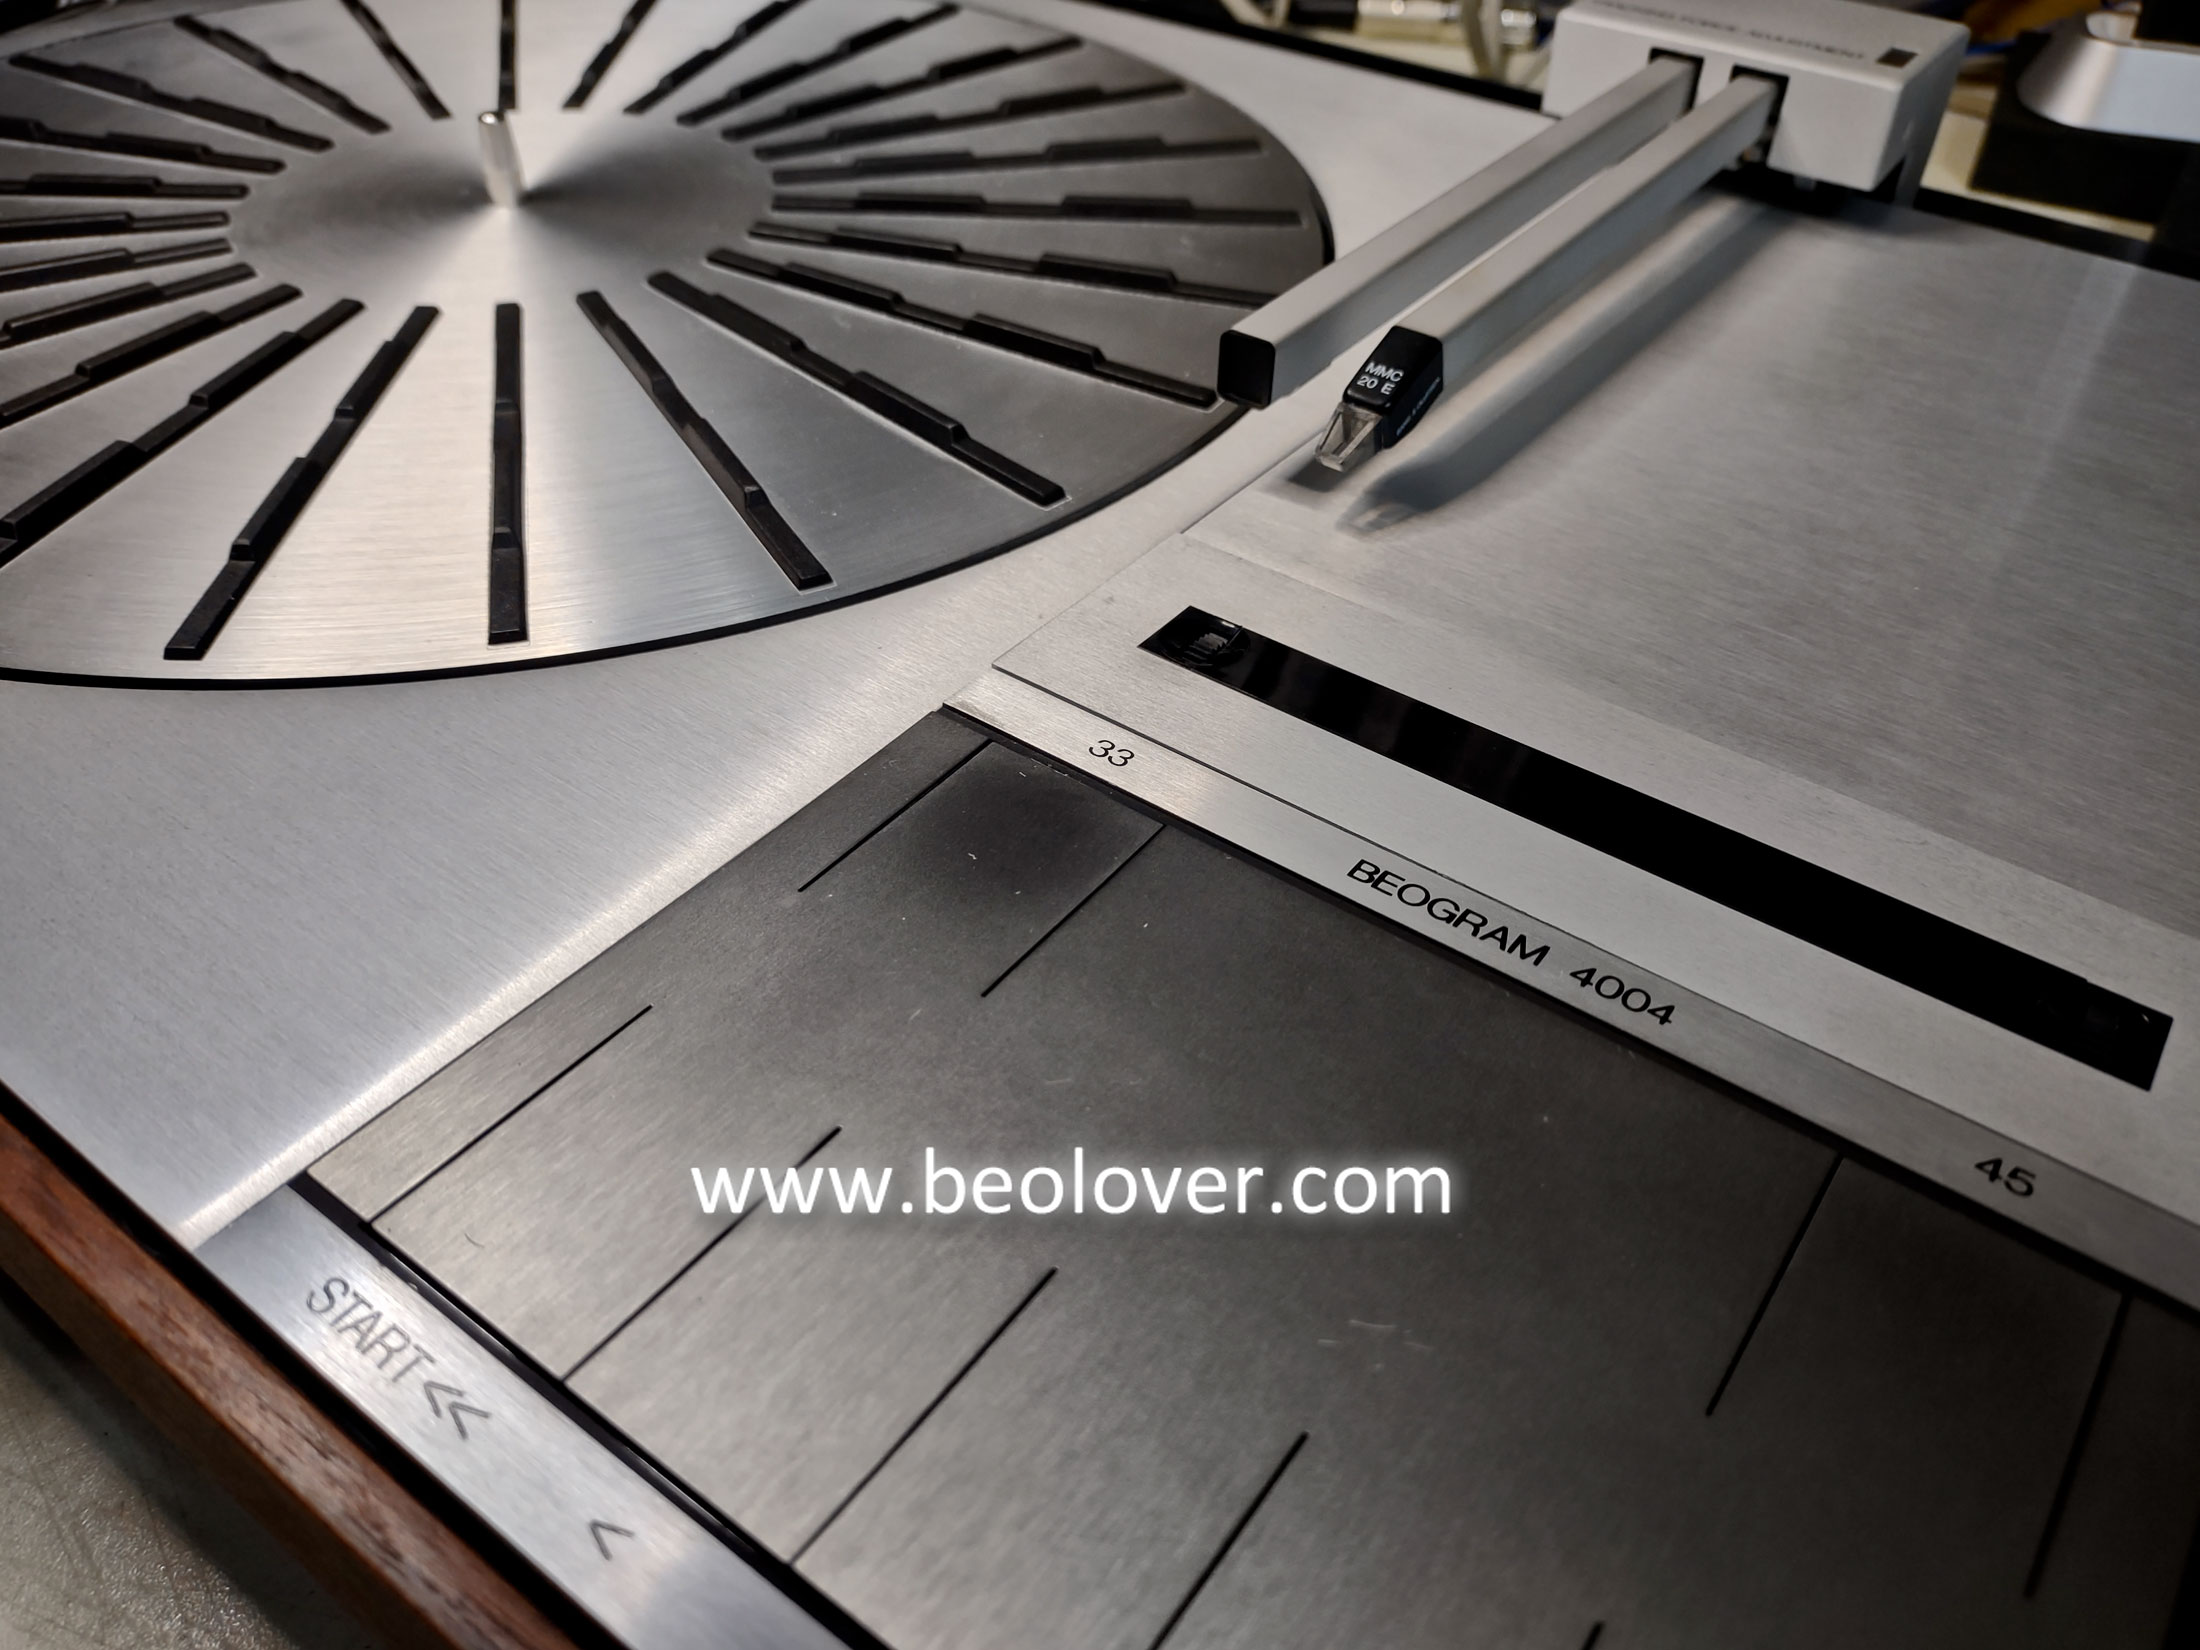
Here are the pictures of the Beogram after all of the adjustments were complete.
Here are the pictures of the Beogram after all of the adjustments were complete.

This Beogram 4004 is ready for playing records.
I will test this turntable in a listening room for a few days to make sure everything works properly before returning the Beogram to its owner.
No comments:
Post a Comment
Comments and suggestions are welcome!