I recently received the DC motor, the main PCB and the RPM adjustment panel from a customer in Tennessee for restoration. His Beogram 4002 (5513) had developed RPM fluctuations and so it was time to give these parts a closer look.
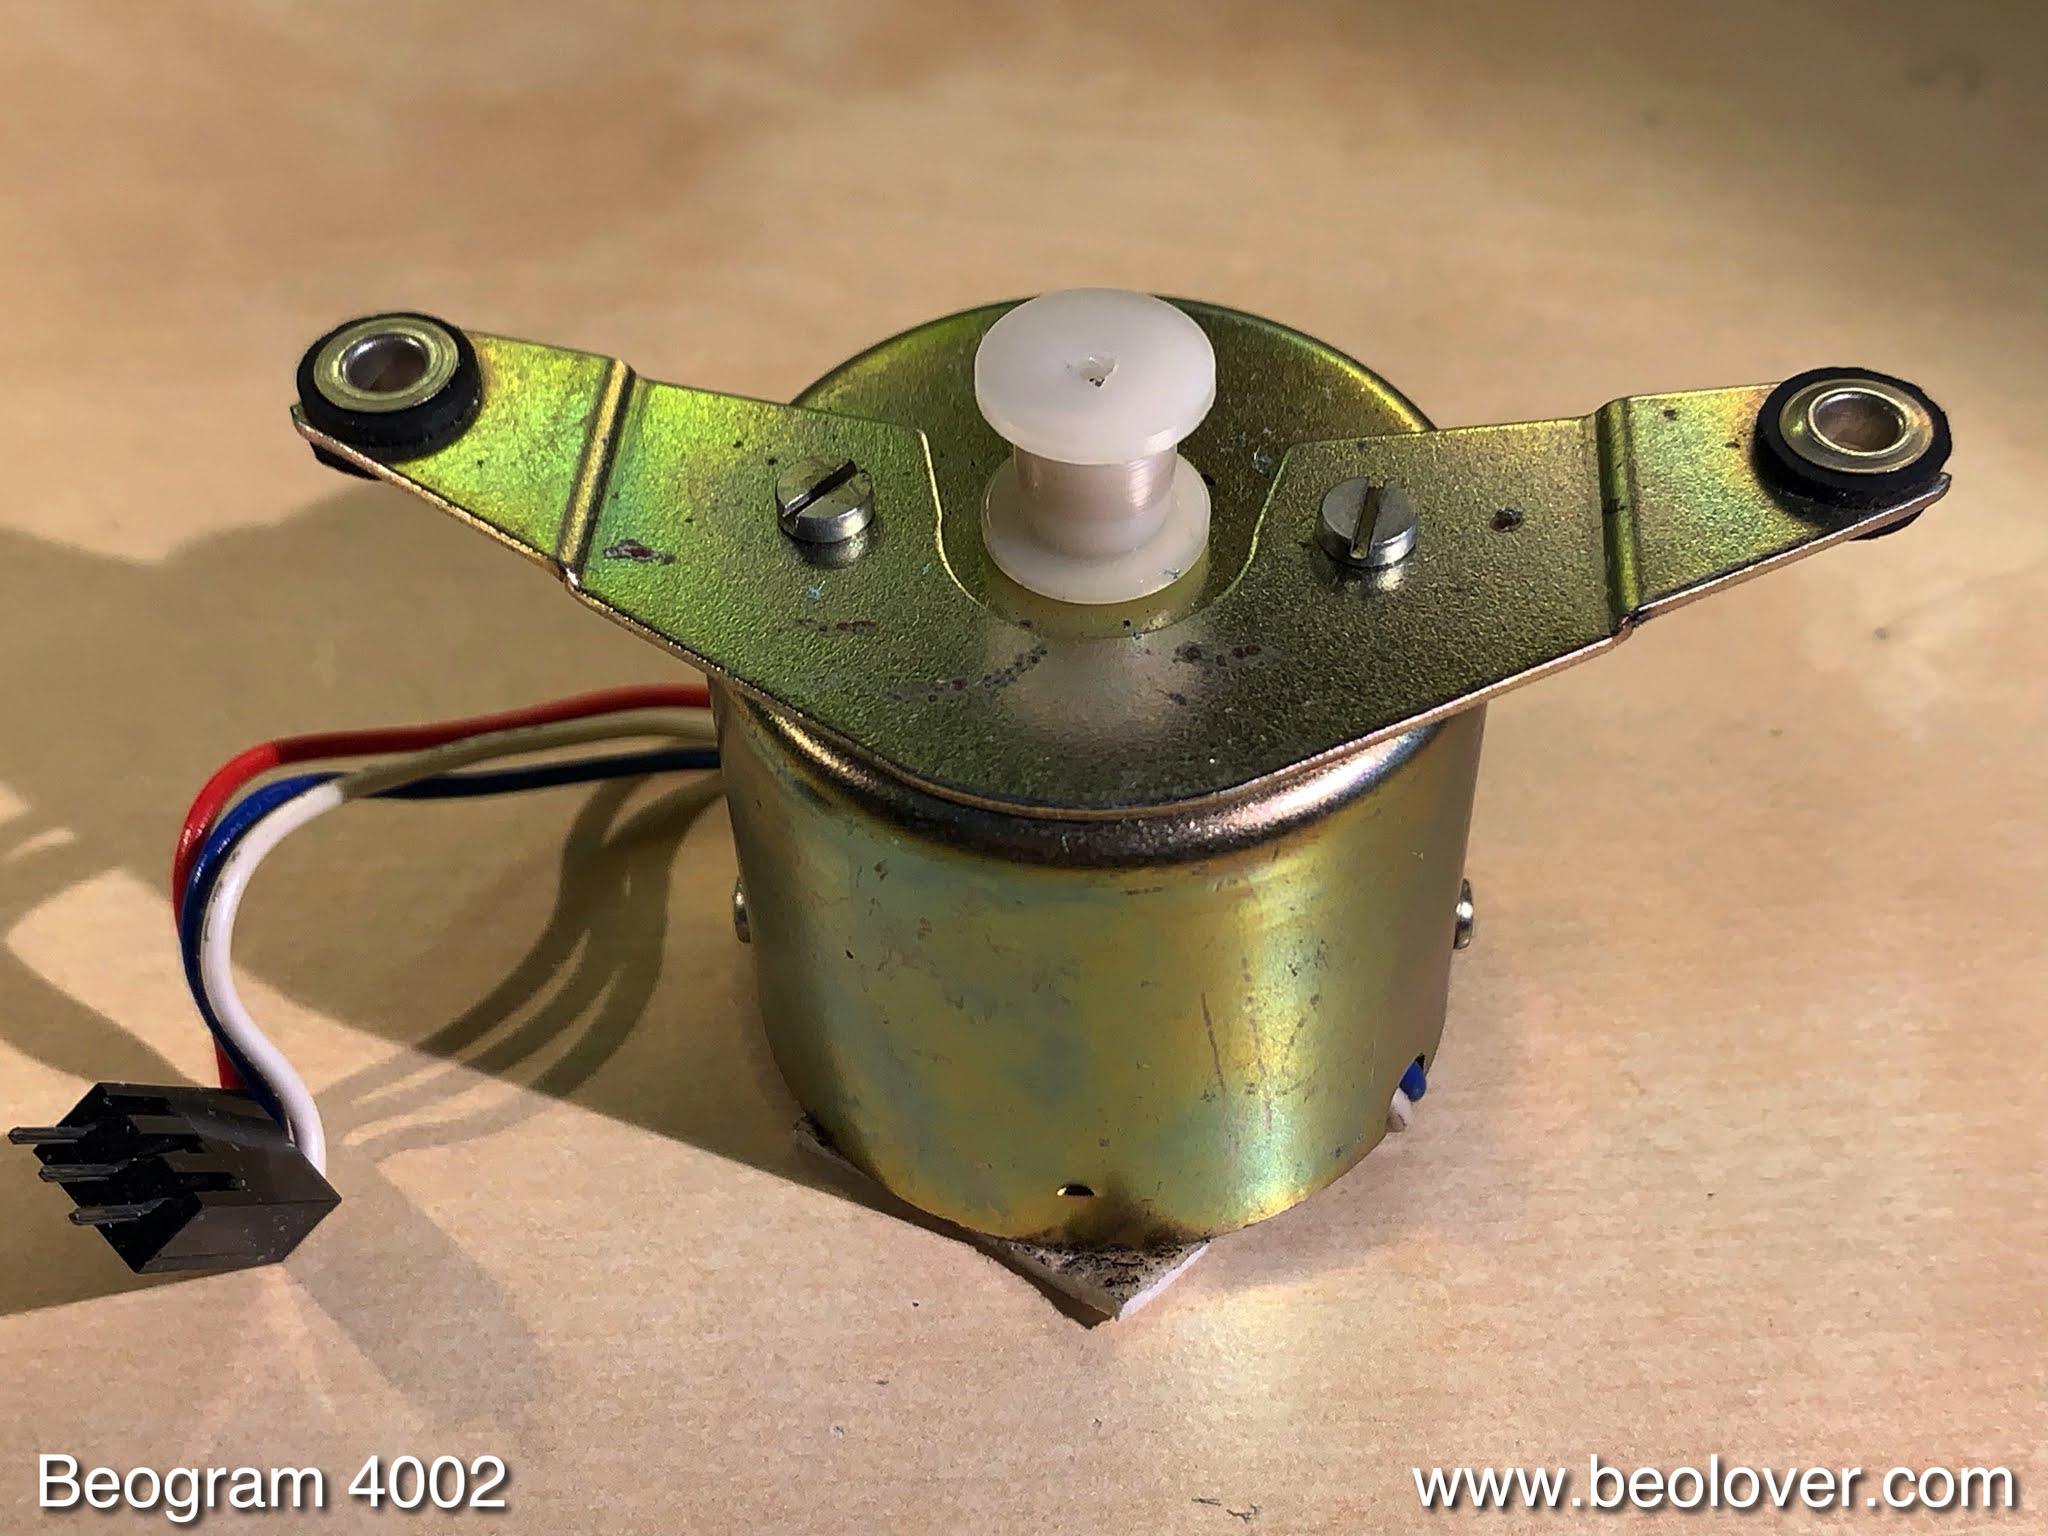
I started out with the DC platter motor:
I disassembled it to extract the bearings for oil infusion. The bearings are the two small donuts on the black pad up front:
I immersed them in motor oil and pulled a vacuum. Immediately the characteristic bubbling started as the vacuum pulled the air from the porous bearing material to make room for oil inter-diffusion:
After a couple days the bubbling stopped indicative of replenished bearings and I removed them from the oil bath:
I reassembled the motor and then it was time to restore the main PCB. This shows the original board as received:
A few capacitors were already replaced as well as the RPM relay, which my customer had purchased earlier and replaced himself. I replaced the remaining electrolytic capacitors and also replaced the RPM trimmers with 25-turn encapsulated modern units for improved RPM stability and adjustment accuracy:
I also replaced TR4 and its biasing resistor since these transistors often go out of spec over time and then the record detection circuit becomes ineffective, allowing arm lowering onto the platter without a record present. This shows the original transistor:
I replaced it with a 2N5089 high gain type and installed a 5MOhm biasing trimmer on the solder side of the board so I could adjust the bias for a collector DC of 4V with plugged in board:
After setting the trimmer I moved it 'below deck' next to the new transistor. Note that the 2N5089 has a mirrored pinout compared to the original 548C type that was replaced. This means the transistor package needs to 'face' into the opposite direction if you do this at home:
This shows the complete board after the restoration:
The final task was to replace the incandescent bulbs in the RPM panel. This shows the panel with opened up bulb compartments:
I removed the bulbs and installed my LED replacement boards:
After this was completed, I installed the three components in one of my Beogram 4002s for testing. Right after installation I verified the sensor signal. This shows the collector signal of TR4 with rotating platter under the sensor. Each drop of the signal corresponds to a black rib passing through:
These throughs need to go all the way down to zero if everything is up to spec. This shows this board is ready for detecting records properly.
Then I setup my BeoloverRPM device for a 24 hrs test of the RPM stability of the system. The BeoloverRPM allows logging the RPM in 10s intervals for extended periods of time. Ideal for detecting intermittent RPM issues.
After about 24 hrs I plotted the data of this measurement run, which is shown in the blue curve in the graph below:

I did not like the bunch of RPM drops about halfway through the test, which suggested that the spark snubbers of this motor were on the way out. It usually starts with occasional RPM drops that intensify over time, until one of the snubbers shorts out completely and the motor stops more or less running. I opened the motor up a second time and removed the rotor. This shows it in its original condition. The snubbers are the small yellowish devices on the ring soldered to the coil terminals beneath the commutator. The replacement snubbers (modern unidirectional TVS devices) are on the black pad:
I removed the old snubbers,
and soldered the replacement devices into place:
Then I put the motor back together and installed it again for another 24 hrs test. That gave me the red curve in the above graph, which did not show any drops anymore.
These Beogram 4002 components are ready for duty again!


 After about 24 hrs I plotted the data of this measurement run, which is shown in the blue curve in the graph below:

 I removed the old snubbers,
 and soldered the replacement devices into place:
 Then I put the motor back together and installed it again for another 24 hrs test. That gave me the red curve in the above graph, which did not show any drops anymore.


No comments:
Post a Comment
Comments and suggestions are welcome!