Featured Post

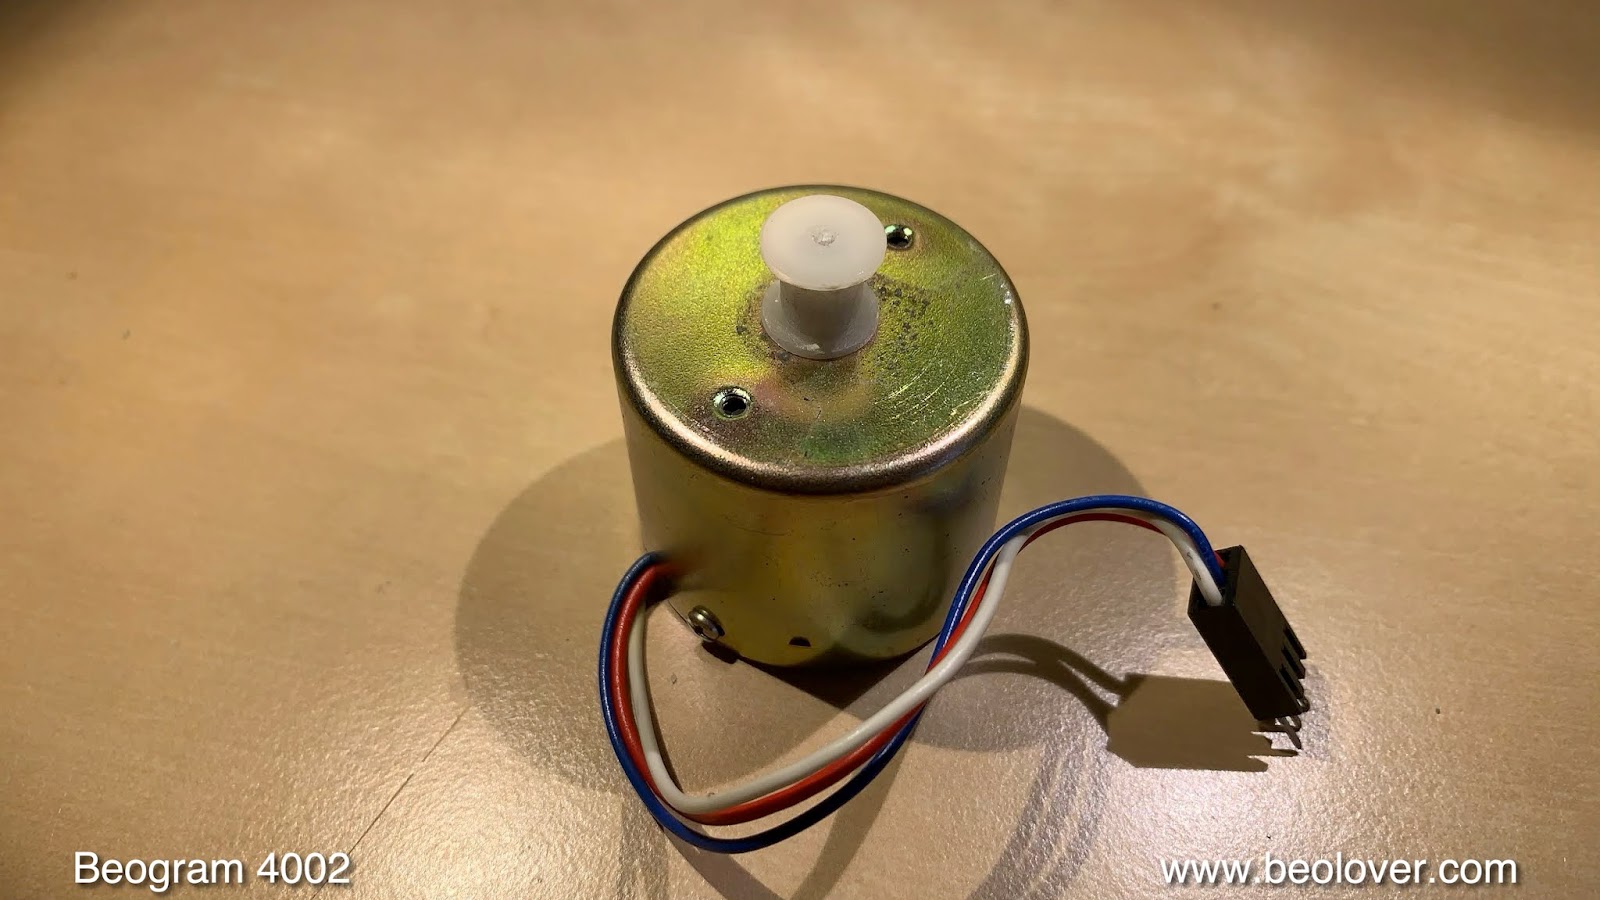
Beolover SyncDrive: DC Platter Motor Replacement for Beogram 4002 and 4004 (Type 551x and 552x)

Late Beogram 4002 and the 4004 (Types 551x and 552x), which have DC platter motors instead of the earlier synchronous AC motors usually suff...

Saturday, July 25, 2020

Beomaster 4400 Type 2419: Personal Project : Main PCB Recap, New Reservoir Capacitors, New Trimmer Resistors

It may look low profile and small but recapping a Beomaster 4400 is quite a big desoldering and soldering task.

I finished replacing all of the electrolytic capacitors and trimmer resistors on the Beomaster 4400 main board. I also installed an arc suppression device like I installed on the previous Beomaster 4400 restoration project. The purpose of that device is to provide extra protection to the Beomaster power switch contacts.

Here is the Beomaster 4400 after the recapping (the before photos are in the previous post)


Here are some closer shots of the inside of the Beomaster 4400 after the recap.


and here is a closer look at the reservoir capacitors and the arc suppression device.


With the main board and chassis completed I can move on to the three FM boards and the preamplifier board.

Monday, July 20, 2020

Beomaster 4400 Type 2419: A Personal Project

Whenever I do a restoration on a Bang & Olufsen audio component I find myself wanting to keep it for myself.  It makes sense seeing how these units we restore are units we also like ourselves here on the blog.

A few years ago I had my own working Beomaster 4400 that I purchased in working order. Since it worked great I decided to leave it as is and just use it until it started to fail.  I got two good years out of it before I started to notice a degradation in performance.  At that point I put it away for later restoration when I had time.

After my last Beomaster 4400 restoration project I was reminded how I liked this receiver so I opened up a spot in my restoration schedule to do one of mine.  Truthfully, I plan to do two for myself.  That is because a few months ago I acquired another Beomaster 4400 unit that is from one owner and looked to be a great restoration candidate.

So I will begin with the latest acquisition then move to the first unit.

Here is how it looks having just opened it up.


It is pretty clean overall. You can immediately tell that this unit was stored well and came from a smoke-free environment. The lenses on the controls are still clear.

There is some sort of black gunk on the metal frame but I should be able to clean that off.


The left and right sides of the rosewood cabinet have small chips. One is still hanging on so that will be an easy repair. The other side is gone so I will have to fashion a matching piece out of some rosewood veneer I have in my shop.


The color on the cabinet is good. It doesn't appear faded so after the repair of the cabinet dings a little sanding and refinishing should make it look new again.

Inside the Beomaster 4400 circuitry looks original as expected. The front controls all operate smoothly (without power applied).


Very nice.

Removing the smaller boards I don't see any signs of burned or broken traces.


Here is the Beomaster stripped down where I will begin work on the restoration.


Here are the three FM modules and the preamplifier removed and ready for recapping.


As clean as this Beomaster 4400 unit is I am hoping that I won't have to dig in to the front panel components like I did on the previous Beomaster 4400 project.

I should be able to do most of the cleaning, solder reflowing and capacitor replacement without much disassembly this time.

The power switch on this unit seems to be in good order so I will only have to attach my arc suppression device.

The previous Beomaster 4400 project used up quite a few of my restoration components for these receivers so I ordered more from Mouser last night and they should arrive tomorrow.


Thursday, July 16, 2020

Beogram 4000: A New Arrival from the UK

A customer from California recently purchased a Beogram 4000 in the UK and had it directly shipped to me. It was reasonably well packaged and arrived in good condition. This post will give a brief assessment of the condition prior to restoration.
This shows the unit as received:
While it is pretty dirty it is in pretty good condition overall. The hood has the typical scratches from careless storage:
While many scratches are deep enough to be felt with a fingernail, it certainly can be polished back to a nice condition. This hood also has an aluminum strip instead of the sometimes encountered flimsy plastic strips. The hinges appear uncracked. The hood hinge shows the usual signs of corrosion:
This can be addressed by sanding the affected area and spray coating with satin black paint.
So far so good! I took the hood off
The aluminum surfaces need a deep clean, but there are no major scratches. Very nice! The plinth is also pretty good, and the corners are in almost pristine shape:

I removed the platter and the aluminum panels and found no obvious signs of previous 'human creativity', always a plus for a smooth restoration process:
As usual the carriage pulley had come off during shipping:
But luckily the carriage was secured during shipping preventing the carriage from moving about and breaking the red position indicator. It is in good shape:
Before plugging the unit in to check its vitals, I had to address the impressive UK plug configuration:
It seems a previous owner needed an on/off switch! I replaced all this with a standard US plug
and then switched the voltage selector to 110V and plugged it in. After pressing start nothing happened. As found frequently in the 4000, the fuses had deteriorated:
One had a cracked housing and the other seems to be OC. Unfortunately, the plastic cover of the fuse box is also cracked in this unit and will need to be replaced with a spare. I replaced the fuses with two new slow 500mA(T) fuses (the manual prescribes 250mA for all voltage settings, but in my experience 250mA is a bit low for running an AC motor Beogram at 110V, which doubles the current compared to running it in Europe on 220V). After pressing ON again the strobe light came on
(which is excellent news) and then the carriage started moving sluggishly towards the LP setdown point. There, the solenoid tried to lower the arm but hardened lubricants prevented the mechanism from fully engaging. At this point I pressed OFF and the carriage returned home. It is a good idea with the 4000 (or early 4002s) not to run it if the solenoid motion is obstructed, since the solenoid current only gets lowered via a solenoid activated switch when the solenoid plunger is fully extended. If that does not come to pass, the solenoid continues drawing maximum current, which can cause it to burn up. This shows some of the solenoid activated switches:
They are corroded as usual. Something that will need to be addressed. There are about 20 switches of this type in the 4000, and they are vital for its operation. It is usually one of my first tasks to get them working reliably since most operational issues can be traced to one or more switches not working reliably.

In summary, this Beogram 4000 is a pretty good starting point for a restoration, and I am convinced that this unit can be returned to an almost-new condition.


Wednesday, July 15, 2020

Beogram 4002 DC Motor Restoration

I recently received two Beogram 4002 DC platter motors from Michigan for restoration. In the following I will show the process for one of them. The other received the exact same treatment. This shows motor #1 as received:
I disassembled the motor to extract the bearings for oil infusion under vacuum:
The bearings are the two small donuts up front on the black pad. I immersed them in motor oil and pulled a vacuum:
Immediately bubbling started indicating that air was drawn out from the porous bearing material to make room for oil inter diffusion. After about 72 hrs the process stopped and I removed the bearings from the oil:
Then I reassembled the motor and installed it into one of my Beogram 4002s for testing with the BeoloverRPM device:
the BeoloverRPM device allows logging the RPM over extended periods of time. Perfect for detecting elusive intermittent RPM changes. This graph shows the two curves I measured for motors #1 and #2:
These curves are as good as it gets with the Beogram 4002 DC motors. Motor #2 (blue) is slightly more 'unruly' than #1. In my experience some motors can take a while to settle after restoring them, and I think after playing a stack of records, it may well get as stable as #1. At any rate the fluctuations are well below what humans can detect, i.e. these motors are both ready again for business.


Sunday, July 12, 2020

Beogram 4002 Type 5513: Return to the workbench for a new phono cartridge mount

With the third Beogram 4002 Type 5513 delivered to Houston the number two Beogram came back to my workshop. It is suffering from a broken phono cartridge connector on the tonearm.


This type of problem is common on the Beogram 4000 turntables (as they are the oldest in the series) but is not unheard of in the Beogram 4002 Type 5513.  I ran into a faulty phono cartridge connector on a Beogram 4002 Type 5513 back in 2017.

This problem would be a huge problem for an owner and require stealing a good connector off another Beogram turntable if it weren't for Beolover having a replacement part for it.

I will use the Beolover replacement part to repair this Beogram 4002 turntable.

First off I need to prepare the Beogram for the new phono connector.

That means removing the tonearm by unscrewing the two mounting screws that attach it to the tonearm base assembly.


The aluminum tonearm tube pulls out to expose the phono wires and a small transfer board. The transfer board is where the color coded wires from the phono connector connect to the very thin wires that take the signal through the tonearm base.

I am using a small mirror in the two photos below to show the top and bottom sides of the wiring transfer board.


After desoldering the phono wires from the board the tonearm assembly can be removed.

I performed the usual boiling water to ice water trick to loosen the glue that holds the tonearm cartridge connector inside the aluminum tube.  That let me push the connector out of the tube so it can be repaired.


Unfortunately I don't have the Beolover replacement phono connector in my stock of Beogram parts so I quickly ordered one.

In the meantime....continuing the repair preparation, I turned the tangential arm assembly over so I can easily get to the wiring board.  When the replacement phono cartridge connector arrives I will install new phono wires from the new connector to the transfer board.


It shouldn't take long to reattach the wires and this Beogram will be ready to go again.

Tuesday, July 7, 2020

Beogram 4002 (5513): Completing the Restoration

In summer 2019 I restored the DC platter motor of a Beogram 4002 located in Virginia. Recently, I received the entire unit for an overhaul. The restoration of the arm lowering mechanism had already been done, and I found it in good condition. So I focused one the remaining aspects of the restoration.

I began by restoring the main PCB. This shows it in its original condition:
I replaced all electrolytic capacitors and installed a new RPM relay as well as new 25 turn RPM trimmers:
My next focus was the record detection circuit. I now always replace TR4, the transistor that is responsible for amplifying the sensor signal, with a modern high-gain type (2N5089; Newark 33C8280) since in several recent restoration projects I found this transistor to be out of spec, usually with a too low gain. And this is dangerous for the needle, since the record detection circuit goes 'blind' if this transistor stops amplifying properly. This shows the original TR4, a BC183C:
I replaced it and also installed a 25 turn 5 MOhm trimmer as bias resistor. The circuit is pretty basic, and uses only one resistor between collector and base for biasing the base. When installing this trimmer, it is necessary to put it first on the solder side of the board that one can adjust it with a plugged in board:
The manual prescribes a collector voltage of 4V. After adjusting the voltage, I installed the trimmer next to the new transistor on the component side:
And that concluded the restoration of the main PCB:
The next step was to replace the main dual capacitance reservoir capacitor with two modern single capacitors held in place by a 3D printed fixture:
Then I took out the keypad to get to the output PCB:
Here I replaced the output relay and the capacitor that defines the time constant of the relay action. I also added a (red) switch that allows connecting system and signal grounds in case there are hum issues:
While the keypad was out, I also removed the RPM trimmer panel to replace the light bulbs with LED boards. this shows the panel with the original light bulbs installed:
and here with my plug-in ready LED boards
This shows the panel in action:
The LED boards are based on red-green LEDs that are tuned to give an incandescent glow. The red component ensures that the red indicators are properly illuminated. If one uses orange LEDs, the indicators appear grayish, since orange LEDs do not emit red photons.

My next focus was the replacement of the light bulb in the tracking sensor. The picture shows the original black bulb housing in place:
This shows my replacement part in comparison to the original assembly:
The LED is in the same place as the filament of the original light bulb. This shows the LED assembly installed during the calibration procedure of the tracking feedback:
The blue trimmer is very convenient for fine-tuning the tracking feedback by adjusting the light intensity of the LED.
This Beogram still had the original plastic pulley, that are prone to crack and fall off:
I replaced it with a precision turned aluminum pulley that was supplied by another B&O enthusiast from Vienna:
Looks awesome! If you wanted one for your Beogram, I'd be happy to get you in touch with the source. Just send me an email or use the contact form on the right.

Another often degraded plastic part in this Beogram 4002 vintage are the transport lock bushings. If they look 'orangish', chances are that they are crumbling. This Beogram was no different:
I removed all three:
And replaced them with SLS printed nylon bushings that come in two parts, one to be inserted from the bottom
And one from the top:
This shows the one on the left side installed:
And with the top retaining plate bolted back in:
After rebuilding the transport locks, I went after the last remaining incandescent bulbs of this Beogram, the one in the sensor arm:
I usually replace them with an LED circuit on a flex-PCB that folds into the small bulb compartment, and that draws a current similar to the original bulb. This current tells the circuit that indeed a light source is in operation. This shows the assembly installed:
The LED is a 'warm-white' LED that has a red emission component that preserves the natural look of the B&O logo at the end of the sensor arm:
Whenever replacing the light source in the sensor arm, it is advised to check the sensor signal at the collector of TR4:
The signal needs to go all the way down to 0V and have an amplitude larger than 5V. This sensor circuit fully matches these requirements, and therefore is good to go.
The remaining tasks were to replace the old corroded DIN5 plug
with a new all-metal gold plated type:
And to do the adjustments. The first step is usually to balance the sub-chassis, adjust the platter height and the arm distance. Then the arm adjustments need to be made.

Before calibrating the tracking weight I replaced the circlip that holds the counterweight adjustment screw in place with a M3 nut and a washer:
This allows locking the calibration in place after the tracking force is properly adjusted:
Another important adjustment is the arm lowering limit:
This is the last resort protection for the needle if the record detection circuit would ever fail and allow the arm to be lowered on a rotating empty platter. The limit needs to be adjusted that the needle misses the lower areas of the black platter ribs. These lower areas are strategically placed where the set-down points for 12", 10" and 7" records are.
Finally, I adjusted the RPM with the BeoloverRPM device:
And then it was time to take this restored Beogram for a first test spin. I selected a recently acquired vintage record by Ramsey Lewis, "Tequila Mockingbird", which he recorded in 1977 on Columbia Records (JC 35018). I love the inner sleeve where Mr. Lewis shows off his braces...ahh the 70s!!...;-):
It is rapidly becoming one of my favorite 'easy listening' records. Perfect for an afternoon while restoring a Beogram! Of course this record was ultrasonically cleaned with a CleanerVinyl Pro Ultimate Kit on an Elmasonic P60H dual-frequency cleaner prior to listening. It now sounds pretty much like a newly pressed record. Beolovely!
I will now play this Beogram for a few more days and if nothing else comes up, it is time that it travels back to Virginia!