Featured Post

Beolover SyncDrive: DC Platter Motor Replacement for Beogram 4002 and 4004 (Type 551x and 552x)

Late Beogram 4002 and the 4004 (Types 551x and 552x), which have DC platter motors instead of the earlier synchronous AC motors usually suff...

Showing posts with label new arrival. Show all posts

Monday, July 20, 2020

Beomaster 4400 Type 2419: A Personal Project

Whenever I do a restoration on a Bang & Olufsen audio component I find myself wanting to keep it for myself.  It makes sense seeing how these units we restore are units we also like ourselves here on the blog.

A few years ago I had my own working Beomaster 4400 that I purchased in working order. Since it worked great I decided to leave it as is and just use it until it started to fail.  I got two good years out of it before I started to notice a degradation in performance.  At that point I put it away for later restoration when I had time.

After my last Beomaster 4400 restoration project I was reminded how I liked this receiver so I opened up a spot in my restoration schedule to do one of mine.  Truthfully, I plan to do two for myself.  That is because a few months ago I acquired another Beomaster 4400 unit that is from one owner and looked to be a great restoration candidate.

So I will begin with the latest acquisition then move to the first unit.

Here is how it looks having just opened it up.


It is pretty clean overall. You can immediately tell that this unit was stored well and came from a smoke-free environment. The lenses on the controls are still clear.

There is some sort of black gunk on the metal frame but I should be able to clean that off.


The left and right sides of the rosewood cabinet have small chips. One is still hanging on so that will be an easy repair. The other side is gone so I will have to fashion a matching piece out of some rosewood veneer I have in my shop.


The color on the cabinet is good. It doesn't appear faded so after the repair of the cabinet dings a little sanding and refinishing should make it look new again.

Inside the Beomaster 4400 circuitry looks original as expected. The front controls all operate smoothly (without power applied).


Very nice.

Removing the smaller boards I don't see any signs of burned or broken traces.


Here is the Beomaster stripped down where I will begin work on the restoration.


Here are the three FM modules and the preamplifier removed and ready for recapping.


As clean as this Beomaster 4400 unit is I am hoping that I won't have to dig in to the front panel components like I did on the previous Beomaster 4400 project.

I should be able to do most of the cleaning, solder reflowing and capacitor replacement without much disassembly this time.

The power switch on this unit seems to be in good order so I will only have to attach my arc suppression device.

The previous Beomaster 4400 project used up quite a few of my restoration components for these receivers so I ordered more from Mouser last night and they should arrive tomorrow.


Tuesday, October 31, 2017

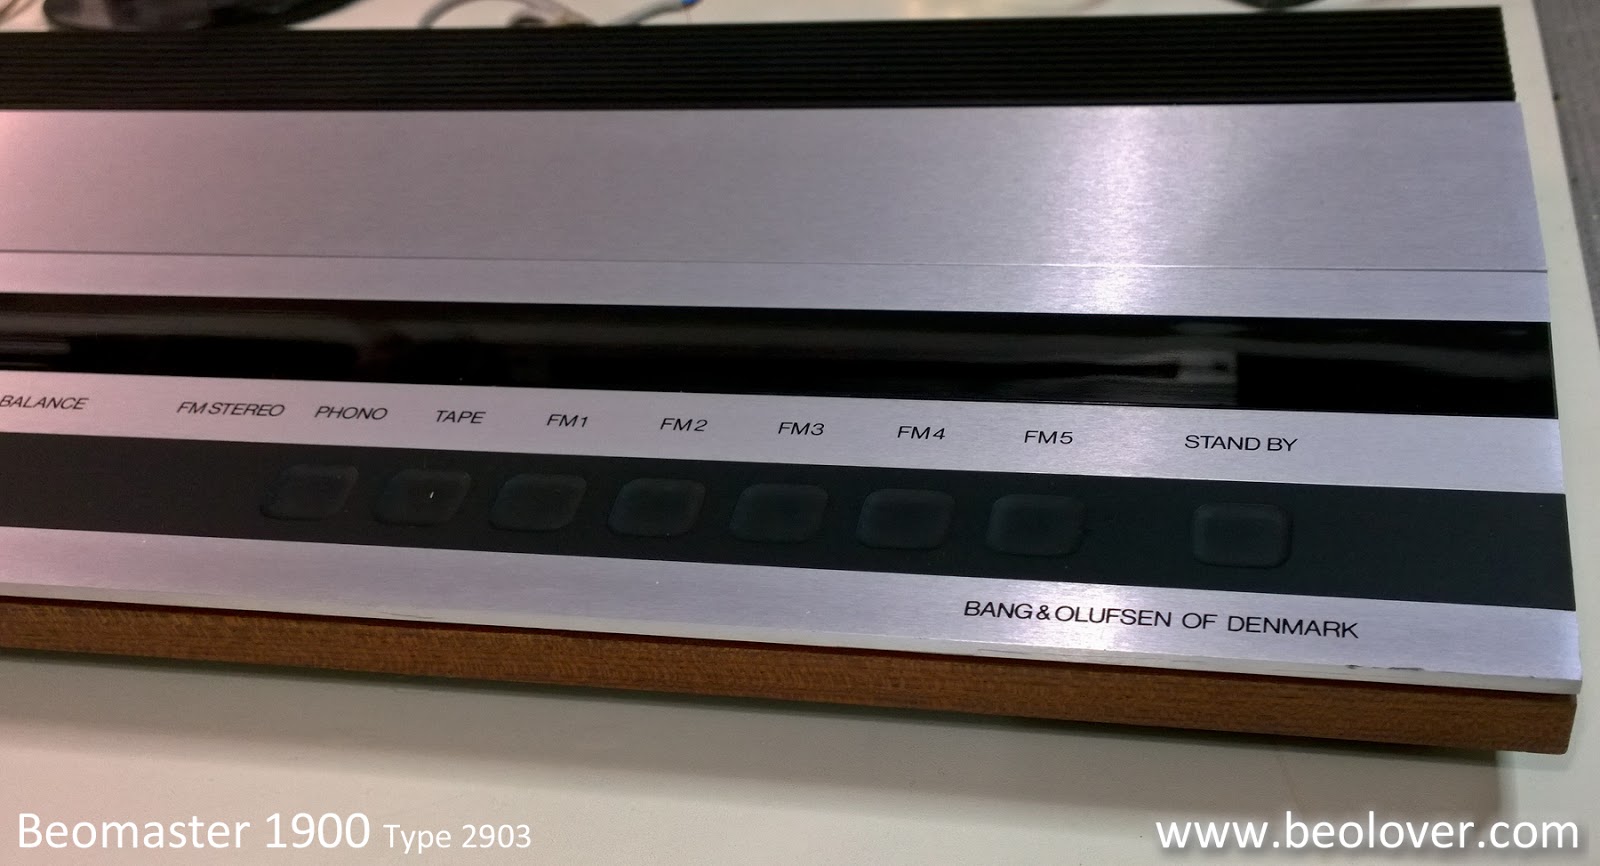
Beomaster 1900 (Type 2903): New Arrival

After a long series of Beogram projects I have a change of pace with a nice Beomaster 1900 receiver sent to us for restoration.

The AC plug is missing so no turning the unit on for any type of checks. I will give the unit a quick survey to see if anything major jumps out at me.


Turning it over I can see that it is missing its rubber feet.


Over all it looks great so far. Time to take a peek inside.


Nothing major but I do see that the bass, treble and balance indicator masks have some wear on them.
The bass and balance have bad enough wear to the point that the masks really need replacing. I will try to find replacements or print some of my own. The treble mask is in good enough shape that it could be used as a template to copy from.


Here are the Beomaster indicator lamps. I will get the receiver working again before looking at replacement options for the lamps. LED replacement is an option but some of the lamps are integral to their circuit operation so any replacement there will require more than just an LED and a load resistor.


Next step is to check my 105°C electrolytic capacitor stock to see what I have and what I need to order in recapping this Beomaster.

Saturday, September 2, 2017

Beogram 8000: New Arrival From The Motor City

A new Beogram 8000 project arrived yesterday. It is a restoration project and sounds like it has the typical problems this type of Beogram usually develops after almost forty years.

The turntable doesn't function correctly, the aluminum deck trim and tonearm compartment lids all have deteriorated attachment material (double-sided tape).  These are all things that can be remedied with new capacitors, solder re-flow, cleaning, lubricating and new mounting tape.

Here are pictures of the turntable before I start the work.

The first thing was quite a surprise. This Beogram arrived packed pretty well...styro-foam all around and tightly bubble-wrapped. However, it was not double-boxed and most importantly, the floating suspension was not locked down. The MMC-20CL cartridge was left mounted on the tonearm and the stylus guard was not attached. Very, very fortunately nothing appears to be damaged from the trip. A congratulations and thanks can go out to the delivery guys for their handling on this one.


The aluminum deck panel is loose like almost every Beogram 8000 still in their original state. The mounting tape is all deteriorated now. That old tape residue will be cleaned off and new 3M automotive double-sided tape will replace it.


The same problem exists with the bottom deck panel in the tonearm compartment.


Under the sub-platter I discovered the mount for the tachometer sensor guard had come loose. The locking washer/clip was loose inside the Beogram case.


Here is the Beogram case with the turntable floating chassis removed. On these restorations I prefer to remove everything to work on the individual assemblies separately rather than work on everything together and still attached. I believe there is less risk of accidentally damaging other components that might get in the way.


Here are the electronic components after they have been removed. The boards will get new electrolytic capacitors and all key solder joints will be re-flowed. I will also change out the IC socket for the processor with a new and better one.


One component I always want to protect is the dust cover assembly. By removing it I get it out of the way and makes it way easier to work on the tangential arm transport.

A word of warning - The Beogram 8000 and 8002 dust covers are a little tricky to remove. I use plastic pry tools like you find for working on cell phones.

The back of the Beogram dust cover attaches by a long plastic lip and a few plastic tabs. Many times there are broken and missing tabs because someone has yanked the cover off instead of carefully maneuvering the back of the cover to clear the tabs and lip.


The picture above and the next picture show the metal tab with the two hooks that mount the dust cover lid to the main Beogram cabinet. This must be the first thing detached when removing the dust cover assembly.


This last picture shows the tonearm compartment lid and deteriorated mounting tape. It will also be cleaned and new 3M automotive tape applied.


Now that the Beogram has been disassembled for restoration the real work can begin. I didn't find anything in the disassembly that is unexpected for this type of turntable. All of the original parts are there and intact so I am anticipating a straight forward restoration project without any weird surprises ( but then I almost always say that).