Featured Post

Beolover SyncDrive: DC Platter Motor Replacement for Beogram 4002 and 4004 (Type 551x and 552x)

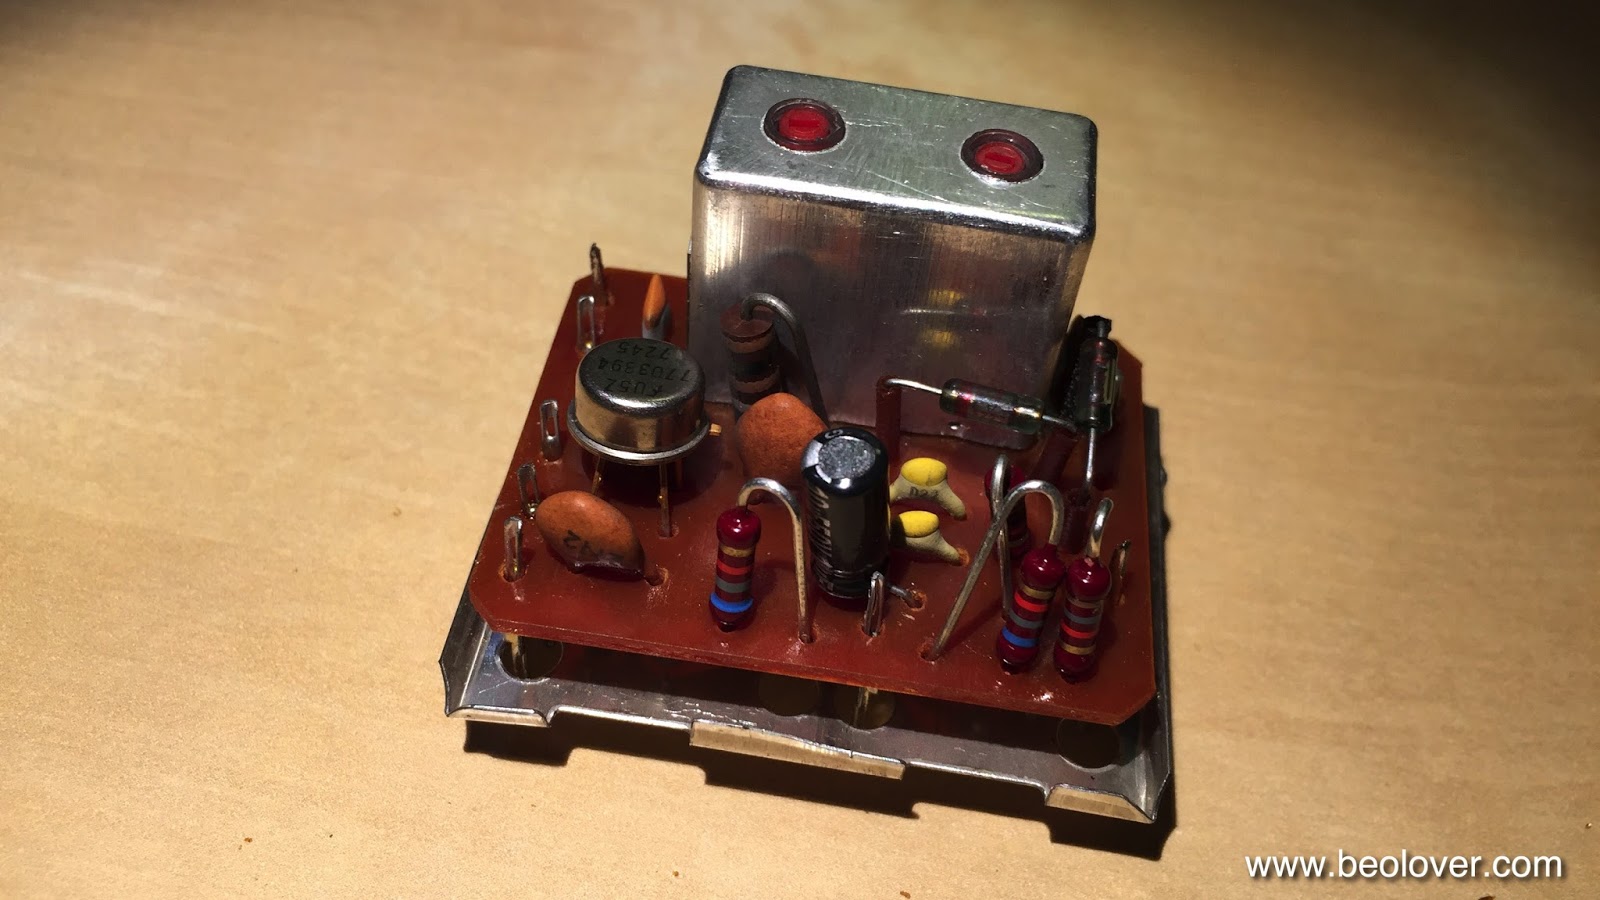
Late Beogram 4002 and the 4004 (Types 551x and 552x), which have DC platter motors instead of the earlier synchronous AC motors usually suff...

Showing posts with label vintage. Show all posts

Monday, April 11, 2016

MMC Cartridge Box: Now Available on Shapeways

What better way to celebrate my 400th beolover post with making the Beolover MMC Cartridge Box available on Shapeways?? It is time for adequate protection for our valuable cartridges!

It was a lengthy and difficult process to get this part designed and I had to go through many design iterations to get the 'feel' right. I desired to have a solid press-fit between the cartridge and the 'base' of the box to afford maximum protection to the cartridge in case someone accidentally drops the base after inserting a cartridge. The top on the other hand was supposed to fit with some, but not too much friction to enable easy access. Some manufacturing tolerances at Shapeways did not help this process either, and so it took me many design iterations and test prints to get to a point where the print outcomes between different print-runs were satisfactory.

So here we go: This shows the bases with cartridges inserted and the matching tops:
And with closed tops:
And why not get base and top in a duo-tone combination??:
There are 49 color combinations possible as they are available in seven colors...check out the parts at my Shapeways store!

Or use these direct links below for ordering. You can select the color during checkout. It usually takes about two weeks to get parts from Shapeways in most parts of the world.


Saturday, April 2, 2016

Beomaster 4000 (2406): Installation of Custom Designed Toroid Transformer - Final Impressions

I finished up the toroid transformer implantation in the Beomaster 4000 that I am currently restoring. I added a bolt to fix it in its 3D printed cradle and used the mounting plate and rubber shock absorber that came with the toroid to secure it in place. Here is an impression:
Lovely! A very happy look in my opinion! 
Then I put on the bottom plate:
and with plate installed:
This shows a the detail around the 'gills' of the Beomaster:
I like how the red shines through a bit. Since the toroid represents a performance upgrade of the Beomaster and brings its power supply into the current millennium, I like that it can be seen a bit if closely scrutinized. Putting in a toroid into a Beomaster 4000 is a bit like installing Brembo calipers on a vintage BMW 5-series, if you catch my drift...;-):
Toroids have a much improved EMI performance than conventional "EI" style transformers due to their geometry. That is the main reason why most modern low noise analog power supplies employ toroid designs.
While I am writing this post I ran the unit together with the Norwegian Beogram 4000 that I am testing right now, and I can report that it sounds absolutely awesome! No humming on any input and everything stays absolutely cool including the toroid and I am cranking it up quite a bit right now. Appropriate for Jethro Tull's Aqualung!
This pretty much concludes the restoration of this Beomaster (if nothing comes during the testing period). Here is a picture of the units with exchanged parts:


Friday, April 1, 2016

Beomaster 4000 (2406): Exchanging the Electrolytic Capacitors and Adjustment of the Quiescent Current

After testing the new toroid transformer for a while (and coming to the conclusion that it works very nicely - no hum in the amplification chain whatsoever) it was time to complete the restoration of this Beomaster 4000 and replace all electrolytic capacitors on the various PCBs with new 105C grade major Japanese manufacturer units. While time consuming, this is not too difficult to do, but a few of the capacitors are challenging to access since the 4000 is from a time when board-to-wire connectors were not commonly used in consumer electronics. In other words, it is difficult to take out boards since most connections are soldered. So it is best to just leave everything in and work your way around a few obstacles like the power switch that obscures a solder point or the vertically installed loudness board. But with a bit of patience, a few tricks and a steady hand it is a straight forward process. Here are a few impressions. The first step is usually to take out the preamplifier board that is directly bolted to the frame with four screws next to the DIN jacks on the back. This picture shows the board in its original state:
And after exchanging the capacitors:
Then it was time to work on the two main boards. Unfortunately the preamp board does not disconnect like in the Beomaster 4400 where a rare wire-to-board header allows this convenience. In the case of the 4000 the board needs to be left connected and dangling from the frame while one works on the main PCBs. But this is not such an issue if one props up the Beomaster vertically using a couple of carpenter clamps affixed to the heatsinks (use cardboard shields to prevent scratches).

This shows the output amplifier board in its original condition:
The four red resistors at the bottom are the emitter resistors that can be used to adjust the quiescent current. In between them are the associated trimmers. I replaced these with modern encapsulated units along with the capacitors. This shows the board after restoration:
Next up was the FM tuner and 15V power supply board. this shows the original condition:
And after rebuilding it:
This board has two EMI cans. On the right is the FM 'front end' that selects the right carrier frequency and on the left is the 'detector' that converts the frequency modulation audio information into amplitude change that can be amplified and analyzed into an audible stereo signal. Unfortunately there is one electrolytic capacitor in each can and so one needs to get in there. The easy one is the front end, where the top and bottom covers come off easily. Note that the bottom one has a soldered ground connection which needs to be unsoldered before it can be taken off:
This shows the solder side of the PCB after taking the bottom cover off:
And here is a peek into the top:
The capacitor is in the top part, a brown/black tantalum type. This shows it replaced:
Care needs to be taken to not disturb the inductors. If they get accidentally 'adjusted' one may need a FM signal generator to recover. After putting the covers back on I turned my attention to the detector. Here the board is piggybacked on top of the main FM board and so one has to unsolder it first before the bottom of the PCB can be reached for soldering. The top cover can simply be pulled off. This is how it looks after it is off:
Then I took the board out:
The capacitor is up front center (also brown/black; 10uF). Before one can unsolder it the bottom shield needs to be taken off. One of the pins is soldered into the PCB, making the ground connection, i.e. it needs to be unsoldered first. Then the shield comes off:
And then I was able to put the new capacitor in:
After putting everything back together in reverse I took this picture:
On to the loudness board that is right behind the loudness switch on the front panel. There are two capacitors (red):
I should have replaced them while the transformer was out, but it did not occur to me. So I did some 'artistic soldering'. Copper brain is very useful for such situations when the desolder gun is too big to fit. After a bit of effort I had them out and replaced with new units:
Alright! Almost done. On to the FM preset capacitors that are soldered directly to the preset switches and a ground wire:
I also replaced them with new units:
The next step was to adjust the quiescent current with the new trimmers:
I elected to ignore the prescription of the service manual to measure the current in the output transistors directly with an ampere meter connected into the circuit. The setup allows for that via two pin headers that are not soldered. However, I did to like the idea to connect a multimeter with an internal resistance of about 5 Ohm in mA mode into the circuit and thereby altering the setup. I instead calculated the current that corresponds to the prescribed 80mA quiet current in the 0.15 Ohm emitter resistors in each of the B-style push-pull output branches (12mV), and hooked up my multimeter across these resistors and adjusted the trimmers to get the 12mV. Now this Beomaster is running cool. When it arrived one of the channels got pretty warm indicating trimmer issues, as they are frequently found in this vintage of B&O.


Wednesday, March 23, 2016

Beomaster 4000 (2406): Installation of Custom Designed Toroid Transformer

This is a follow up to my recent posts about a strongly humming transformer in a Beomaster 4000 (2406). This Beomaster is in great condition otherwise, so it made sense to install a new transformer to get this unit ready for the next 40 years of service. Most modern audio designs with analog power supplies use toroid transformers due to their much better EM characteristics. After characterizing the original transformer current loads in the secondaries, I designed a replacement and had it custom made by the Toroid Corporation in Salisbury, MD. It costs a pretty penny to get this done, but the result is pretty, too (at least from a geeky engineery point of view...;-). 
While the installation of a new transformer is fairly straight forward, the details can be pretty daunting. The first order of business was to remove the old 'rectangular' transformer. Here is an impression of the original state of affairs:
This shows the 'cavity' after removing it:
The challenge here was essentially to fit (and hold securely) a donut into a square space. Furthermore, The Laws of Beolove require to not drill additional holes into any B&O equipment, ever! My technical upgrades are always 'reversible', i.e. the units can be returned into their original state if so desired at a later point in time. So I set out to design a 3D printed mounting bracket that would fit exactly to the mounting holes of the original transformer case.
Since this bracket represents a fairly large part from a 3D printing perspective (the final design took about 26 hrs to print), I began the design process with an initial study that 'put the mounting holes into the right positions in space', but that needed minimal printing effort so the design could be iterated in a  reasonable amount of time (it is difficult to do precise measurements within a crowded enclosure). Here is an impression of one of these study parts implanted into the cavity:
Once the holes were close to the proper positions, I completed the design and created a final version of the bracket that was able to hold the toroid and the main rectifier in place:
This shows the final design after four prints (and about 1.5 kg of plastic filament...;-) that did not fit precisely and had other fit-related issues. It turned out that the 'study' prints were slightly flexible, which allowed me to bend the holes a bit to the right positions, while this final design is very rigid and so there was no more room for mismatch. This shows the toroid and the rectifier added:
Before I was able to install the toroid assembly, I needed to replace the reservoir and speaker capacitors to make a bit more room for the toroid. The original reservoir capacitor is a bit thicker than its modern replacement, and that gave me five more millimeters that were required to fit the toroid:
This shows the installed bracket with rectifier in place and the new capacitors::
Add toroid:
The next step was connecting the toroid to the input voltage selector. This shows the arrangement at the input selector:
The it was time to verify that the connections were made correctly for proper voltage transformation at all four input voltage settings. This was the moment where I would get proof that my transformer design was correct. All this can be a bit confusing since the input selector switches the various primary coils of the transformer in series and parallel depending on the tuns ratio that is needed for a particular input voltage. So I hooked up my 110-to-250V variac to the line plug of the Beomaster (turned 'on') and then slowly ramped up the transformer voltage for each of the input villages while monitoring the secondary voltages. This shows the setup:
The secondaries wires are held securely apart from each other by some carpenter clamps in concert with thick cardboard strips. This shows the measurements for the various input selector settings vs the 50V secondary. 110V input:
130V input:
220V input (and 22V secondary):
and 240V:
After this I put the input switch back into its box together with the fuse holder (secured in place with some double sided tape):
After this I connected the secondary windings to the two rectifiers:
And then it was time for the magic moment! I slowly ramped up the variac and the 'ON' light came on. Then I connected speakers and an antenna, and set it to FM. And everything seems to work! And of course no transformer hum at all! This is Beolove! I still need to procure a nice bolt to hold the toroid in place in its bracket, but I think it is pretty safe to say that this Beomaster 4000 is back in business. I will give it a full recap and then give it some play before sending it back to Italy! 


Saturday, January 16, 2016

Beomaster 4000 (2406): AC Current Measurements in Transformer Secondaries

This post is a first update on the transformer issue that I identified in a Beomaster 4000 that is in an outstanding cosmetic condition otherwise (i.e. worth fixing!).
I recently entered discussions with a custom transformer manufacturer, and naturally the question of current in the windings came up. The Beomaster 4000 has two secondary windings, one delivering 47V AC RMS and the other 22V AC RMS. The service manual specifies a 275VA transformer, but makes no reference to the distribution of power among the two windings. This shows the pertinent part of the circuit diagram:
The 47V winding directly powers the output stages, while the 22V winding takes care of the rest of the unit such as the preamplifiers and the FM section.

In order to measure the current in each of the windings I added 0.18 Ohm shunt resistors in series into each of the circuits. This shows the measurement on the 22V section. The black and white AC lines connect to the far right back corner of the Beomaster where the rectifier sits:
I unsoldered the white lead and put the resistor in series:
Then I hooked up a voltmeter across the resistor and turned the receiver on with speakers connected. The voltages that I measured were a constant 30 mV for all settings except phono, where I measured 36 mV AC RMS. These results were independent of the volume setting. Even with white noise on the FM section or a 1000 Hz test tone on the Tape input and volume set to 10 (that is pretty loud...;-) this reading did not change. I pretty much expected this since all output current is provided by the 47V winding. 
Doing the math yielded therefore a constant 200mA RMS current indicating that the VA requirement of this winding is a mere 22Vx0.2A=4.4VA.

On to the 47V winding:
For this one I connected a 5Ohm heatsinked resistor to the output and then fed in a 'worst case' (i.e. the scenario if someone hooks up an iPad with he output fully cranked up and loud music playing) modern consumer nominal line signal of 2.8Vpp into the Tape 1 input. Then I measured the voltage across the resistor as shown in the above picture (the resistor is again in series with the white lead which was disconnected right at the rectifier mounted to the transformer).
Interesting aside: It was pretty impressive how the speaker capacitors start 'singing' under this condition. The test tone became clearly audible, with no speaker connected when going to volume 10.
I did the measurement for 100Hz, 1kHz and 10kHz connecting the resistor to L and R channels. The measurements did not vary much depending on the frequency (to be expected with a resistor, a speaker will yield different readings due to the frequency dependent impedance curve). 
With the volume fully up I measured 566 mV AC RMS across the resistor for each channel. This corresponds to a 3A current into 5 Ohm, i.e. we can extrapolate that a 4 Ohm load would drain about 3.7A RMS. This means the bottom line is that both channels on full duty would cause a 7.2 A RMS current, resulting in a total power of 347 VA. This is a bit higher than the rated 275 of the original transformer. I think that is a result of my 'brutal' input signal, which probably caused a lot of distortion in the outputs. 
I repeated the experiment with a DIN spec input signal of 250 mV (RMS), which corresponds to 707 mVpp. With fully ramped up volume the measurement yielded a more modest 300mV with 5 Ohm on one channel corresponding to a 1.6A current. Extrapolated 4 Ohm on both channels, this corresponds to a current of 4.2 A RMS and 197VA, which is conservatively below the 275VA rating of the original transformer. 
So I think the bottom line is, for maximum safety it is probably best to put a 350VA rated transformer in there, but a 275VA rated one can probably be used if properly fitted with a thermal resettable fuse (as the original unit that is in there right now).


Tuesday, December 29, 2015

Beogram 4000: A New Pulley, Hood Bumpers and Shipping Back to Italy

The Beolover always strives to improve his craft and get things as perfect as possible. So I realized that I was not fully done yet with the restoration of the Beogram 4000 from Italy. My recent efforts to restore a Beogram 8000 from Japan introduced me to the concept of rubber hood bumpers that soften the impact if the hood is closed. It makes quite a big difference in terms of how it feels to close the hood. The sound when the hood seats on the enclosure is just so much more solid when the bumpers are present. Unfortunately they all seem gone at this point in time, and that is the reason that it took me some time to realize that all the classic B&O decks actually have(had) them! All that is usually left are some small holes filled with black degraded rubber remnant. This shows how it looked on the hood of the Beogram 4000:
It is easy to get the black stuff out with a 2 mm drill bit operated by hand (do NOT put it on a Dremel or similar...it is easy to damage the plexiglass):
Like with the Beogram 8000, rubber O-ring segments work well to restore the bumpers. In the case of this 4000, however, I needed to use 2mm diameter metric ones since the 0.1" type I used on the Beogram was too thick to squeeze into the holes. I glued the segments in with a bit of contact glue on the tip of the segment. Then I used my 3D printed cutoff template that I developed for the Beogram 8000 and razorblades the excess length off:
A perfect-length bumper resulted:
It has the right length to right the hood into a horizontal alignment with the plinth. The way the hinges are designed at the back of the hood, a ~1mm gap should be around the entire perimeter between hood and plinth if the hood is to be perfectly horizontal. These bumpers guarantee that. Beautiful!

Beyond this issue I also was a bit annoyed that the carriage ran a bit noisily when returning to the home position after a record was played to the end or OFF pressed. This was the result of a somewhat wobbly pulley, a result of a crack in its set screw assembly:

I exchanged it with a custom manufactured Aluminum pulley provided by Nick (via www.beoworld.org):
This fixed the issue and also looks beautiful. I think I will make this a standard part of my restorations since most pulleys are (or will be soon) cracked and/or run wobbly. This pulley quieted the mechanism down quite a bit and made it much more pleasant to use this Beogram 4000!

After these two tasks it was finally time to send it off. My customer requested state-of-the-art Beolover double boxing, and so I used this occasion to make a short video about the proccess:


May the Force (and gentle FedEx men&women) be with you on your way to Italy!