Featured Post

Beolover SyncDrive: DC Platter Motor Replacement for Beogram 4002 and 4004 (Type 551x and 552x)

Late Beogram 4002 and the 4004 (Types 551x and 552x), which have DC platter motors instead of the earlier synchronous AC motors usually suff...

Showing posts with label bumper. Show all posts

Friday, January 1, 2016

Beogram 4002 (5513): Adjusting the Sub-Chassis and the Platter, and RPM Calibration

Today I it was time to give the Beogram 4002 (5513) that I am currently reviving a properly adjusted platter and sub chassis. The goal is to adjust everything that the aluminum surface of the platter is flush with the aluminum panels surrounding it, while having the sub chassis centered between the upper and lower limits of the transport locks and the arms being also parallel to the aluminum surfaces. This is usually a pretty delicate process since so many things need to align. I have now a bit of experience with this and so after a while this Beogram looked very nice and up to spec. I recently made a couple videos that demonstrate this process:


Once the platter was adjusted I did a baseline RPM adjustment for 33.33 and 45 RPM using my recently developed BeoloverRPM device. Here is a picture of it in action:


This shows the readout after I already had adjusted 33.33 and then did 45:

Stabilizing
Measurement starts
time: 0:0:9 RPM: 33.381
time: 0:0:20 RPM: 33.3782
time: 0:0:31 RPM: 33.3904
time: 0:0:42 RPM: 33.3987
time: 0:0:53 RPM: 33.4052
time: 0:1:4 RPM: 33.3937
time: 0:1:15 RPM: 33.4039
time: 0:1:26 RPM: 33.3882
time: 0:1:37 RPM: 33.3958
time: 0:1:48 RPM: 33.3817
time: 0:1:59 RPM: 33.3982
time: 0:2:10 RPM: 33.4025
time: 0:2:21 RPM: 33.4117
time: 0:2:32 RPM: 33.4088
time: 0:2:43 RPM: 33.3933
time: 0:2:54 RPM: 33.3916
time: 0:3:5 RPM: 33.3879
time: 0:3:16 RPM: 33.3815
time: 0:3:27 RPM: 33.4003
time: 0:3:38 RPM: 33.4095
time: 0:3:49 RPM: 33.4057
time: 0:3:54 RPM: 35.24
time: 0:3:55 RPM: 38.32
time: 0:3:56 RPM: 40.9
time: 0:4:0 RPM: 44.4733
time: 0:4:11 RPM: 44.8362
time: 0:4:22 RPM: 44.8325
time: 0:4:33 RPM: 44.8564
time: 0:4:44 RPM: 44.8543
time: 0:4:55 RPM: 45.0447
time: 0:5:6 RPM: 45.1634
time: 0:5:17 RPM: 45.1921
time: 0:5:28 RPM: 45.1968
time: 0:5:39 RPM: 44.8451
time: 0:5:50 RPM: 44.8174
time: 0:6:1 RPM: 45.2279
time: 0:6:12 RPM: 45.2203
time: 0:6:23 RPM: 44.7694
time: 0:6:34 RPM: 45.1452
time: 0:6:45 RPM: 45.2124
time: 0:6:56 RPM: 45.1949
time: 0:7:7 RPM: 45.1759
time: 0:7:18 RPM: 45.1953
time: 0:7:29 RPM: 45.2055
time: 0:7:40 RPM: 45.1998

It turns out that it is pretty difficult to adjust the RPM precisely with the standard single turn RPM trimmers that are in the Beogram originally. You can see at the and how I tried to get close to 45, but I always missed it by 0.2 or more by just very slightly moving the trimmer. This demonstrates that it is a great idea to put in multi-turn trimmers to get this right. On the other hand, I think it is difficult to hear such small difference...so this deck sounds now pretty good, especially with the lovely MMC20CL cartridge that came with it. I am listening to 'Song for My Father' by Horace Silver on Blue Note on it right now while writing this post! Wonderful!


I will give this Beogram some more listening to make sure there are no intermittent issues, but I think it is ready for duty again. This is Beolove!


Thursday, December 31, 2015

Beogram 4002 (5513): Repair of a Broken SO ('Shut Off') Switch

This is a follow up to my last post about a SO ("Shut Off") switch that had lost its plastic actuator and hence caused trouble during shutdown of the deck. I set out to develop a 3D printed part to replace the missing plastic part. This shows the SO (left) and the ES ("End Switch", right) in comparison. The ES still has its plastic appendage, while the SO is missing it.

I took measurements and then went through a few 3D printing iterations to get a part that would come out right. Due to the small size this was pushing the limits of the 3D printer, so the outcome was significantly difficult from the 3D CAD design, and experimentation finally yielded a useful shape:

I glued it on with epoxy:
And now this Beogram can shut down again in an orderly manner:

On to the sub-chassis and platter adjustment.


Tuesday, December 29, 2015

Beogram 4000: A New Pulley, Hood Bumpers and Shipping Back to Italy

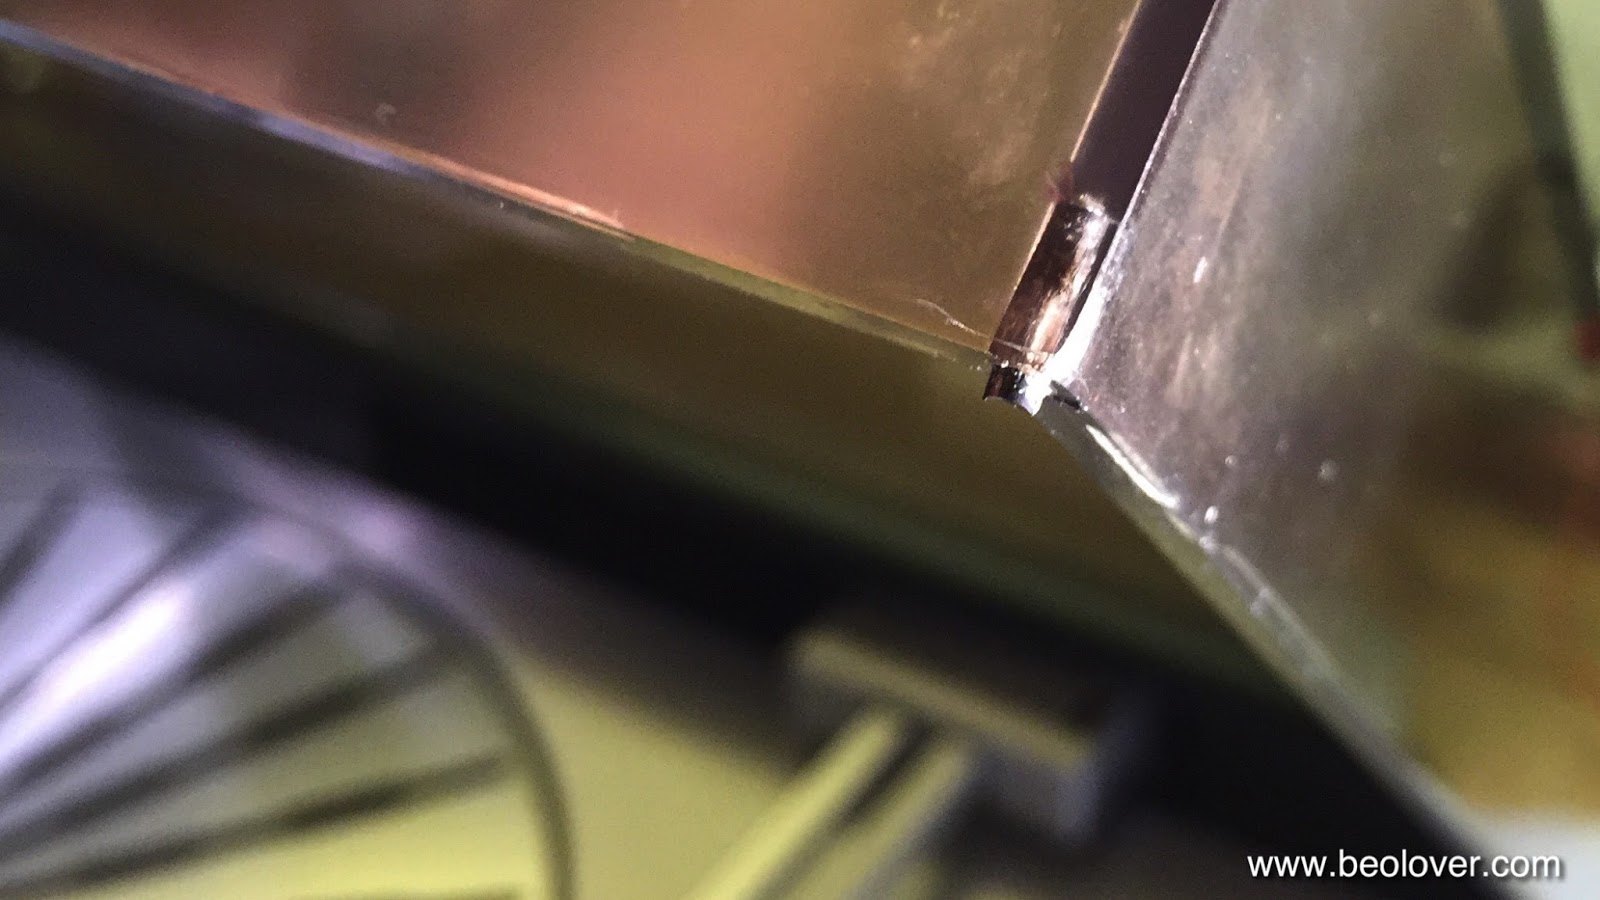
The Beolover always strives to improve his craft and get things as perfect as possible. So I realized that I was not fully done yet with the restoration of the Beogram 4000 from Italy. My recent efforts to restore a Beogram 8000 from Japan introduced me to the concept of rubber hood bumpers that soften the impact if the hood is closed. It makes quite a big difference in terms of how it feels to close the hood. The sound when the hood seats on the enclosure is just so much more solid when the bumpers are present. Unfortunately they all seem gone at this point in time, and that is the reason that it took me some time to realize that all the classic B&O decks actually have(had) them! All that is usually left are some small holes filled with black degraded rubber remnant. This shows how it looked on the hood of the Beogram 4000:
It is easy to get the black stuff out with a 2 mm drill bit operated by hand (do NOT put it on a Dremel or similar...it is easy to damage the plexiglass):
Like with the Beogram 8000, rubber O-ring segments work well to restore the bumpers. In the case of this 4000, however, I needed to use 2mm diameter metric ones since the 0.1" type I used on the Beogram was too thick to squeeze into the holes. I glued the segments in with a bit of contact glue on the tip of the segment. Then I used my 3D printed cutoff template that I developed for the Beogram 8000 and razorblades the excess length off:
A perfect-length bumper resulted:
It has the right length to right the hood into a horizontal alignment with the plinth. The way the hinges are designed at the back of the hood, a ~1mm gap should be around the entire perimeter between hood and plinth if the hood is to be perfectly horizontal. These bumpers guarantee that. Beautiful!

Beyond this issue I also was a bit annoyed that the carriage ran a bit noisily when returning to the home position after a record was played to the end or OFF pressed. This was the result of a somewhat wobbly pulley, a result of a crack in its set screw assembly:

I exchanged it with a custom manufactured Aluminum pulley provided by Nick (via www.beoworld.org):
This fixed the issue and also looks beautiful. I think I will make this a standard part of my restorations since most pulleys are (or will be soon) cracked and/or run wobbly. This pulley quieted the mechanism down quite a bit and made it much more pleasant to use this Beogram 4000!

After these two tasks it was finally time to send it off. My customer requested state-of-the-art Beolover double boxing, and so I used this occasion to make a short video about the proccess:


May the Force (and gentle FedEx men&women) be with you on your way to Italy!


Wednesday, December 2, 2015

Beogram 8000: Installation of New Rubber Bumpers on the Hood and Beneath the Aluminum Lid

I still have a few odds and ends to clear up on the Beogram 8000 that I recently restored. While it is now playing nicely and all functions are restored, the hood was still missing its rubber bumpers and so did the aluminum lid. These rubber parts decay over time and then they break off. But they are important to give the user the correct feel and sound when letting the hood or the lid close on their own. I have not seen a 8000 that still has all of them. Luckily, my own 8000 still had an original one, so I was able to take some measurements. Since these bumpers are not available anywhere, I resorted to using a 1/16" rubber sheet and double sided tape to repair the one under the aluminum lid. The bumpers on the hood cannot be fixed that way, but a piece of .1" O-ring does the job...see below.

Here is a picture of the small cavity that holds the bumper under the lid: 

This shows the hole punched pieces with the double sided tape on them:

I found that a 3/16 punch generates perfectly fitting bumpers:

Pretty! On to the hood. This shows the missing bumpers on the right side:

And with the 0.1" O-ring section forced in but still too long:

To get the precise 1mm height of the bumper, I 3D printed myself a mask for cutting the rubber segments off in parallel to the hood edge with a razor blade:

This picture shows the fit of the hood after cutting the rubber segments off:

Perfect alignment with the control cluster. This is Beolove!