Featured Post

Beolover SyncDrive: DC Platter Motor Replacement for Beogram 4002 and 4004 (Type 551x and 552x)

Late Beogram 4002 and the 4004 (Types 551x and 552x), which have DC platter motors instead of the earlier synchronous AC motors usually suff...

Showing posts with label micro-mesh. Show all posts

Sunday, April 22, 2018

Beomaster 6000 (2702) restoration: polishing the red plexiglas display panel

Today was polishing day! The plexi display on this Beomaster 6000 quad had some scratches in it and haziness. Very common after decades of being exposed to (polluted) air, damp, vapours, sigaret smoke, cleaning detergent, bad swiping/dusting, etc. It is very easy to get scratches from finger nails, rings or other jewellery, dirty cleaning clothes, you name it.

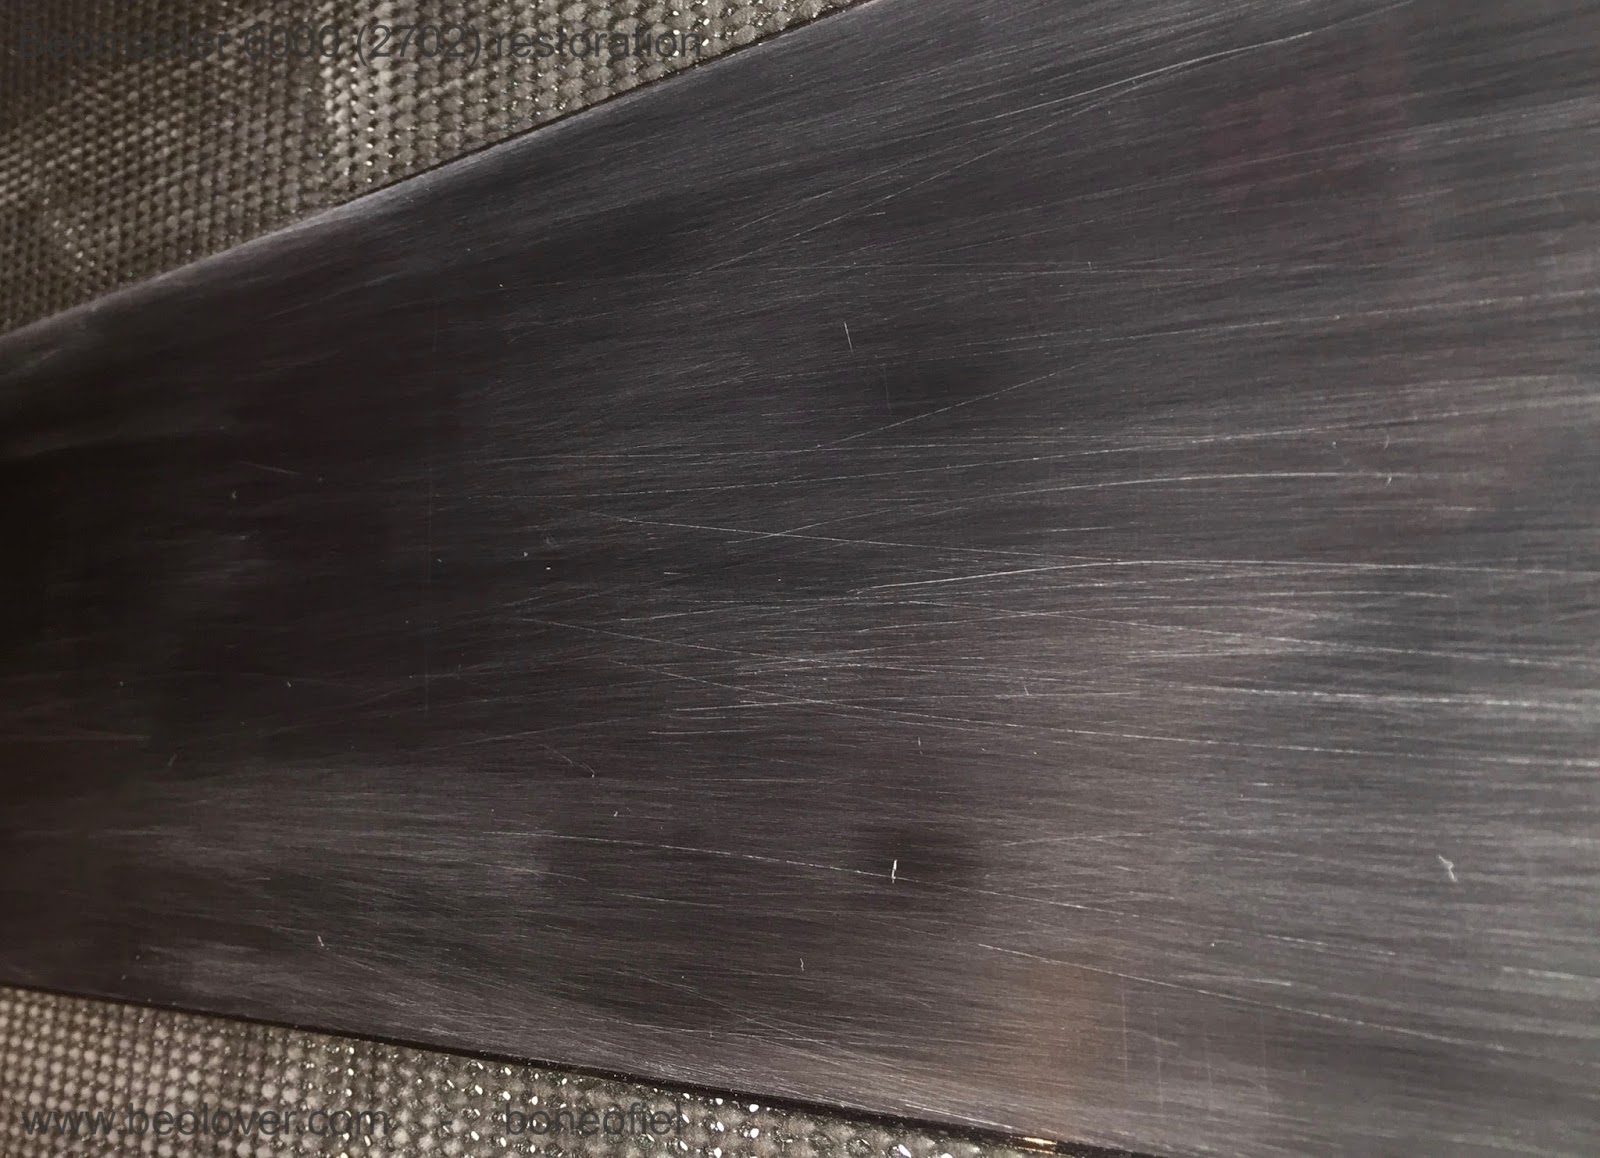
So I started off with 400 grit waterproof sand paper. That revealed the scratches even more as you can see on the picture.

There is only one good way of getting rid of these scratches: polishing, polishing, ...starting with a coarse one and working your way up to a very fine one. I used sandpaper grit 400, 600 and 800 before switching to a micro-mesh type of 1500, 1800, 2400, 3200, 4000, 6000, 8000, 12000.  Please note that "grit" size sandpapers and "mesh" type size are not the same. A standard 800 grit sandpaper correspond to about a 1500 mesh type. Conversion tables can be found on the internet. The Micro-Mesh™ brand has kits available with a whole range of sizes. Micro-Mesh™ likes to call it "a non-abrasive abrasive. It is considered a cushioned abrasive in fact.". It can be washed and reused and has a more structured crystal alignement (compared to ordinary sandpaper) that leaves a more consistent scratch pattern.

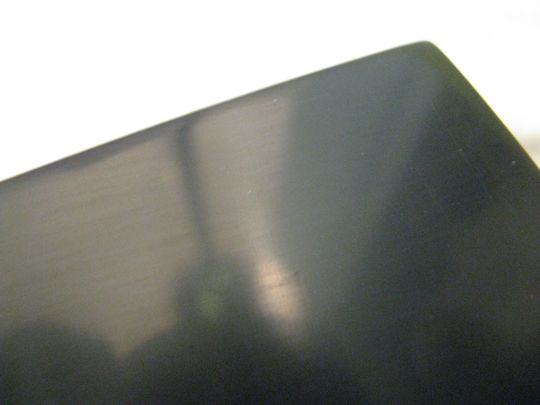
Following 2 pictures courtesy of Micro-Mesh™


A few important things to keep in mind when polishing plexiglas:

- polish in straight lines and change direction perpendicularly after each grit/mesh size
- wipe off regularly with a perfectly clean cloth (microfibres of paper towel)
- use a bit of water; it acts as a lubricant, removes dust easier and keeps the plexi cool (in case you want to use a power-tool to do the polishing)

I've done a few Beogram dust hoods, but this display panel seemed to be much more difficult. Not sure why, the material is maybe different, or it's just the fact that this is a dark red (almost black) type of plexi and easier to see scratches.

A few impressions of the different steps in the polishing process:


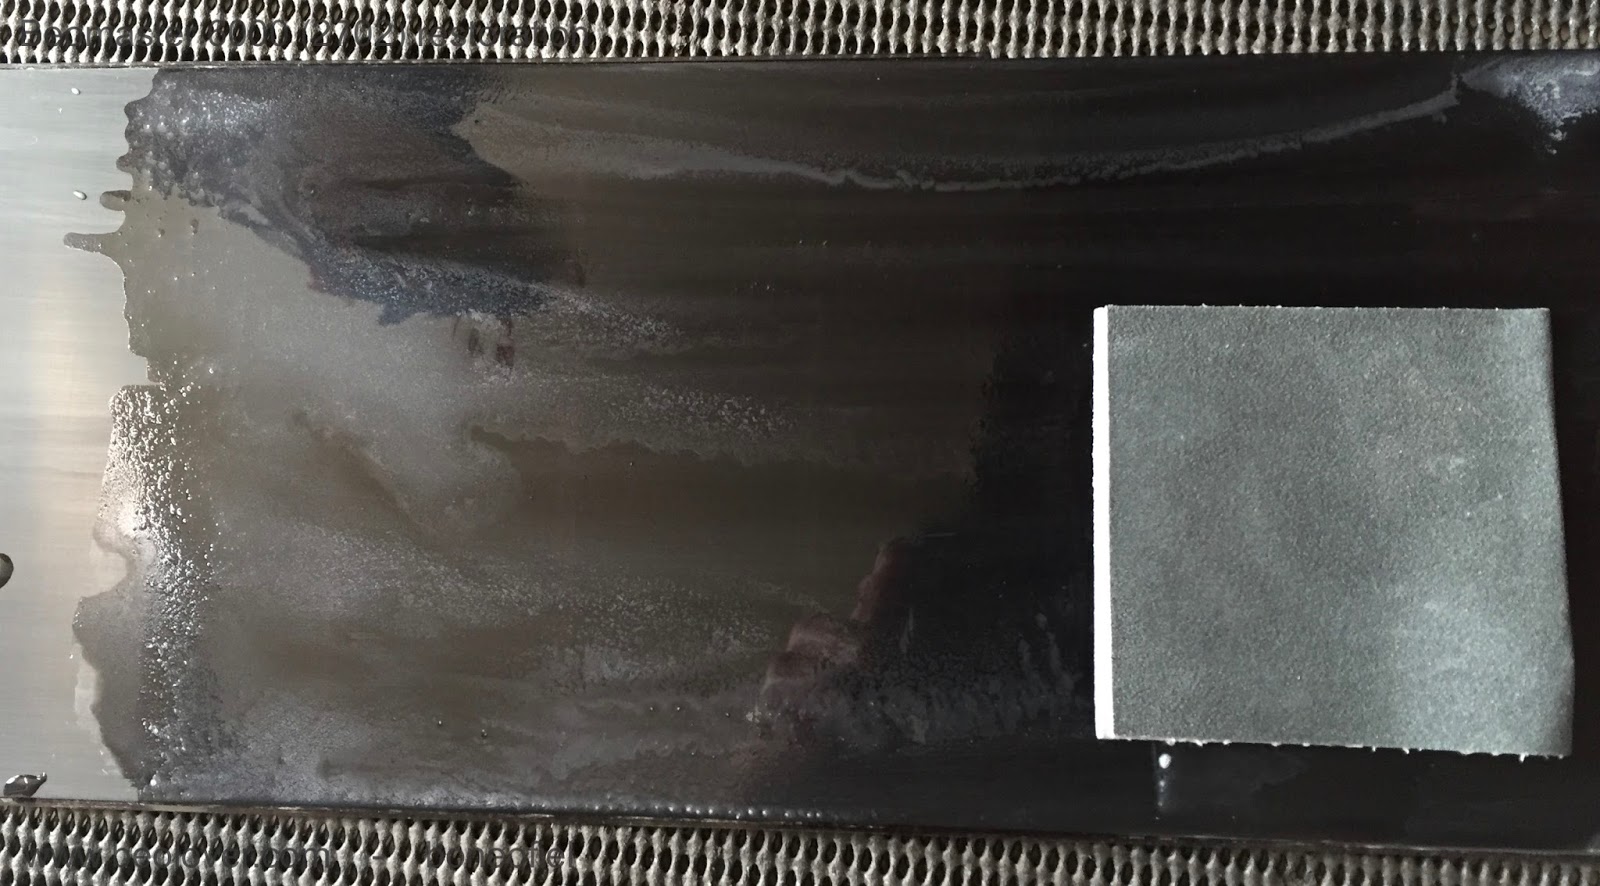
At 2400 mesh I got this result


And already a bit transparent, but still a long way to go.


After a few hours I finally got down to Micro-Mesh 12000. Once above 6000 you can hardly call that "sanding" anymore. It's so fine that  you have trouble seeing what the effect is.

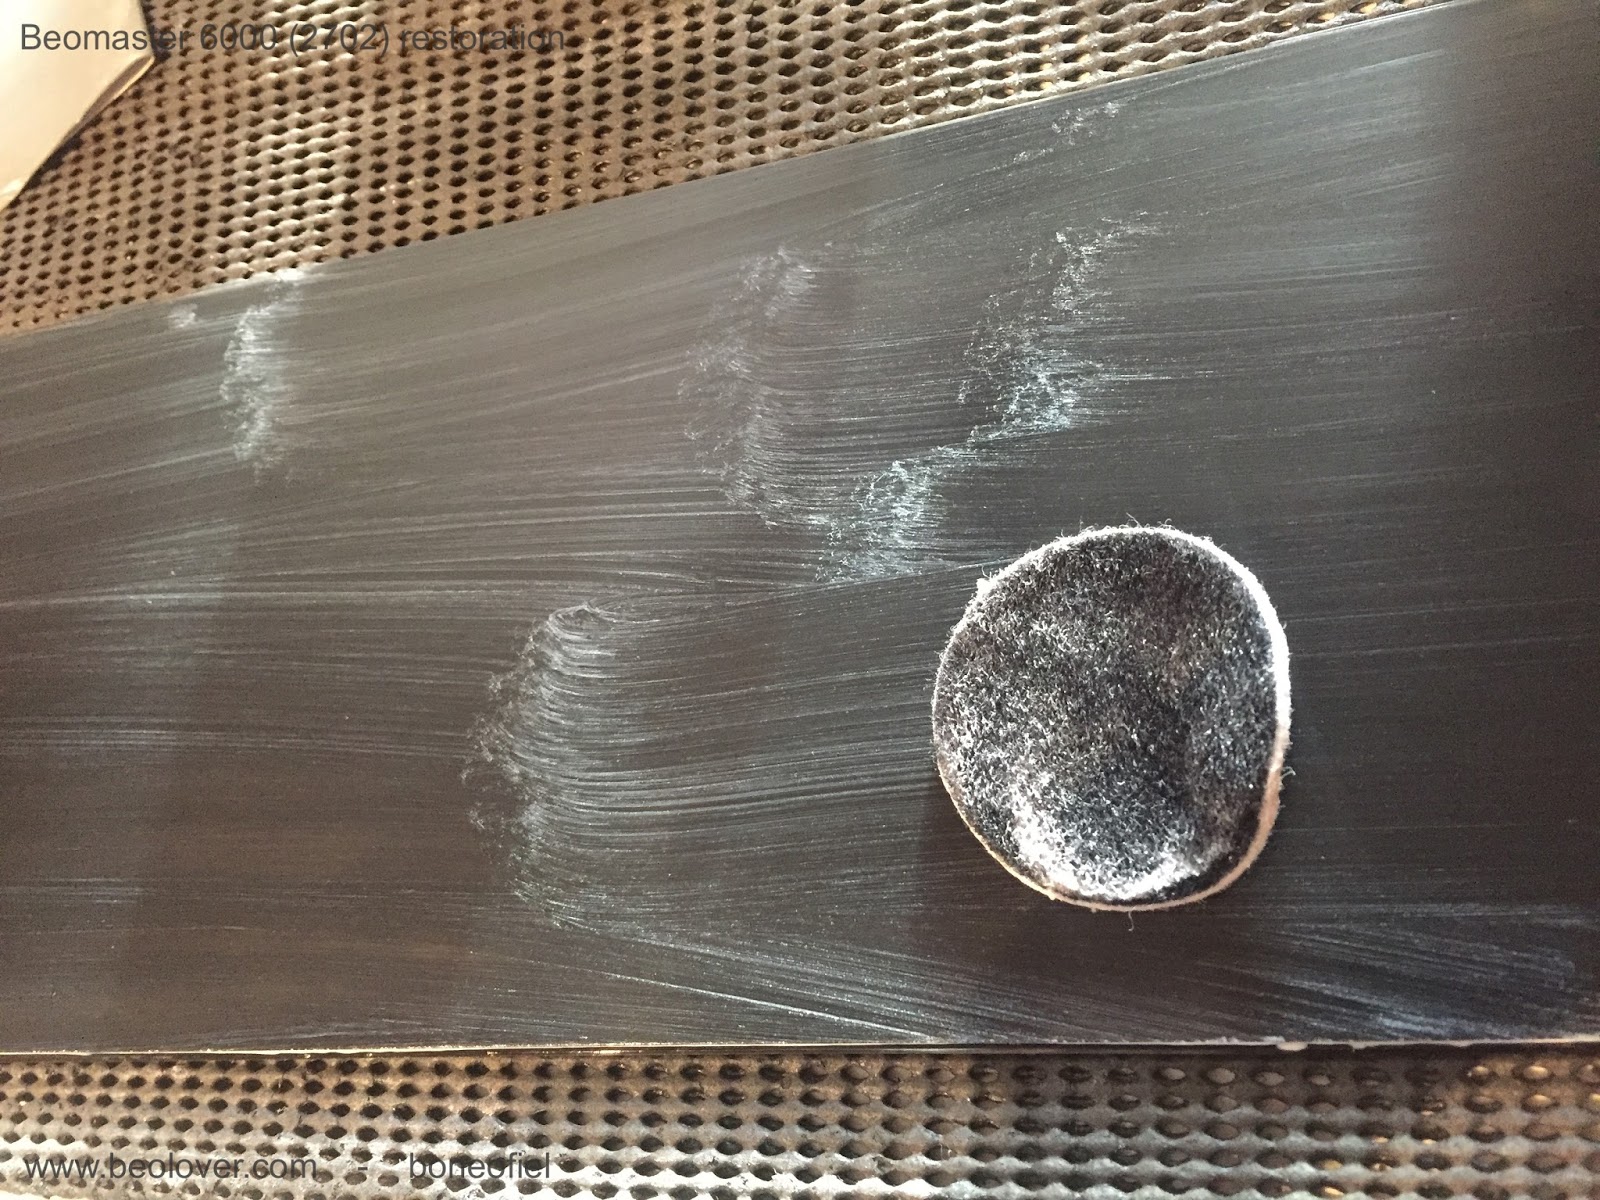
The next step is usually a fine Micro Polish liquid that is used, but I wasn't happy with the result at this point. Still to much haziness to my liking. So, I changed strategy and digged out another polishing kit that I used in the past for a car headlight fixture that also had some haziness. The kit contains 2 compounds: a abrasive (cutting) one and a polishing one.


This worked very well. You apply the compound A with a pad (you can use a small polishing machine or drilling tool if you want) for a few minutes. Then wash it off and apply compound B which is ticker and has a brownish color. I used a small pad again and added a few drops of water each time the compound was drying and starting to stick to the plexi. The result was good.


To finish off, I put some surface sealing coating on top to make it water resistant and more easy to clean in the future.


I couldn't resist taking out the restored key panel and the black anodised back frame to put them together with the display to see how it would look like once everything was assembled.


You can see the reflection of some wall pictures (my grandkids..) in the display. Time to rest. I can hardly feel my arms after all this polishing today.....

Monday, May 18, 2015

Beogram 4000: Polishing the Hood

A last labor-of-beolove tribute to the Beogram 4000 that I restored in recent weeks: Time to polish the hood! It is always quite a workout. It usually takes me several hours in a multi-step process. This Beogram had fairly damaged plexiglass surfaces. Here are a few impressions:


Whenever there are deep scratches that one can feel with a fingernail, then it is time to crank out the 220 grit sand paper. With that the surface needs to be sanded until the deep marks are gone, and only the homogenous scratches from the sandpaper are visible. This hood definitely needed this drastic step. But first the B&O trim needed to be protected. It is very easy to 'delete' the B&O labels in the heat of battle when going at it with the sanding block. I usually use three layers of insulation tape:

After this I gave the 220 grit a go:


Looks almost like wood after this step. Once you have a smoothly sanded surface, it is time to work your way back to shininess. This is done by using about 10 grades of sand paper and micro-mesh policing cloths. This is finished with polishing liquid. It is important to change the sanding/polishing direction between every step. Also avoid rotating motions, it is best to just go in linear strokes. The chance in direction allows to see whether one has polished all the scratches left behind by the previous coarser step behind. Here are a few pictures taken in between the steps (not all are shown, but you get the idea):

After 400 grit:
After 800:
After 1800 Micro-Mesh
After 3200 Micro-Mesh:
After 6000 Micro-Mesh:

After Micro-Gloss polishing liquid:

And that is pretty much as good as this can get...it is virtually impossible to get back to 100% like new. But one can get pretty close. And this pretty much concludes the restoration process of this Beogram 4000!


Sunday, January 25, 2015

Beocord 5000 (4715/4716): Polishing the Plexiglass Cover

My current Beocord 5000 (4715/4716) restoration is coming to an end. Today, I polished the plexiglass cover, which came out fairly nicely. I followed the procedure outlined earlier. Here is a picture of the outcome (it still 'wears' the protective tape to shield the back part of the panel from the polishing process):


Monday, September 3, 2012

Beolab 4500: Panel Polishing (2)

Today, I did the vinyl panel of the right Beovox 4500 speaker. Experience matters. Yersterday, I did not dry the panel after each step before inspection. This resulted in some missed scratches that consequently were not polished out in subsequent steps. Today I made sure to dry the panel with a soft cloth after each step and then give it a thorough inspection. This resulted in a more consistent polish. Here are some detail pictures before and after each polishing step. One can clearly see the alternation between horizontal and vertical patterns until the 4000 grit Micro-Mesh, after which a uniform shine develops.

1) Damage detail (these scratches were easily felt with a finger tip):


2) 220 grit


3) 400 grit


4) Micromesh 1500

5) Micromesh 1800

6) Micromesh 2400

7) Micromesh 3600

8) Micromesh 4000

9) Micromesh 6000

10) Microgloss polish paste - done!

After this I thought I were done, but unfortunately I had to discover that the transformer in one of the amplifiers sheared off its mounts...this probably happened during transport. The fairly heavy transformers are only held in place with four fairly small screws bolted into thin extruded plastic tubes attached to the amplifier housing...another example for B&O's sometimes weak internal designs...let's see what some superglue can do (luckily the broken off parts were all present...).


Beolab 4500 Speakers: Polishing of Plastic Panels

No soldering today. I thought it is finally time to work a bit on my recently obtained Beolab 4500 active speakers. They came from ebay where they were listed as non-working. While they turned out to be working after all, they had badly scratched plastic panels and one significant scratch on one of the aluminum panels. While I am not sure what to do about the aluminum panel, the plastic panels can be easily fixed. Last year I polished the dust cover of a Beogram 4004 to a pretty new looking state. I used the amazing Micro-Mesh KR-70 polishing set, which consists of a rubbery polishing block and a series of fine grit sandpaper. Following the instructions that came with the kit allowed me to fully restore the 4004 cover.

Today, I used this kit on the Beolab 4500 panels. Taking the panels off from the amplifier part of the speakers is pretty simple, but one needs to pay attention that some pretty thin and short cables that are attached between the panel and the amplifier chassis. Hence, after removing the torx screws, carefully lifting off the panel and removing of the plug on the display board and the complete input switch board are required to get the panel off.

Before polishing I also removed the display board from the panel. Since the polishing process involves the use of water, it is best to protect the display board. I also covered the brushed aluminum coated part of the panel with bubble wrap to protect its surface during the polishing process. Here is a pic:


This pic shows a close-up of one damaged area:

When the damage is so deep that one can feel it while moving a finger across, the Micro-Mesh manual prescribes to start with standard 220 grit sand paper from a hardware store. Now, this type of paper is common for wood working, i.e. it is pretty coarse. When I did this the first time I was very reluctant to put this grit to work. Essentially, it dulls the surface completely - a scary moment for the Beolover...;-). Here is a picture after I worked the panel with the 220:


Looks pretty 'woody' doesn't it? This step is probably the most important step of the entire polishing process. With the 220 basically the surface is removed to a depth of the deepest damage. In other words the 220 needs to be worked in an even parallel stroke across the surface (and sides of the panel) until the only scratches present are those from the 220 grit. This means all scratches need to be in the direction of the stroke, and the entire surface needs to be completely homogeneously scratched.

The following steps are basically to use ever finer grit, and apply each grit level with strokes that are 90deg off relative to the stroke used for the previous grit. This allows to see the moment when the scratches from the previous grit are replaced by scratches from the current (finer) grit (dry the surface and look at it against a light source - if you see 90deg off scratches keep at it until they are gone). Successively, with each step, the scratches get more shallow, until they become invisible. That is the moment when the surface is fully reflective and shiny.

Here are a series of pics from this process:

After 400 grit:

After Micro-Mesh 1800:


After Micro-Mesh 2400:

After Micro-Mesh 3600:

After Micro-Mesh 4000 (it starts getting shiny):


After Micro-Mesh 6000 (very nice! almost as new!):


After Micro-Gloss polishing fluid:

That's it!! 
In summary, the most important aspect is that after each step all scratches from the previous level must be gone, and that only scratches from the current grit are left. If the previous scratches are not completely removed, it will be impossible to get them during subsequent steps, since the grit gets ever finer, and does not have enough 'power' to remove deeper scratches from coarser, previous, grits.
One more panel to go! Can't wait to hook these elegant beauties up to my Beosound 9000!!