This is the second part of a Beomaster 8000 display restoration post. The 24hrs test of the installed SMD LEDs passed uneventfully. So I put the displays back together. I used the 'glue gun method' I developed recently to secure the display covers back in place. I really like this method, since it seems to make a strong lasting bond, while still leaving a way to cleanly opening the displays up again should there ever be a problem again down the road. I usually try to stay away from the use of glue etc...due to the often irreversible character of the outcomes. But in this case there are not many options. But the unique properties of the polyurethane glues used in glue guns makes a clean reversal possible. My tests showed that the glue can be fully removed without leaving residues if necessary.
After putting them back together I tested them again in my fixture:

Seems all went well! So I installed them back on the PCB:

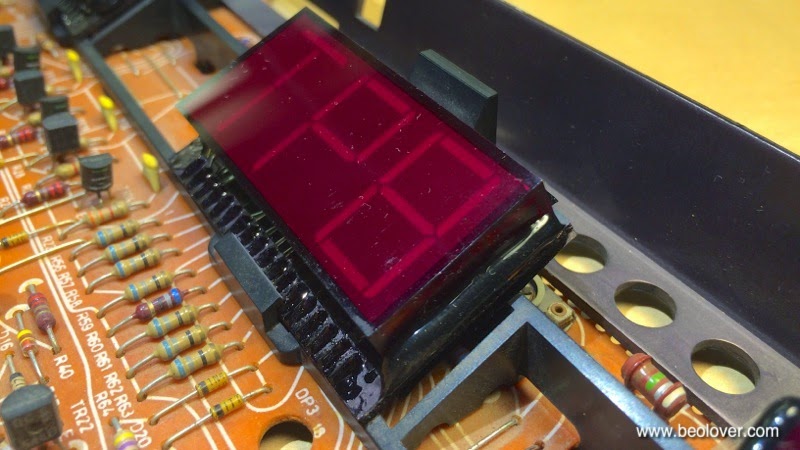
Here a detail shot of the input display. One of the two glue strips is visible on the side:
I installed the board again in my Beomaster 8000 and applied my standard intensity adjustment procedure:

Another Beomaster 8000 display restored to full glory! This is Beolove!
No comments:
Post a Comment
Comments and suggestions are welcome!